
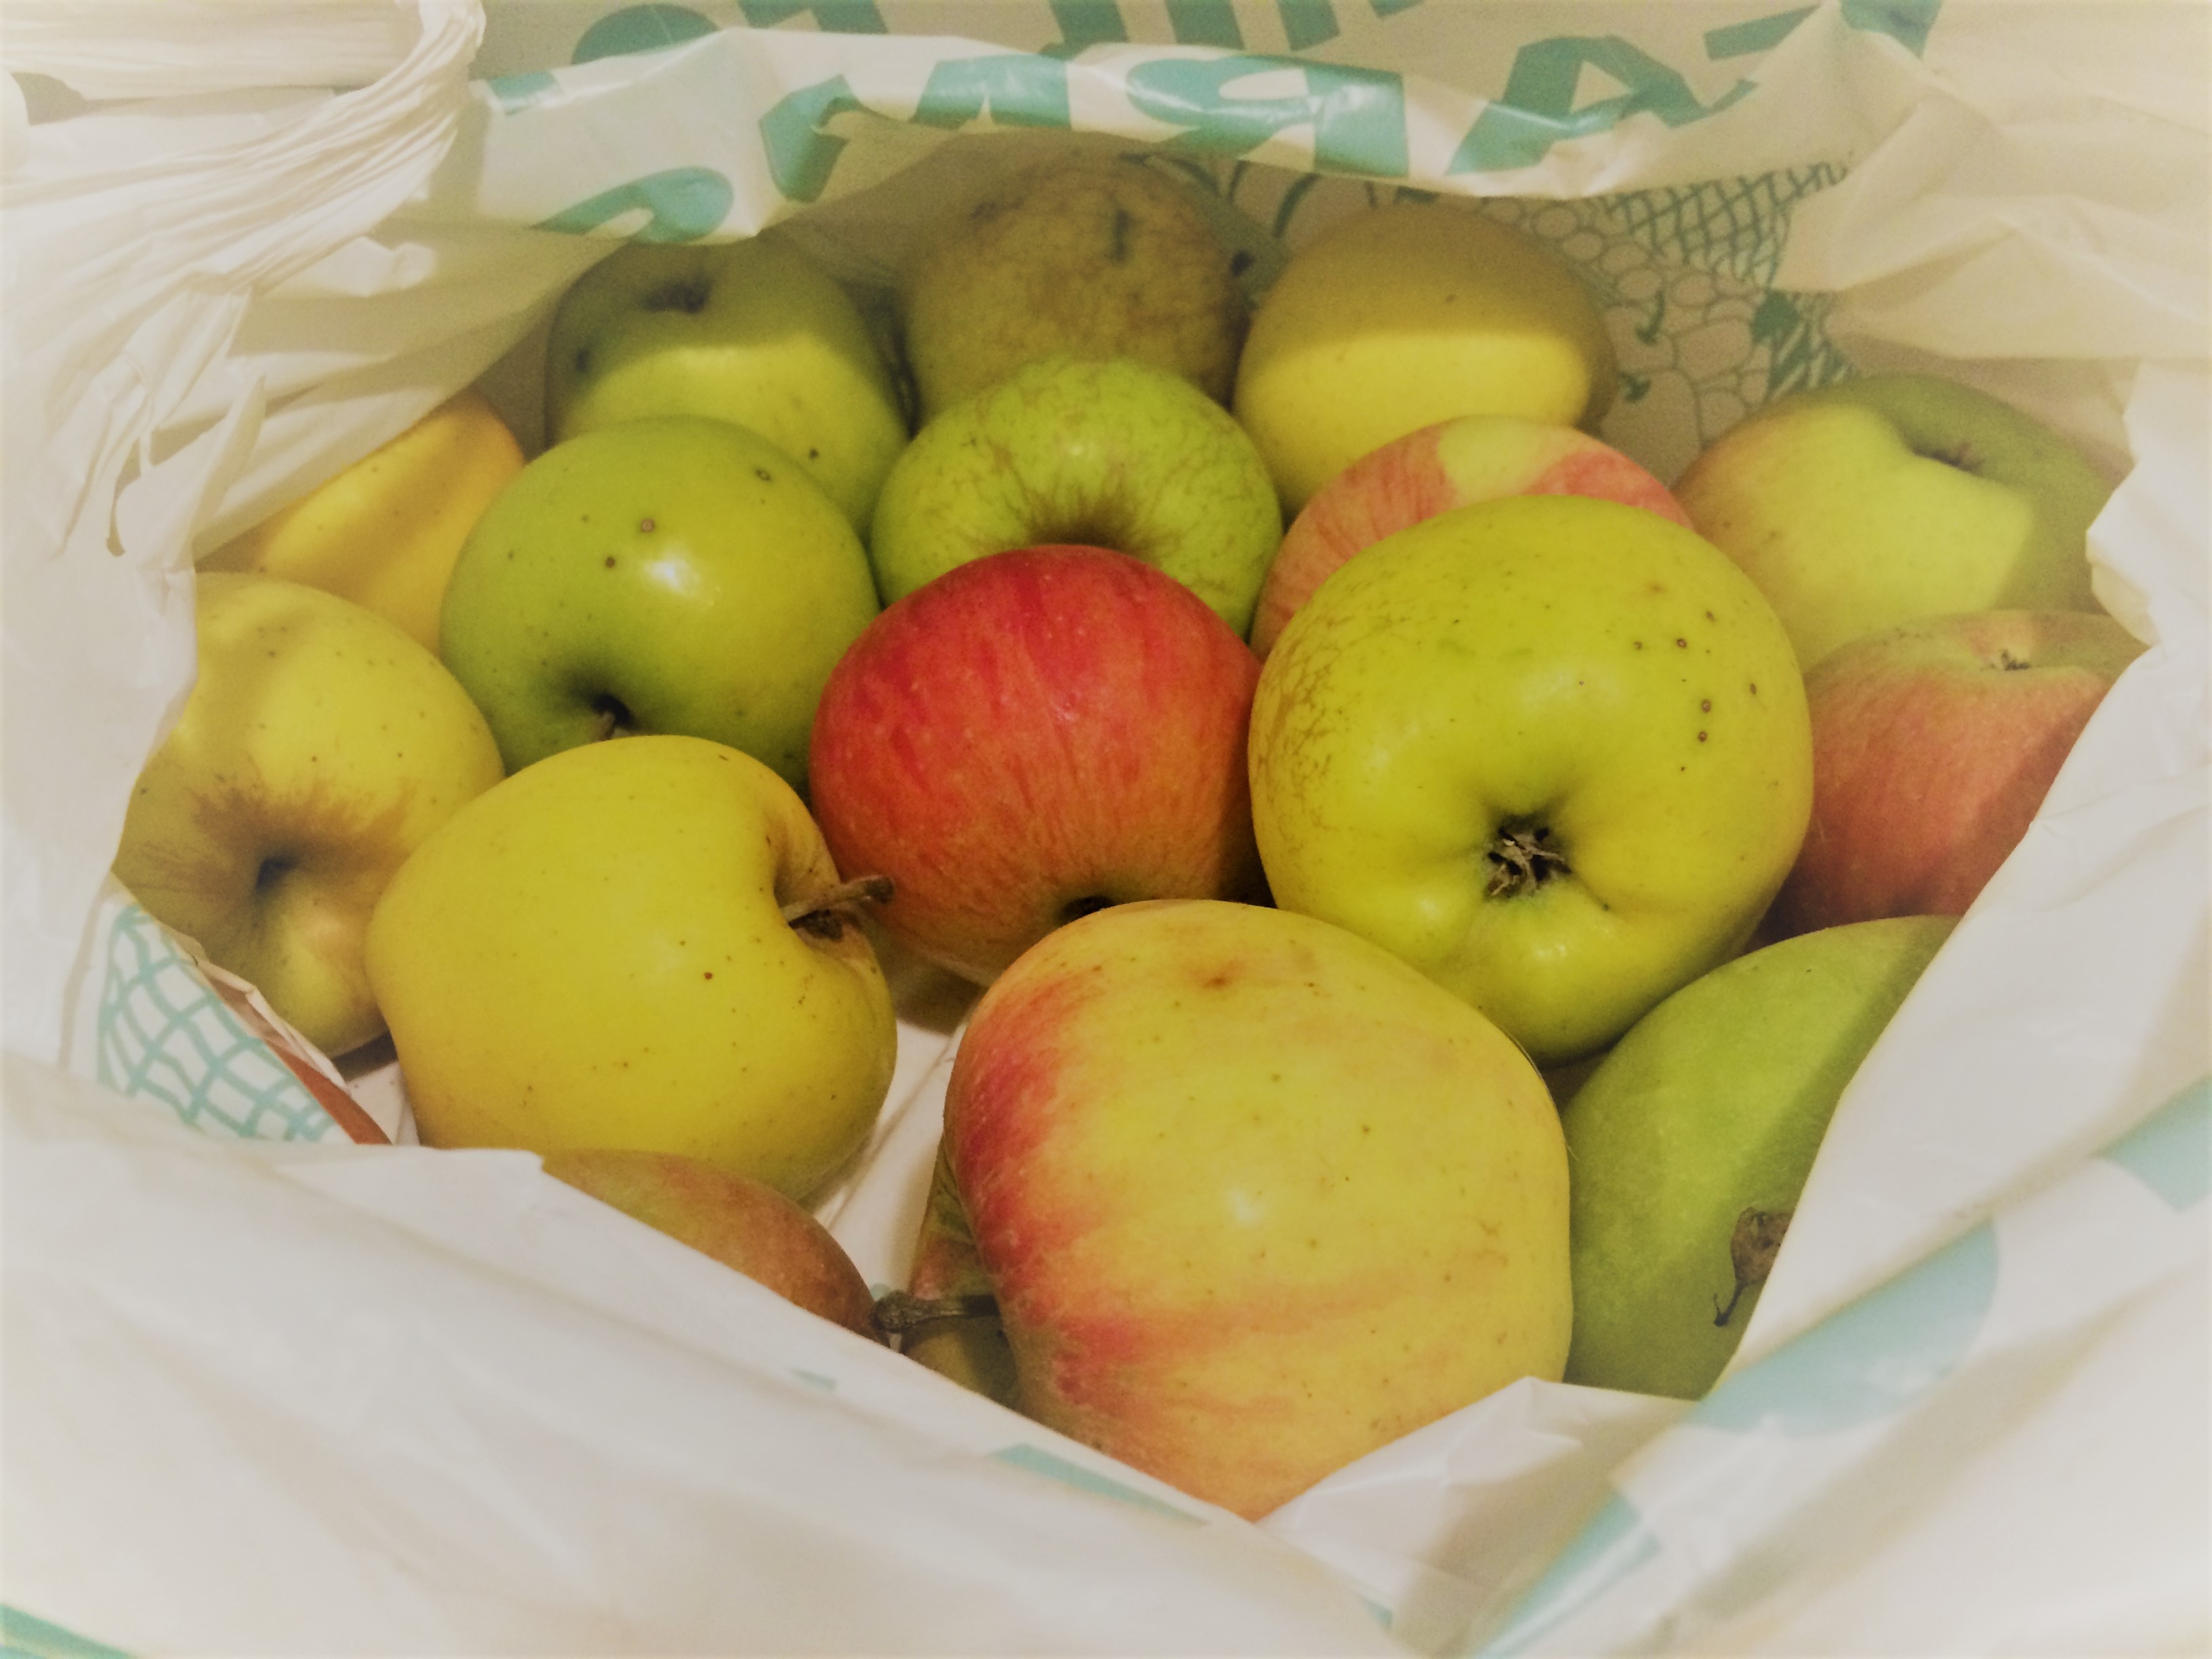
A while back, when fall still felt like fall, and there was no snow on the ground, I was staring at a bag of apples from the yard, debating what to do with them. The idea of hard cider crossed my mind but I wasn’t interested in taking on that kind of commitment. Then I thought vinegar! It’s a natural progression for apples anyways, making me more of a supervisor then a real participant in the process. I use quite a lot of apple cider vinegar in my cooking already. I have a simple salad dressing recipe, (I’ll share that later), that is my go to and the main ingredient is apple cider vinegar. Off to the beautiful internet to find some information.
I’m not a stranger to fermenting and had a general concept of how this was going to happen. But knowledge is power and I wanted to learn! So I read and read and read and came up with a process that I felt would lead me down an easy path to vinegar.
One of the best parts of this was learning that it can be made using skins and cores (please buy organic), on a large or small scale, and hardly requires any skill at all! So if you are planning on coring and peeling a pile of apples for your Christmas pies don’t throw them out! Read on and make yourself some vinegar!
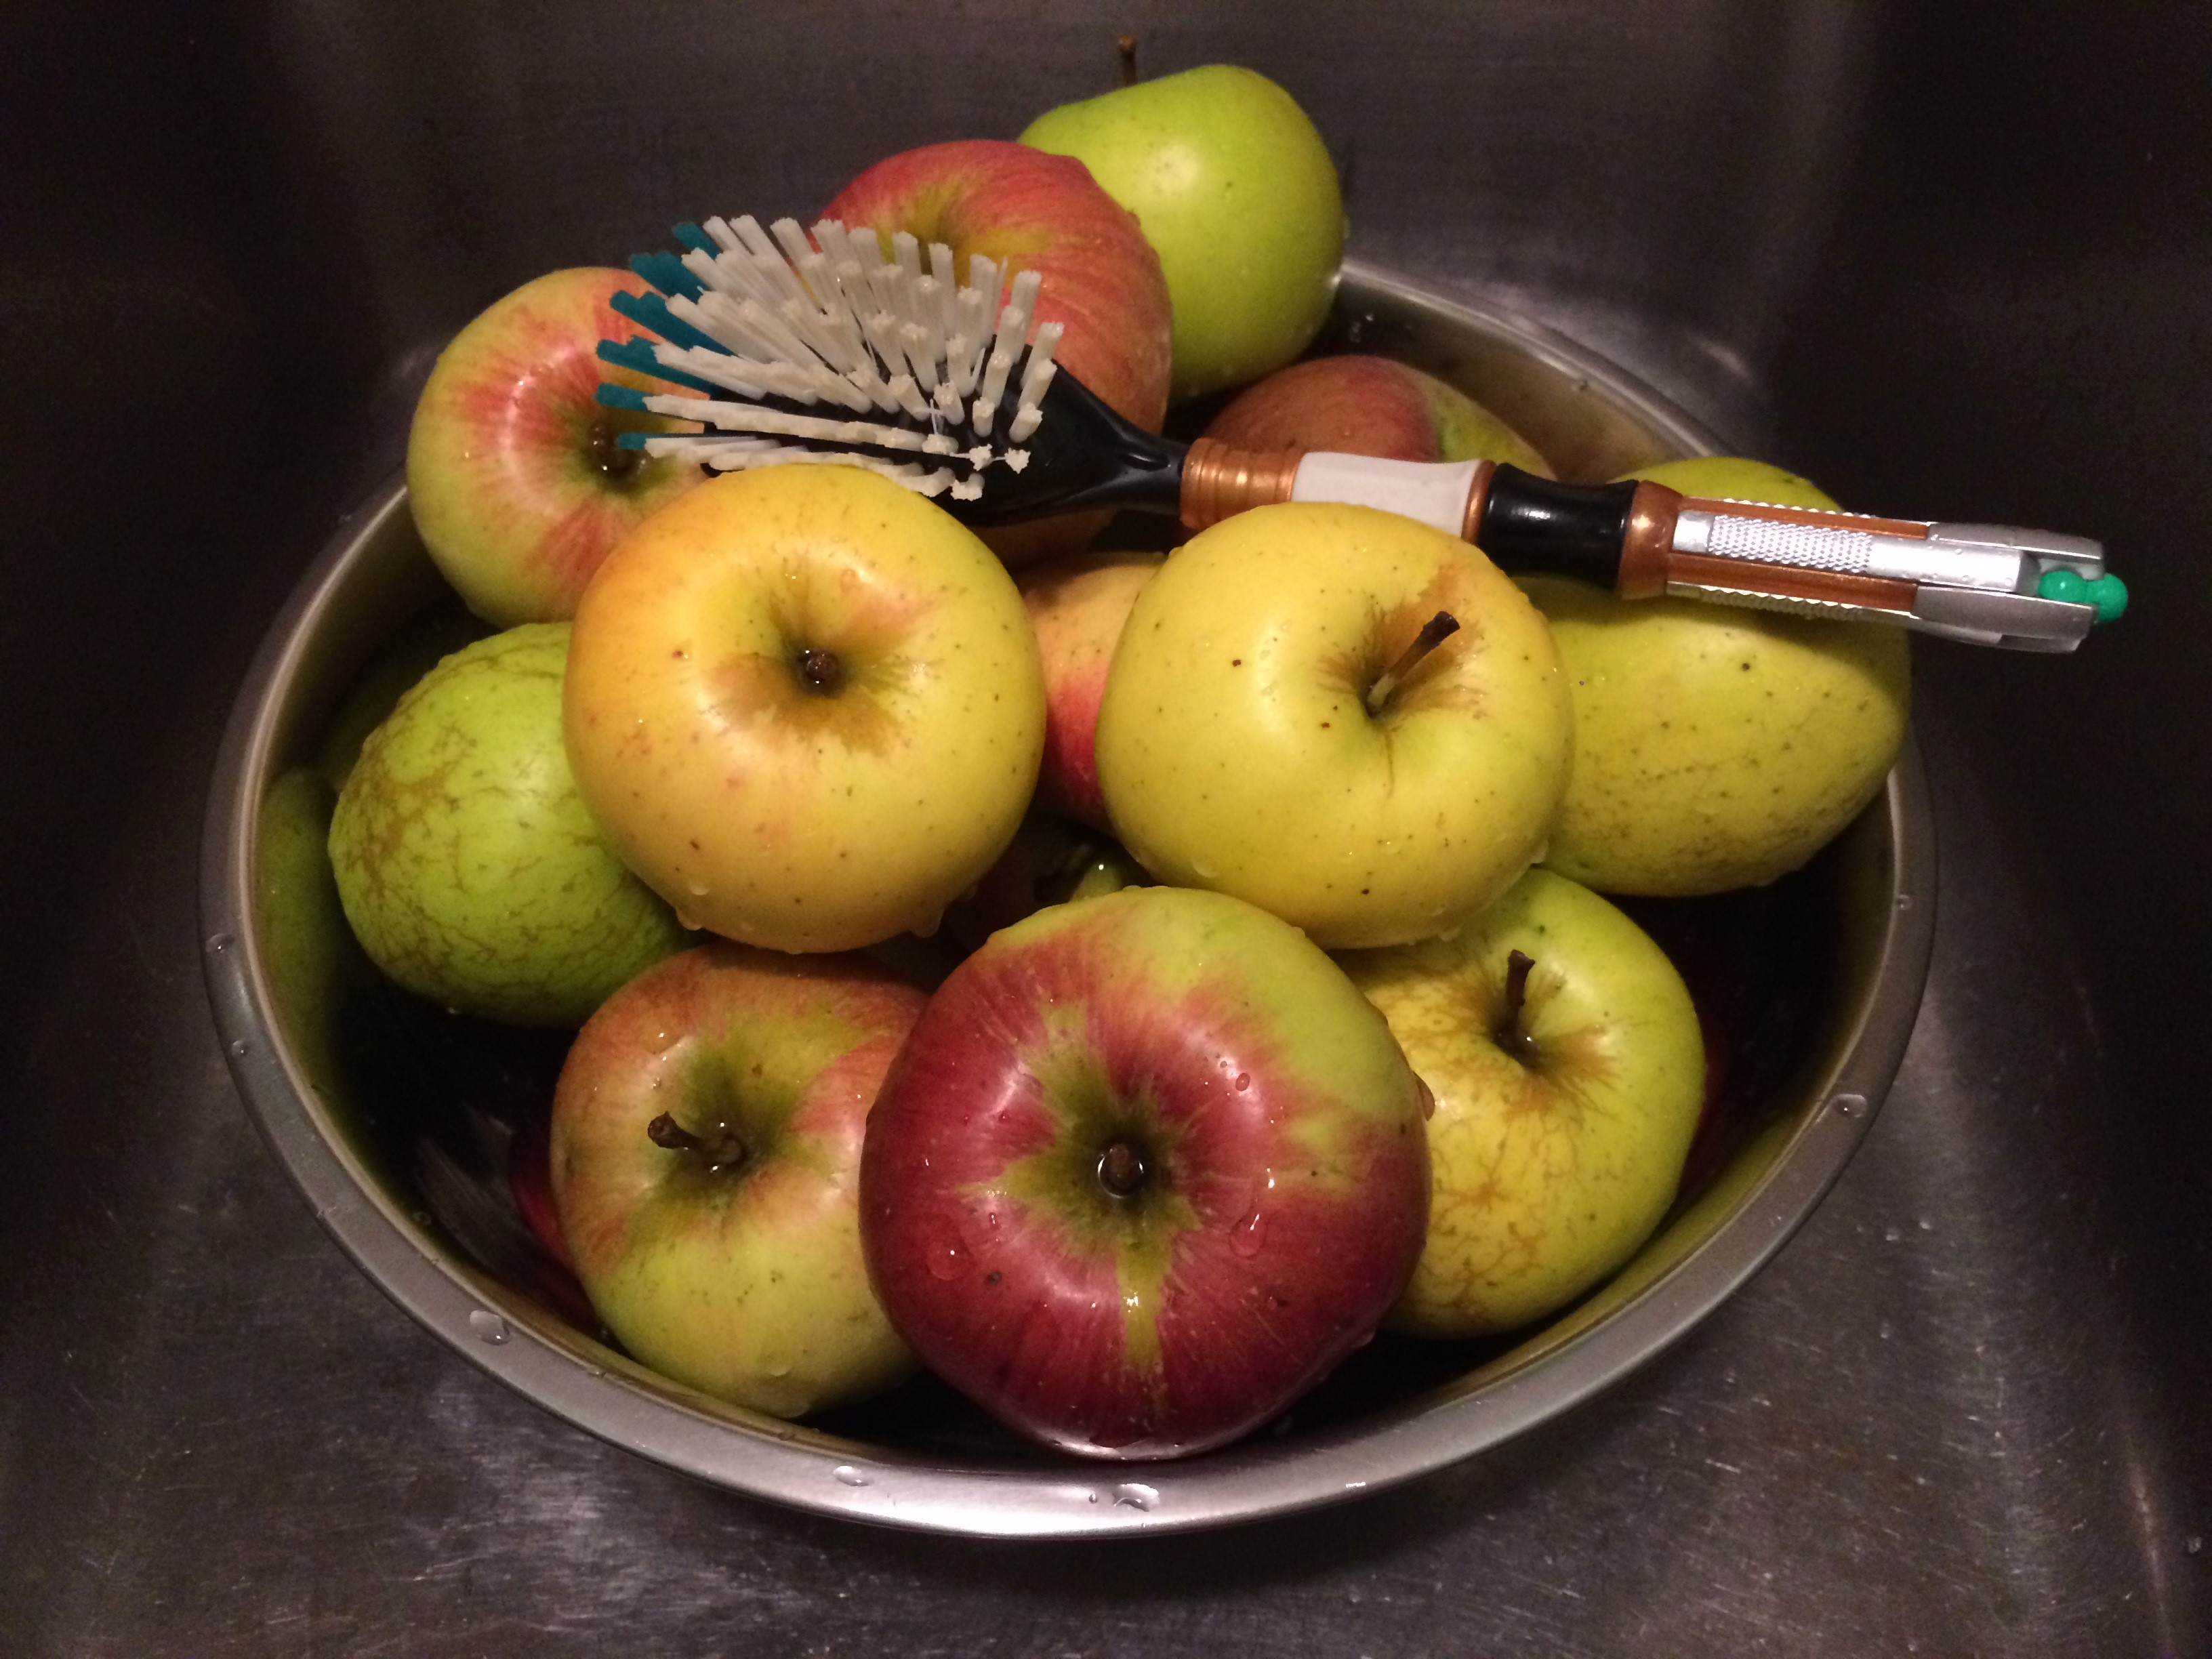
This season I’ve already made apple butter, (which the boyfriend has pretty well finished off!), and I’ve done another batch of sugar free apple sauce. Never mind the pies and loaves as well. I must admit, I was a little appled out. So using whole apples instead of scraps was no big deal to me. It starts out the way they all do, washing the fruit and trimming any bad spots.
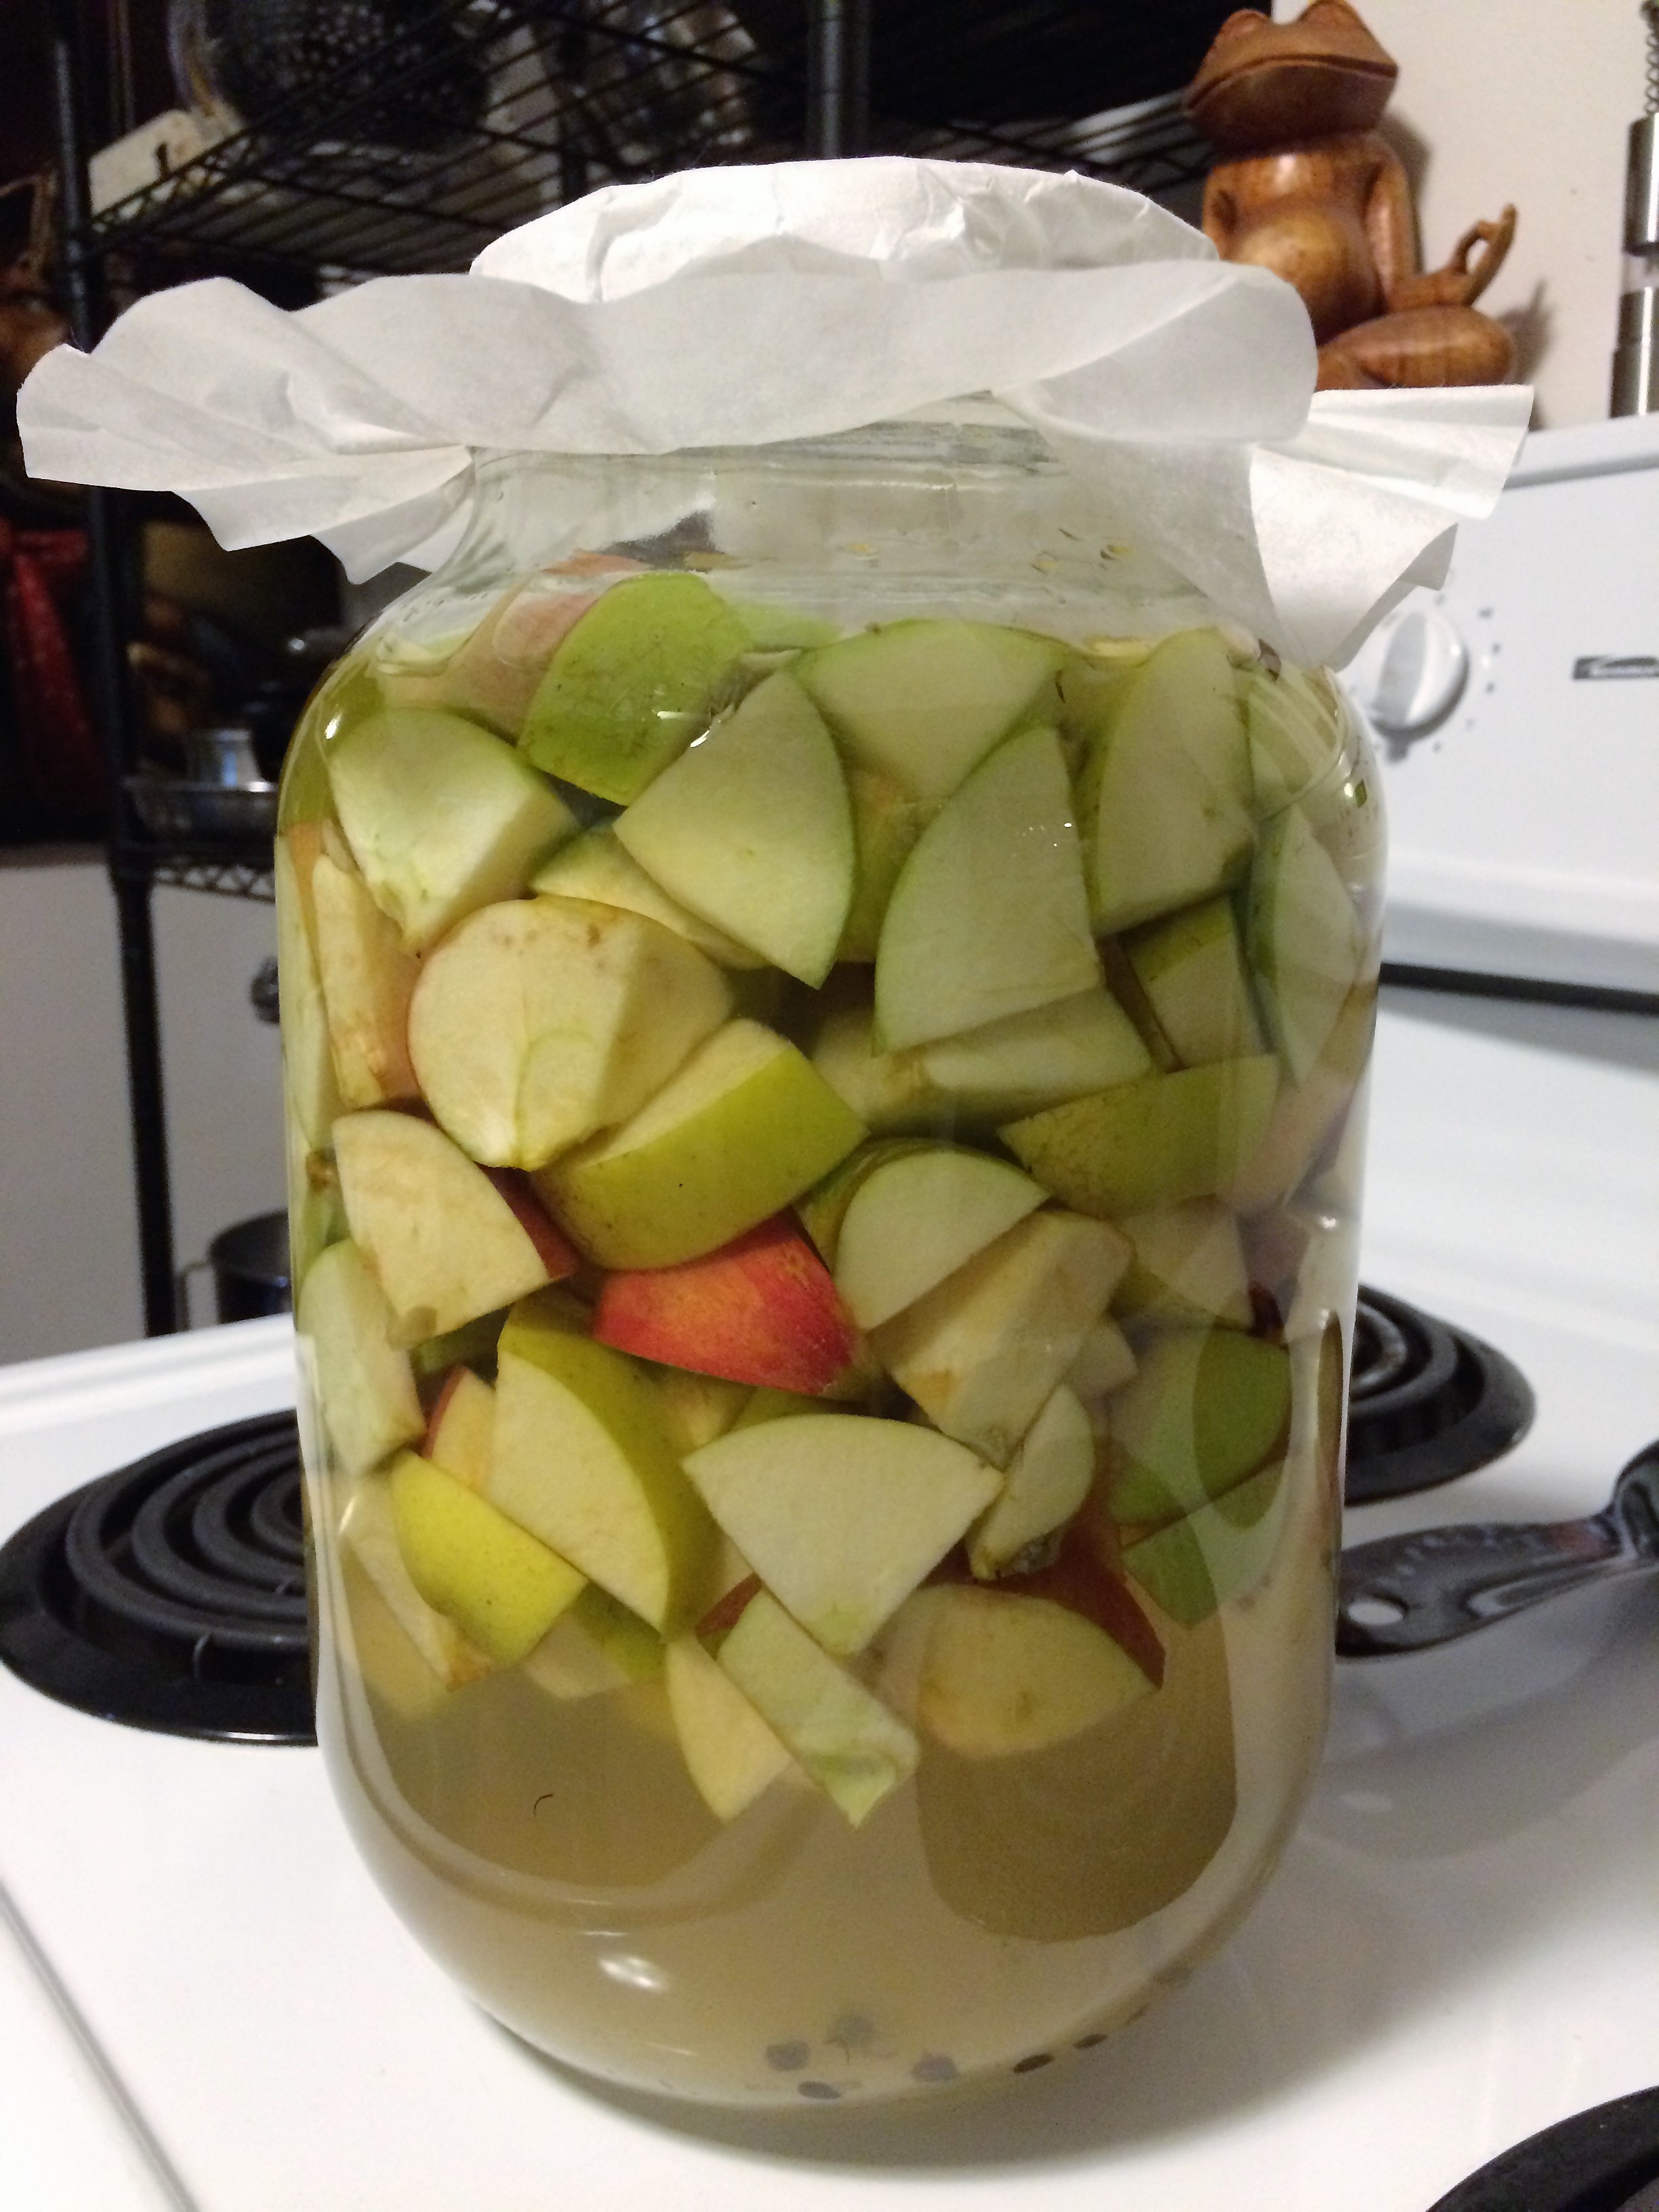
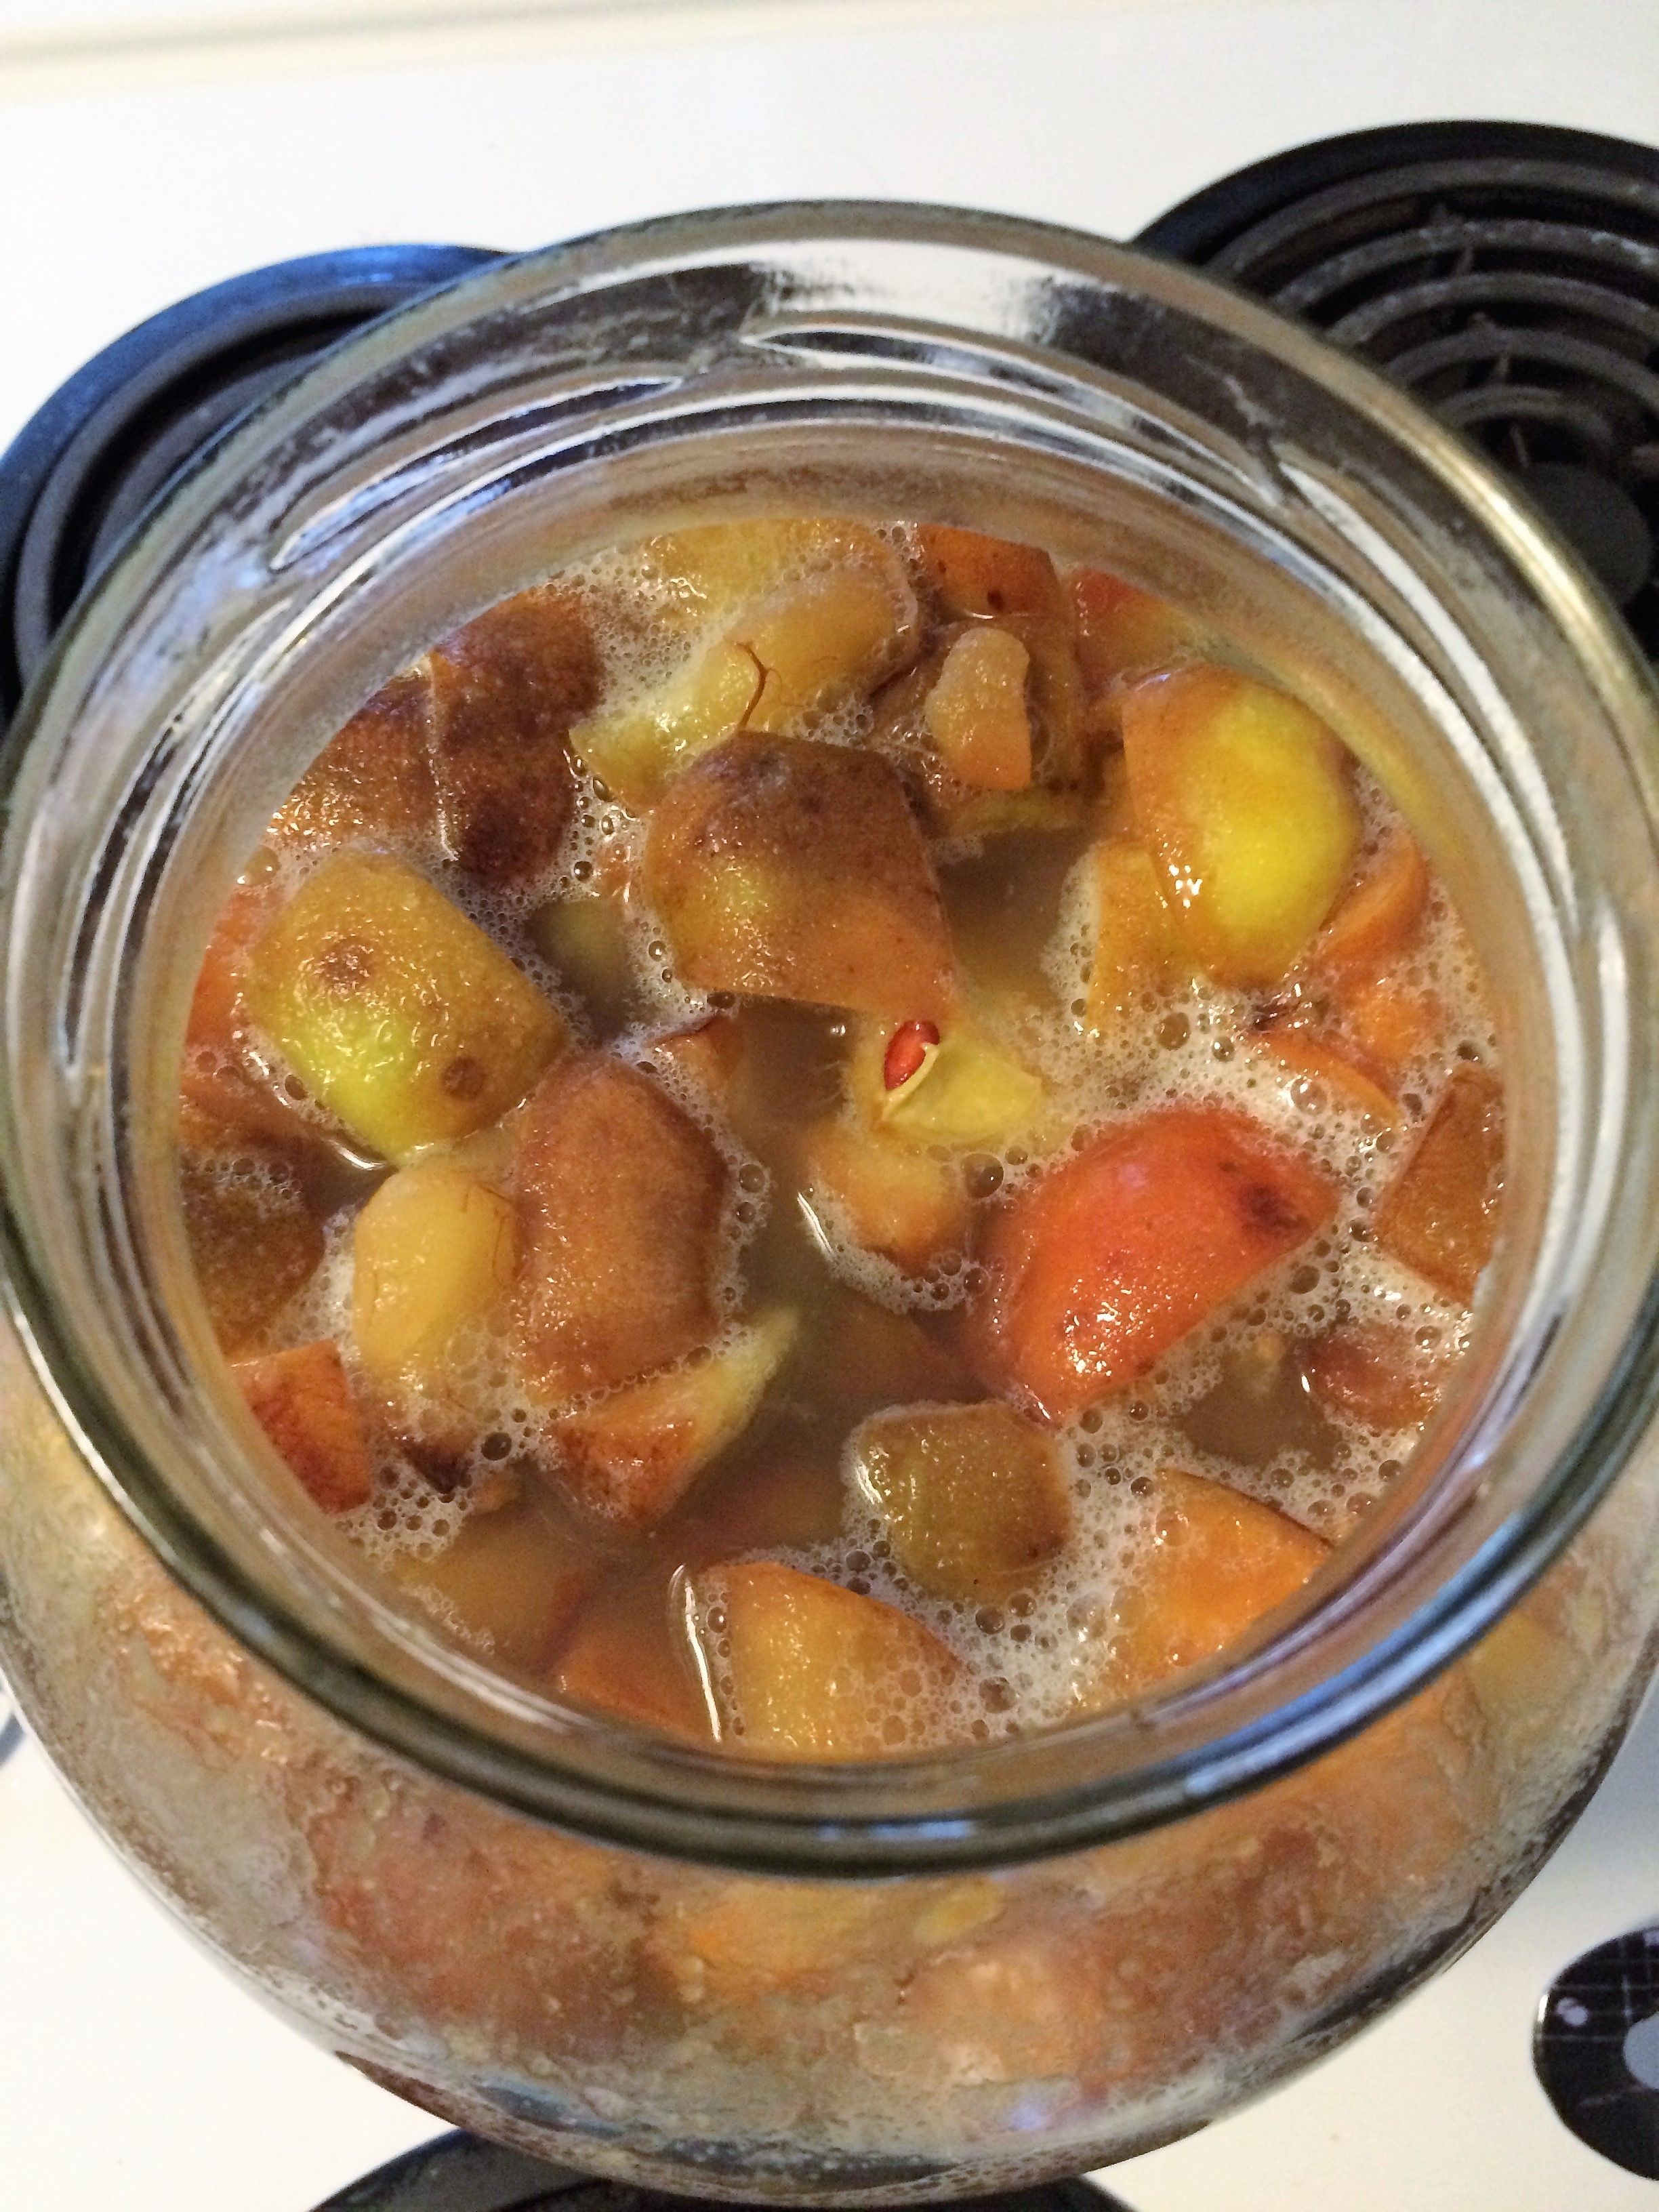
Next up was chopping the apples into chunks. Keep it chunky. You don’t want tiny bits. Place the chunks into a 4 liter glass jar, filling at least halfway but preferably a little over. Then pour your sugar in and your room temperature filtered water, leaving a couple inches space at the top . Stir around to dissolve the sugar. If you’re not a fan of sugar have no fear, the wild yeasts will devour the sugar for you, leaving a tart vinegar behind.
Cover the top of the jar. I use coffee filters but folded cheesecloth or a clean dish towel will do the trick as well. So long as the vinegar can breathe and the bugs/dust stay out. Secure with a large rubber band.
This is when the fun part begins! Place the jar in a warm place out of direct sunlight. You will have to stir the contents twice a day. Stir vigorously! Making sure there is a good turn over of the fruit floating at the top with the submerged fruit below. Over the next two weeks it will begin to bubble and you’ll be able to smell the fermenting. I think this was one of the most fun fermenting projects I’ve taken on. Stirring the batch twice a day and watching all the bubbles rising gave me a smile every time! It’s science!

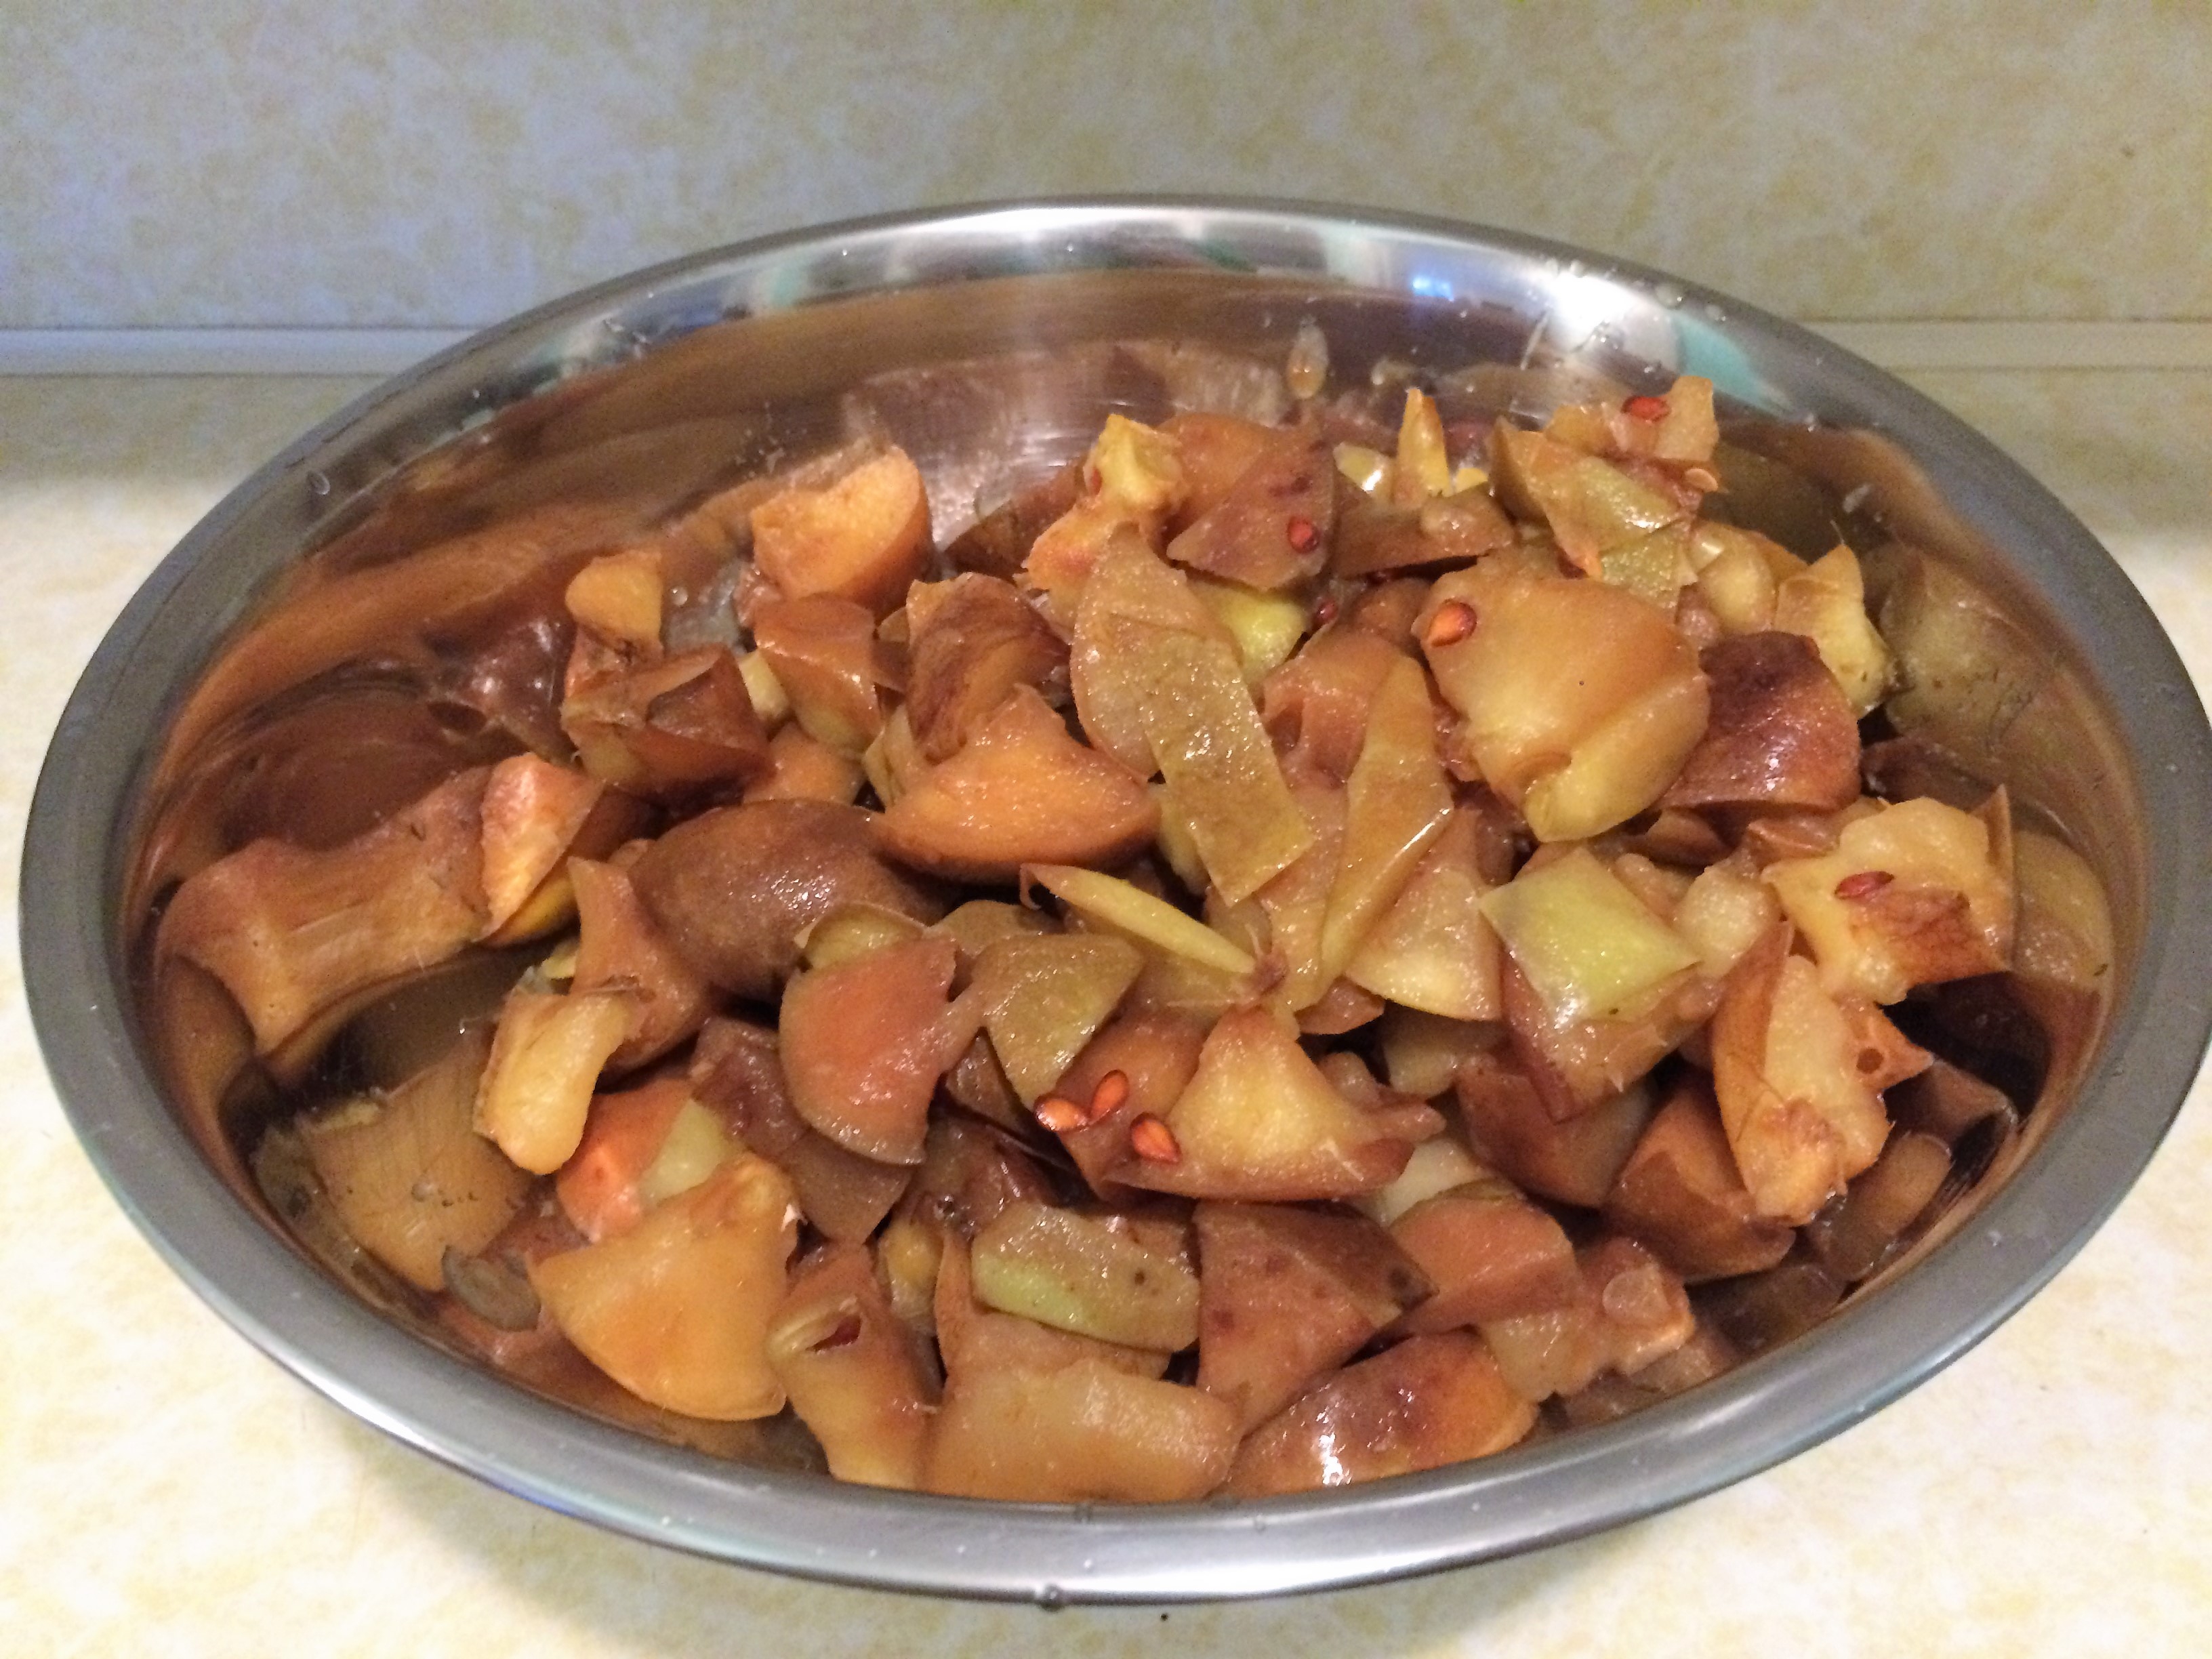
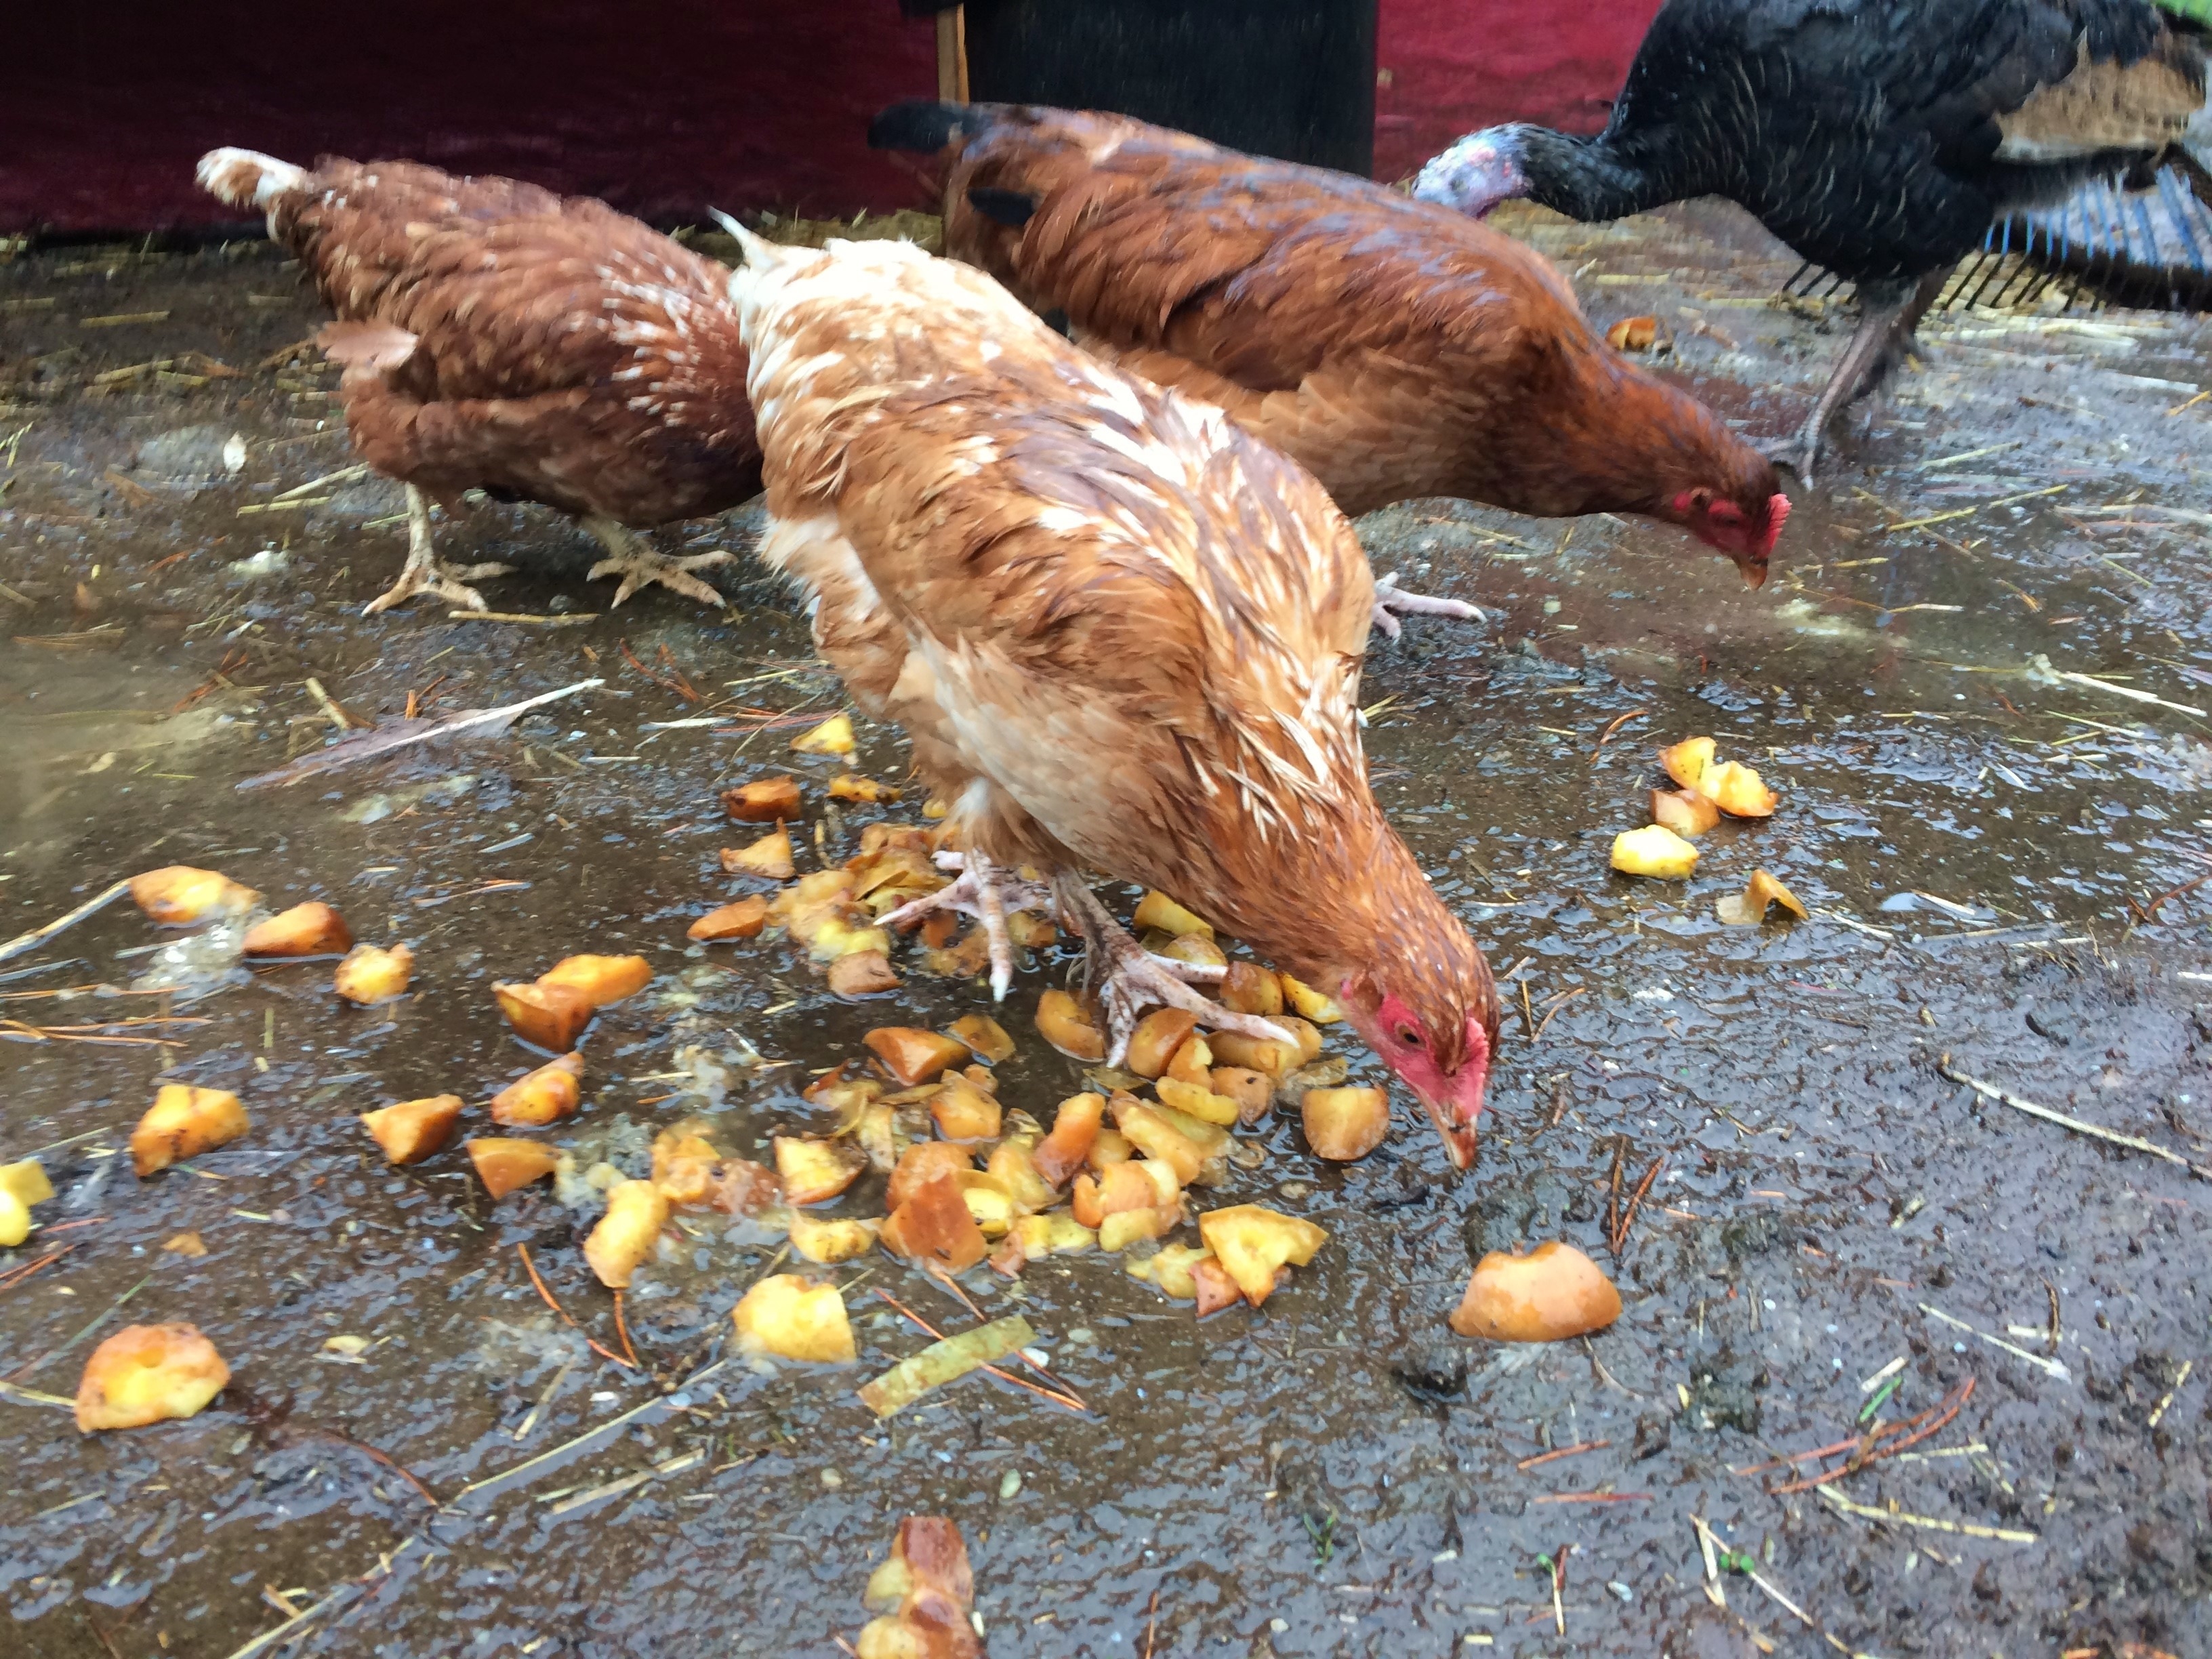
After two weeks has passed it’s time to strain the apple chunks out of the liquid into another glass container. I used a metal sieve even though metal is not recommended. If you have a fine mesh plastic colander use that. But the vinegar was not sitting in contact with the metal for long so I took the chance and didn’t run into any problems. Discard the strained chunks, or take them to your neighbors chickens. They loved them!
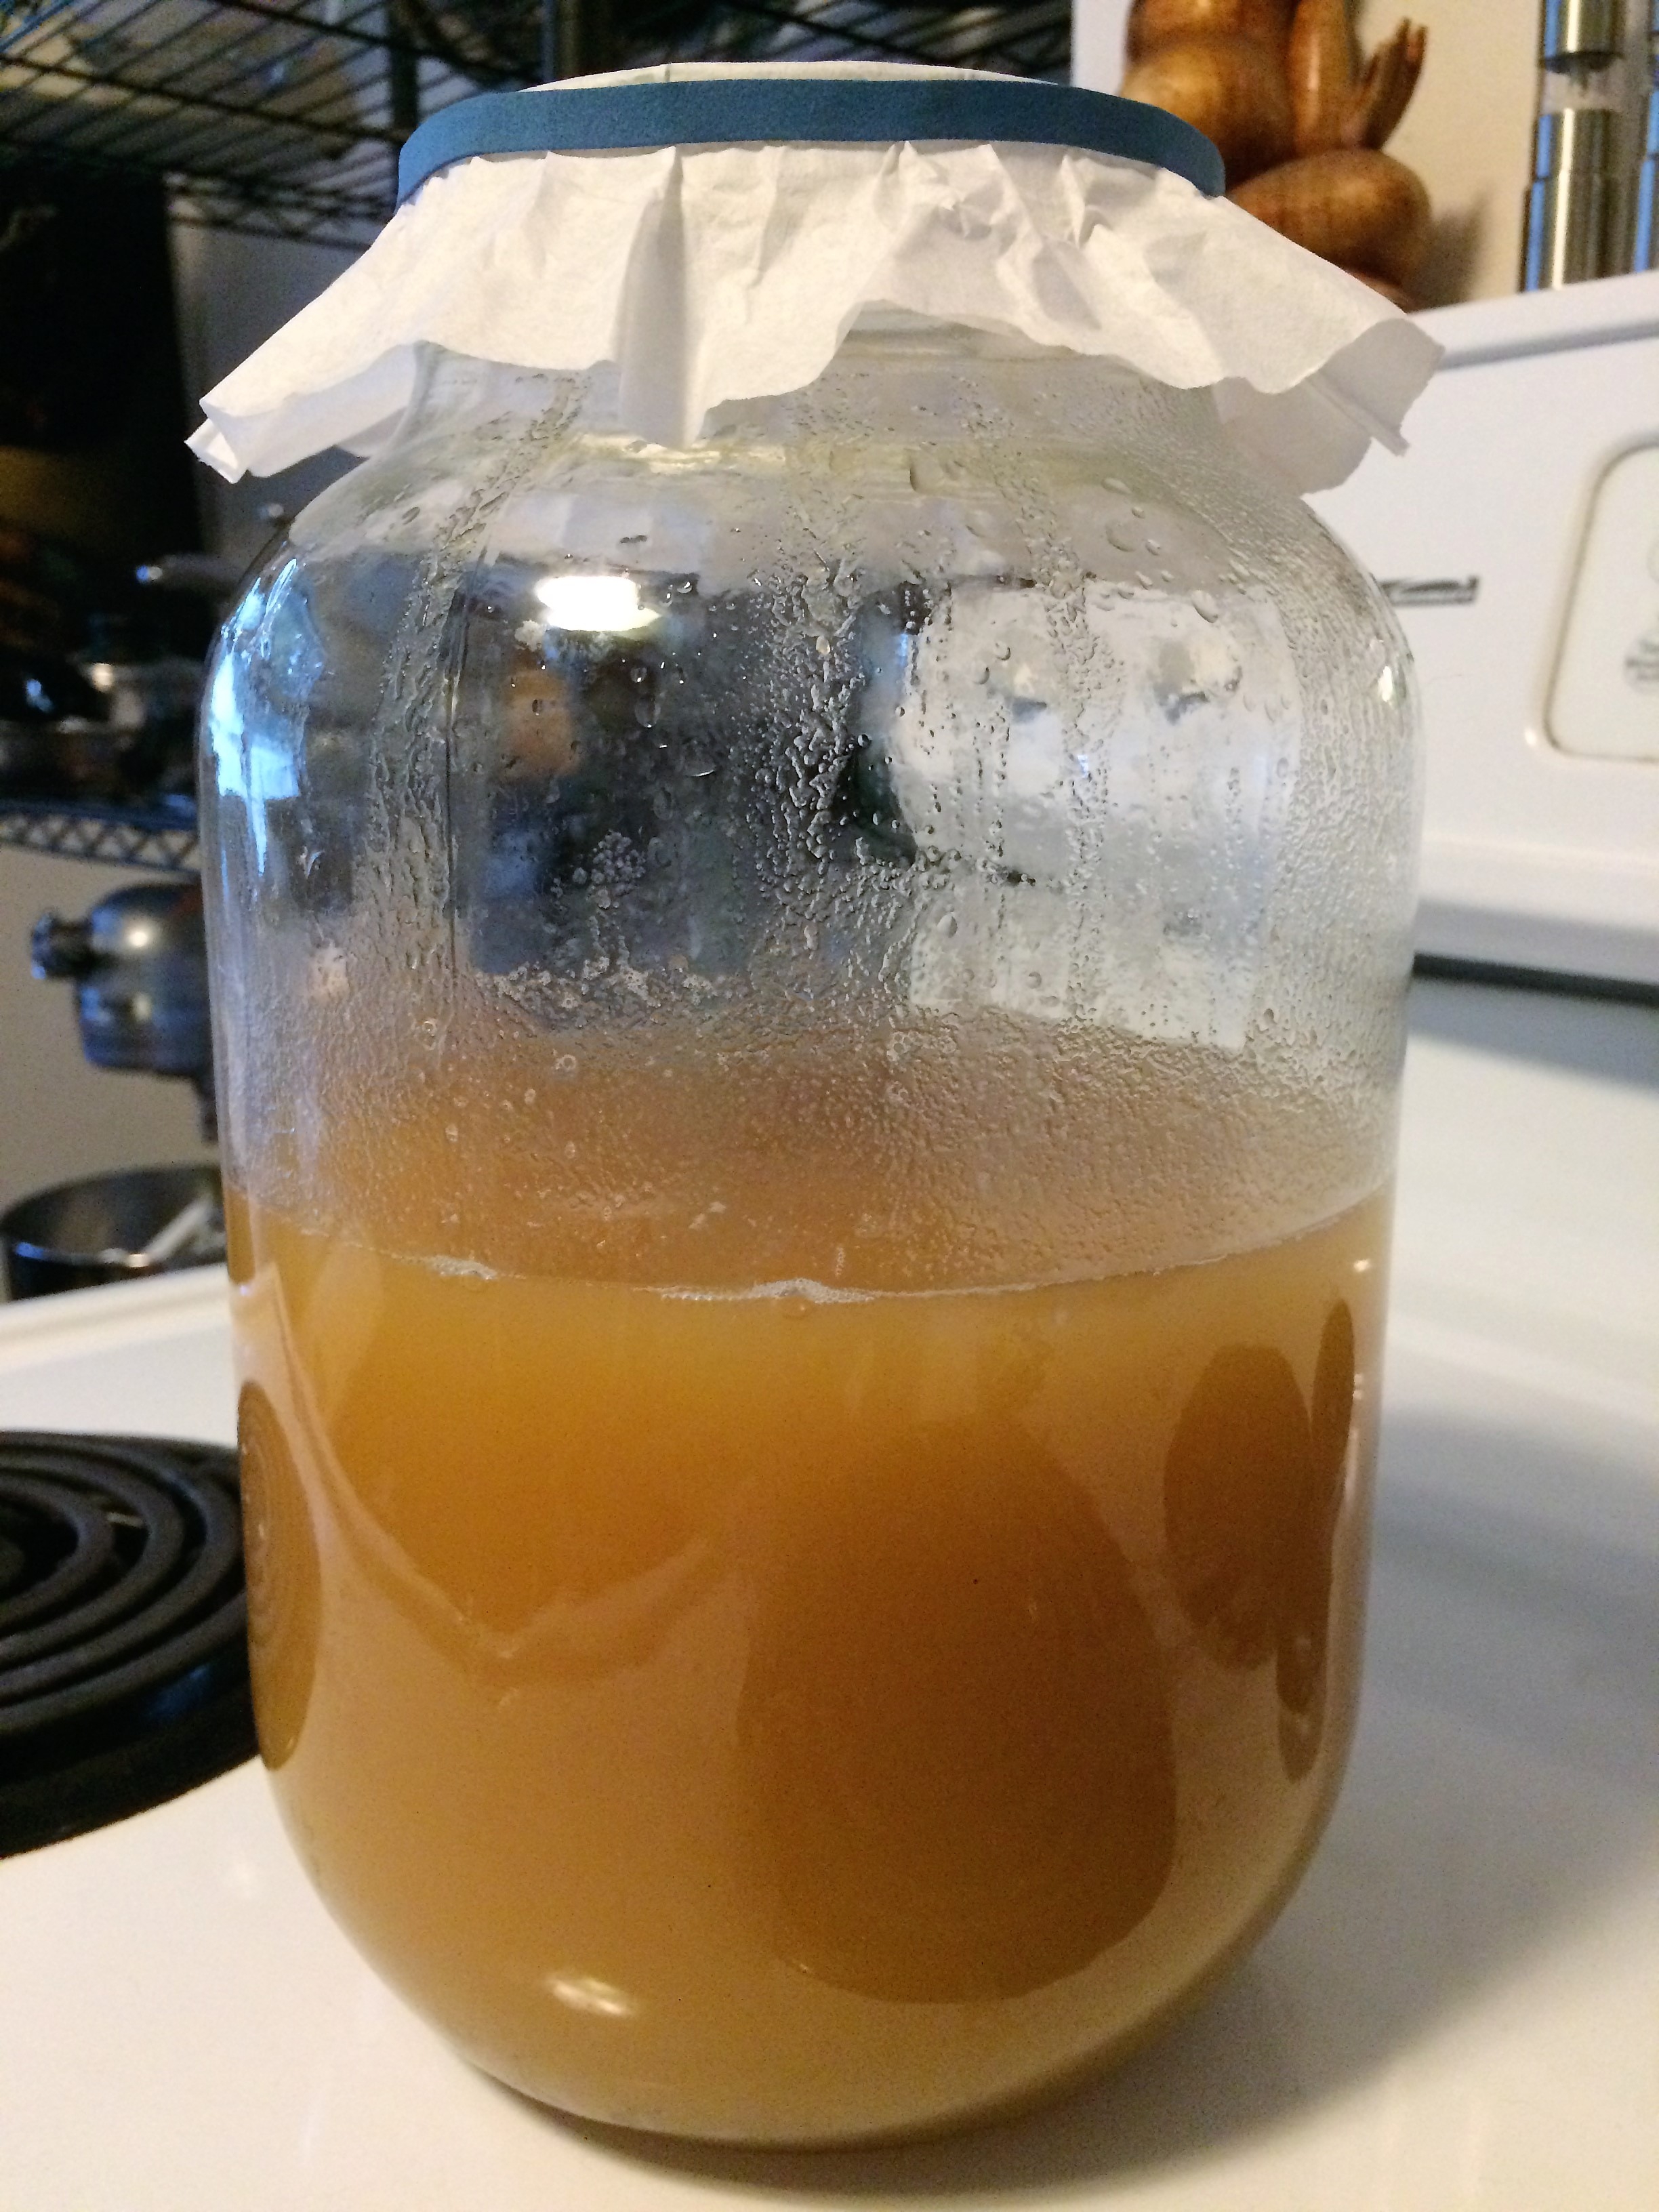
Once strained, cover again with a cloth or coffee filter and place back into a warm place, out of direct sunlight. This is when things get really easy. Leave it alone. Some sediment will settle on the bottom and a mother culture will start to form on top, similar to Kombucha. Now I read some people skim this off but I didn’t see the need. I left the batch completely alone, peeking in to ensure no mould was growing and that all looked well. And it did!
After a month I decided the vinegar was ready. There is no harm to taste your vinegar along the way and make your own decision when it’s vinegary enough. Plus or minus a few days through out this whole project is fine. The beauty of it is, it’s really not too temperamental.
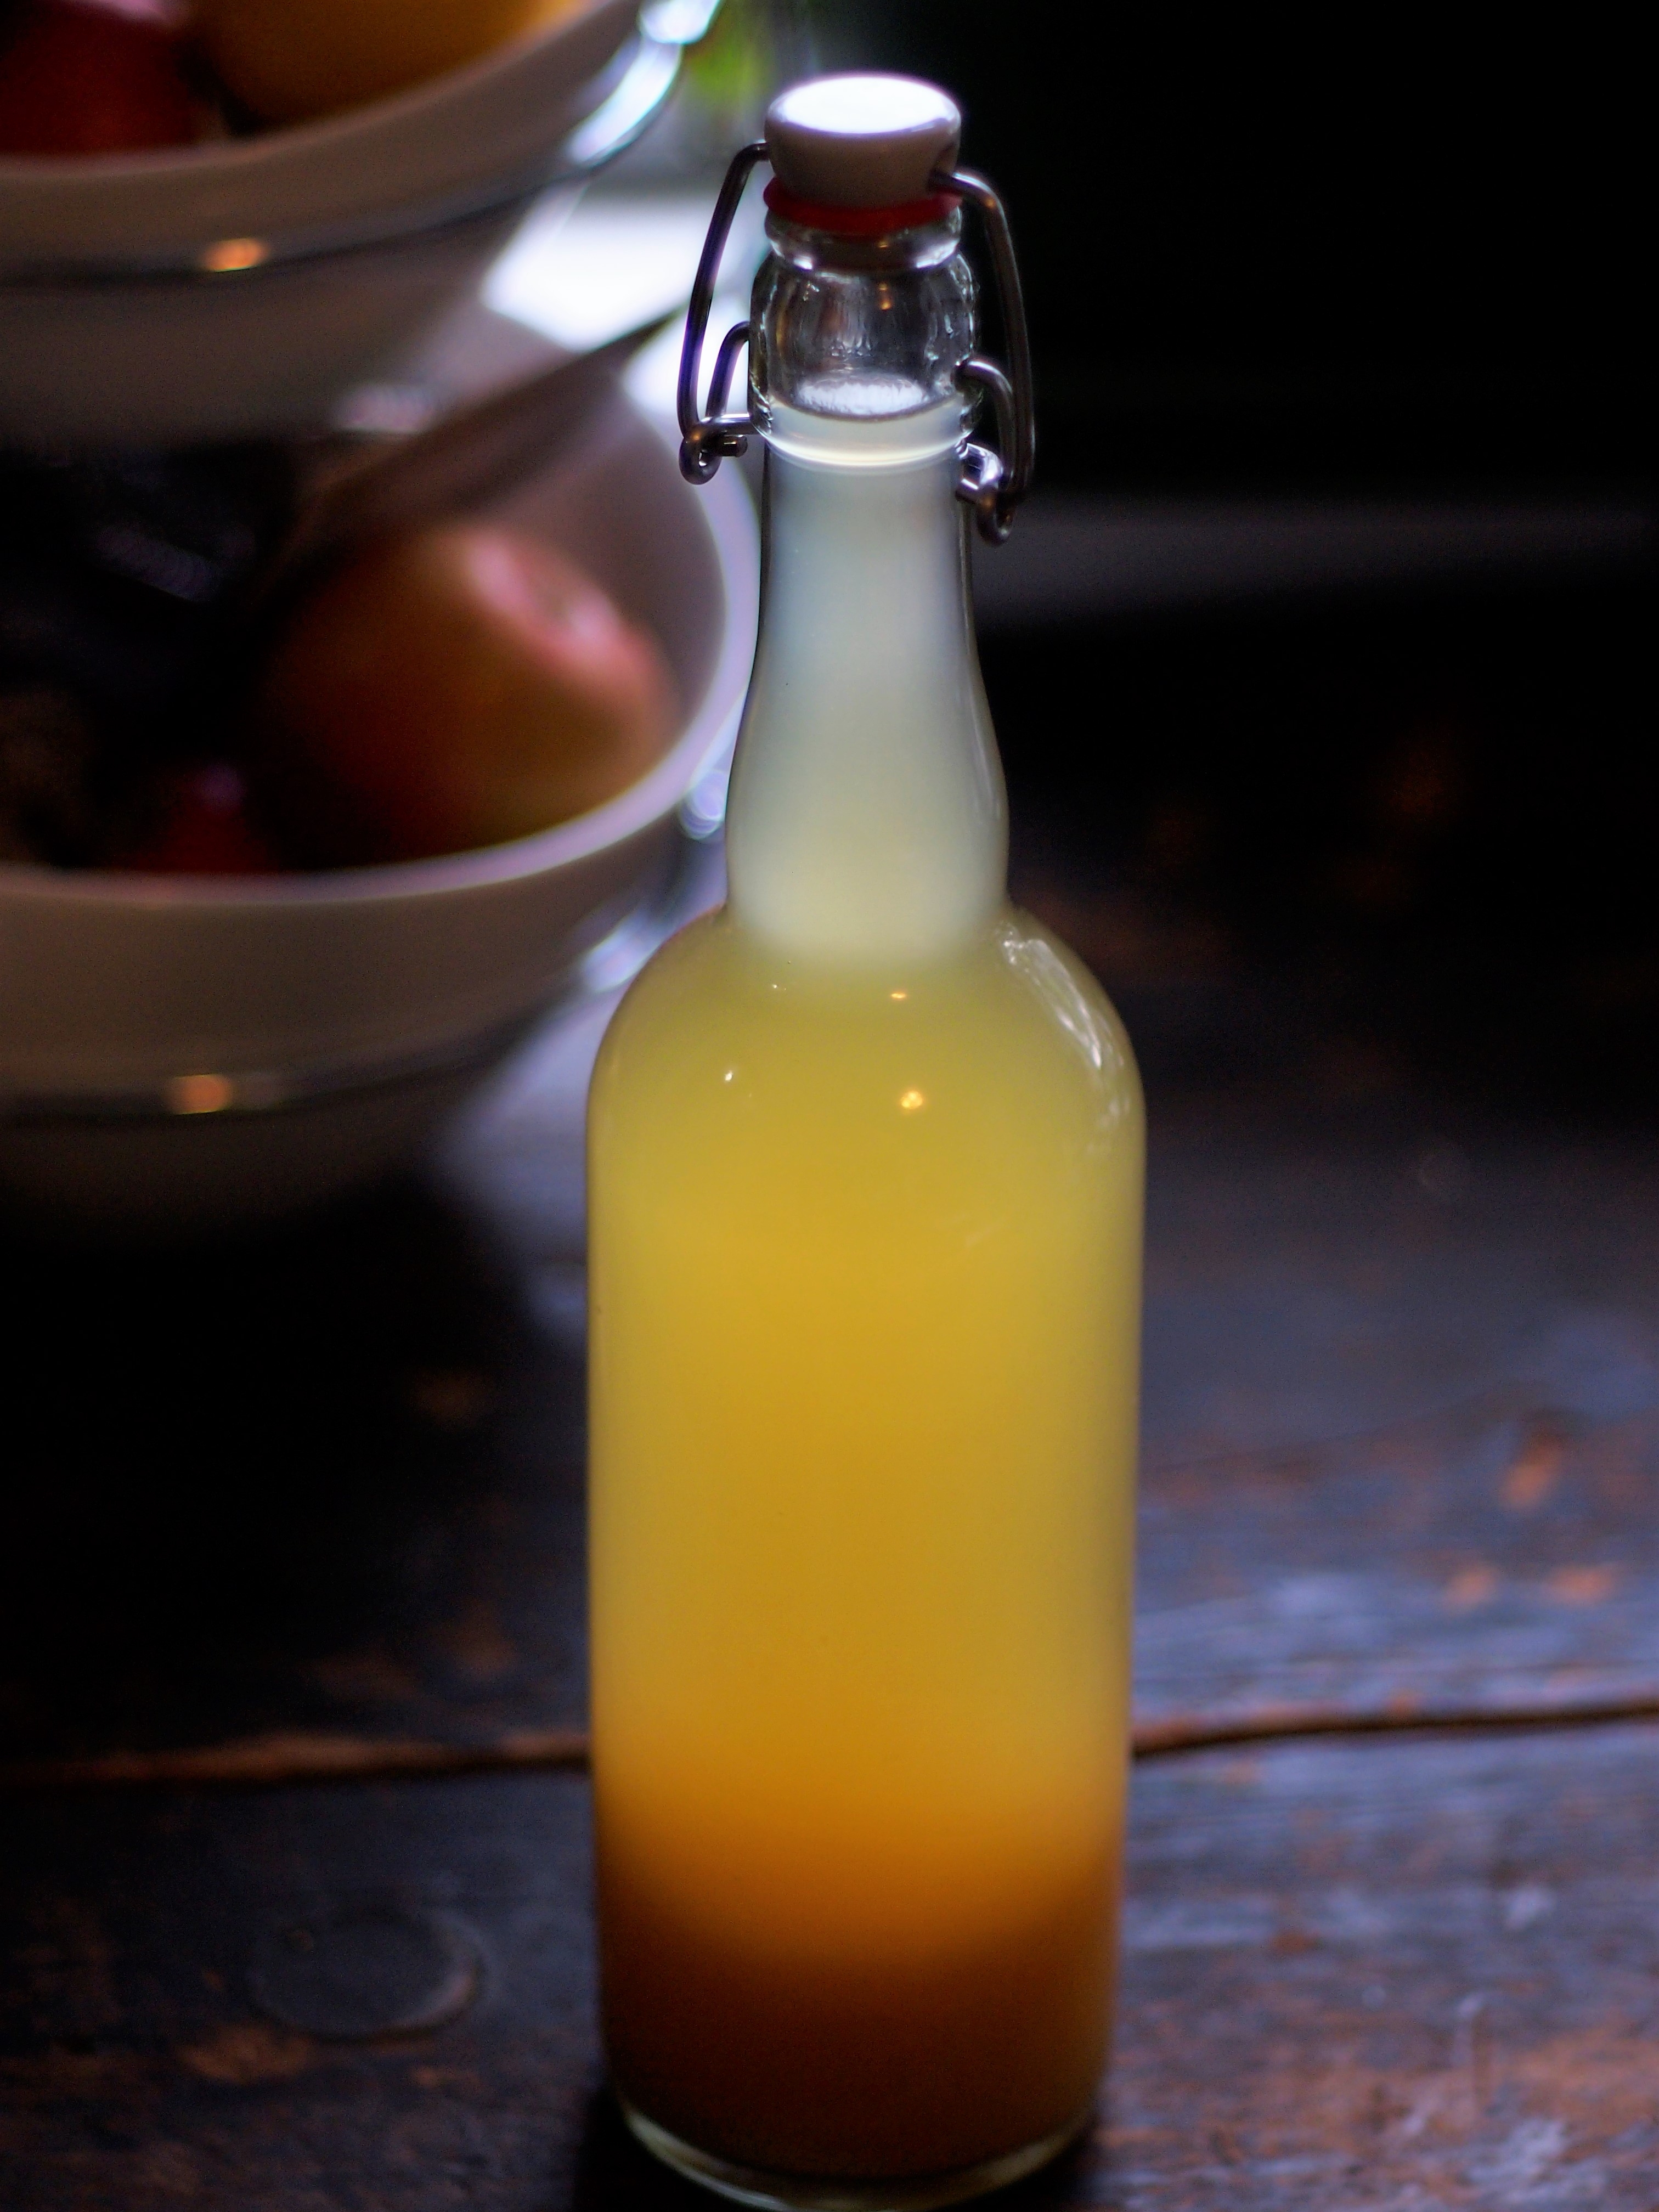
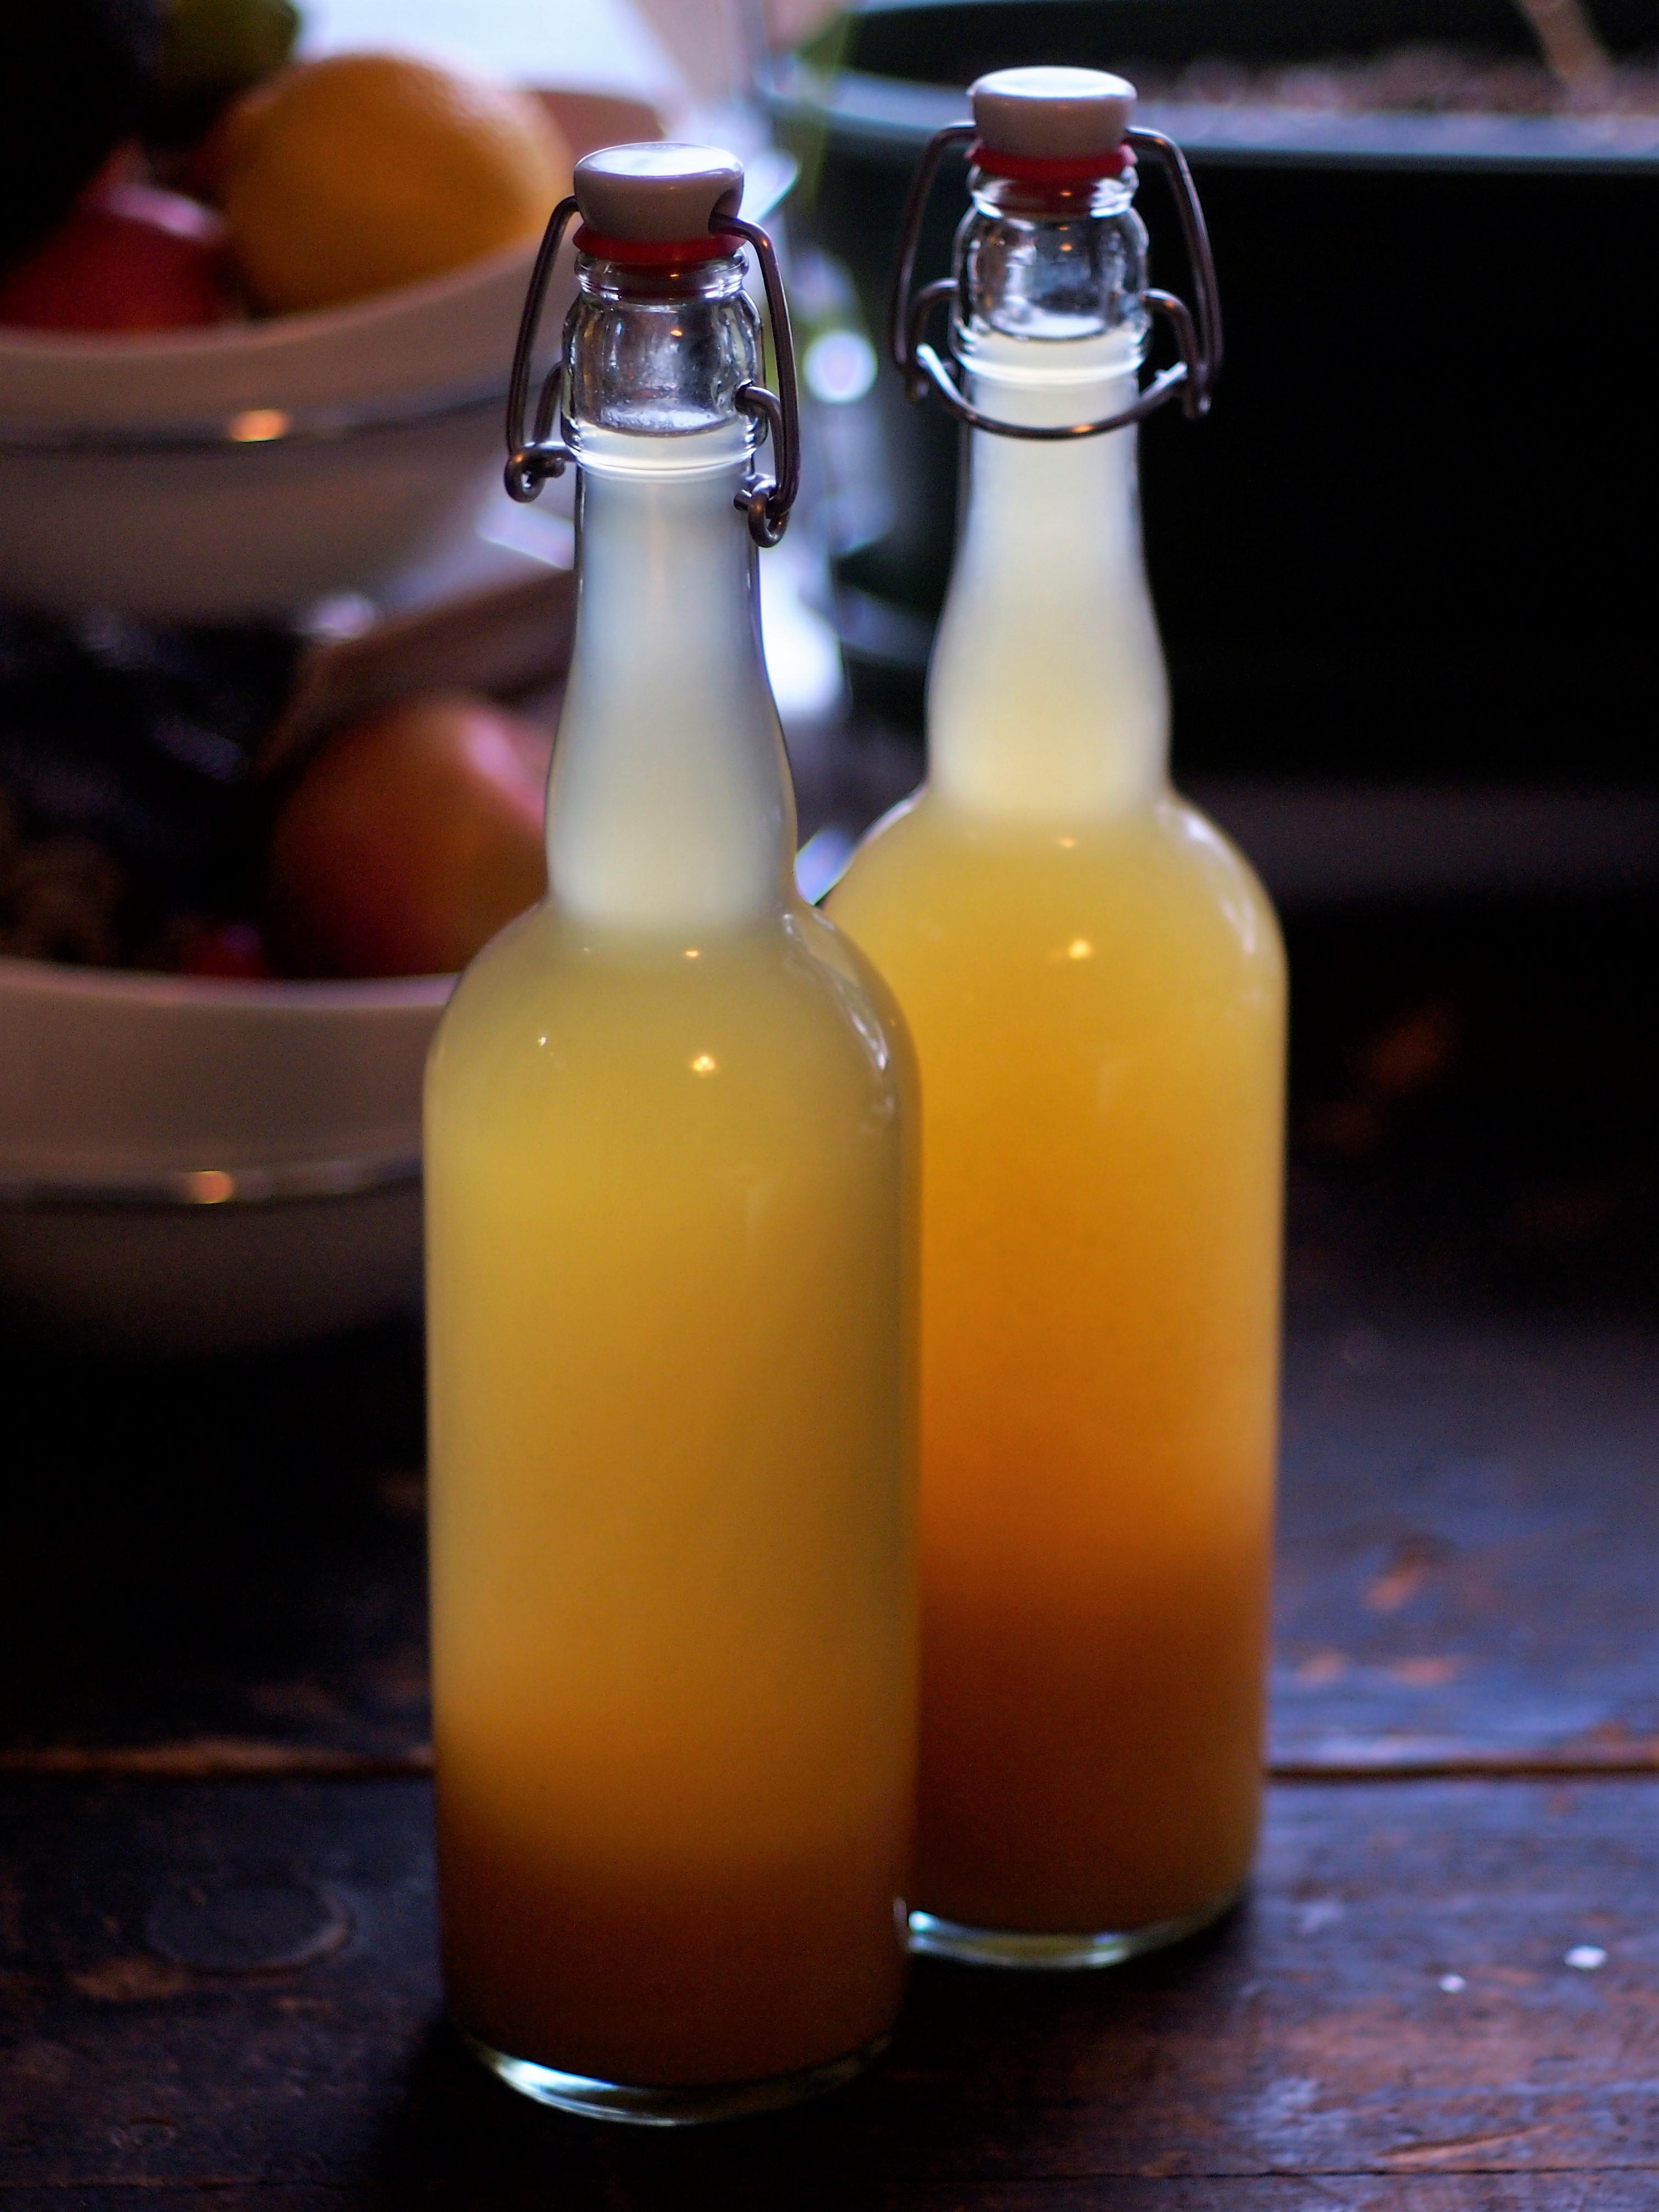
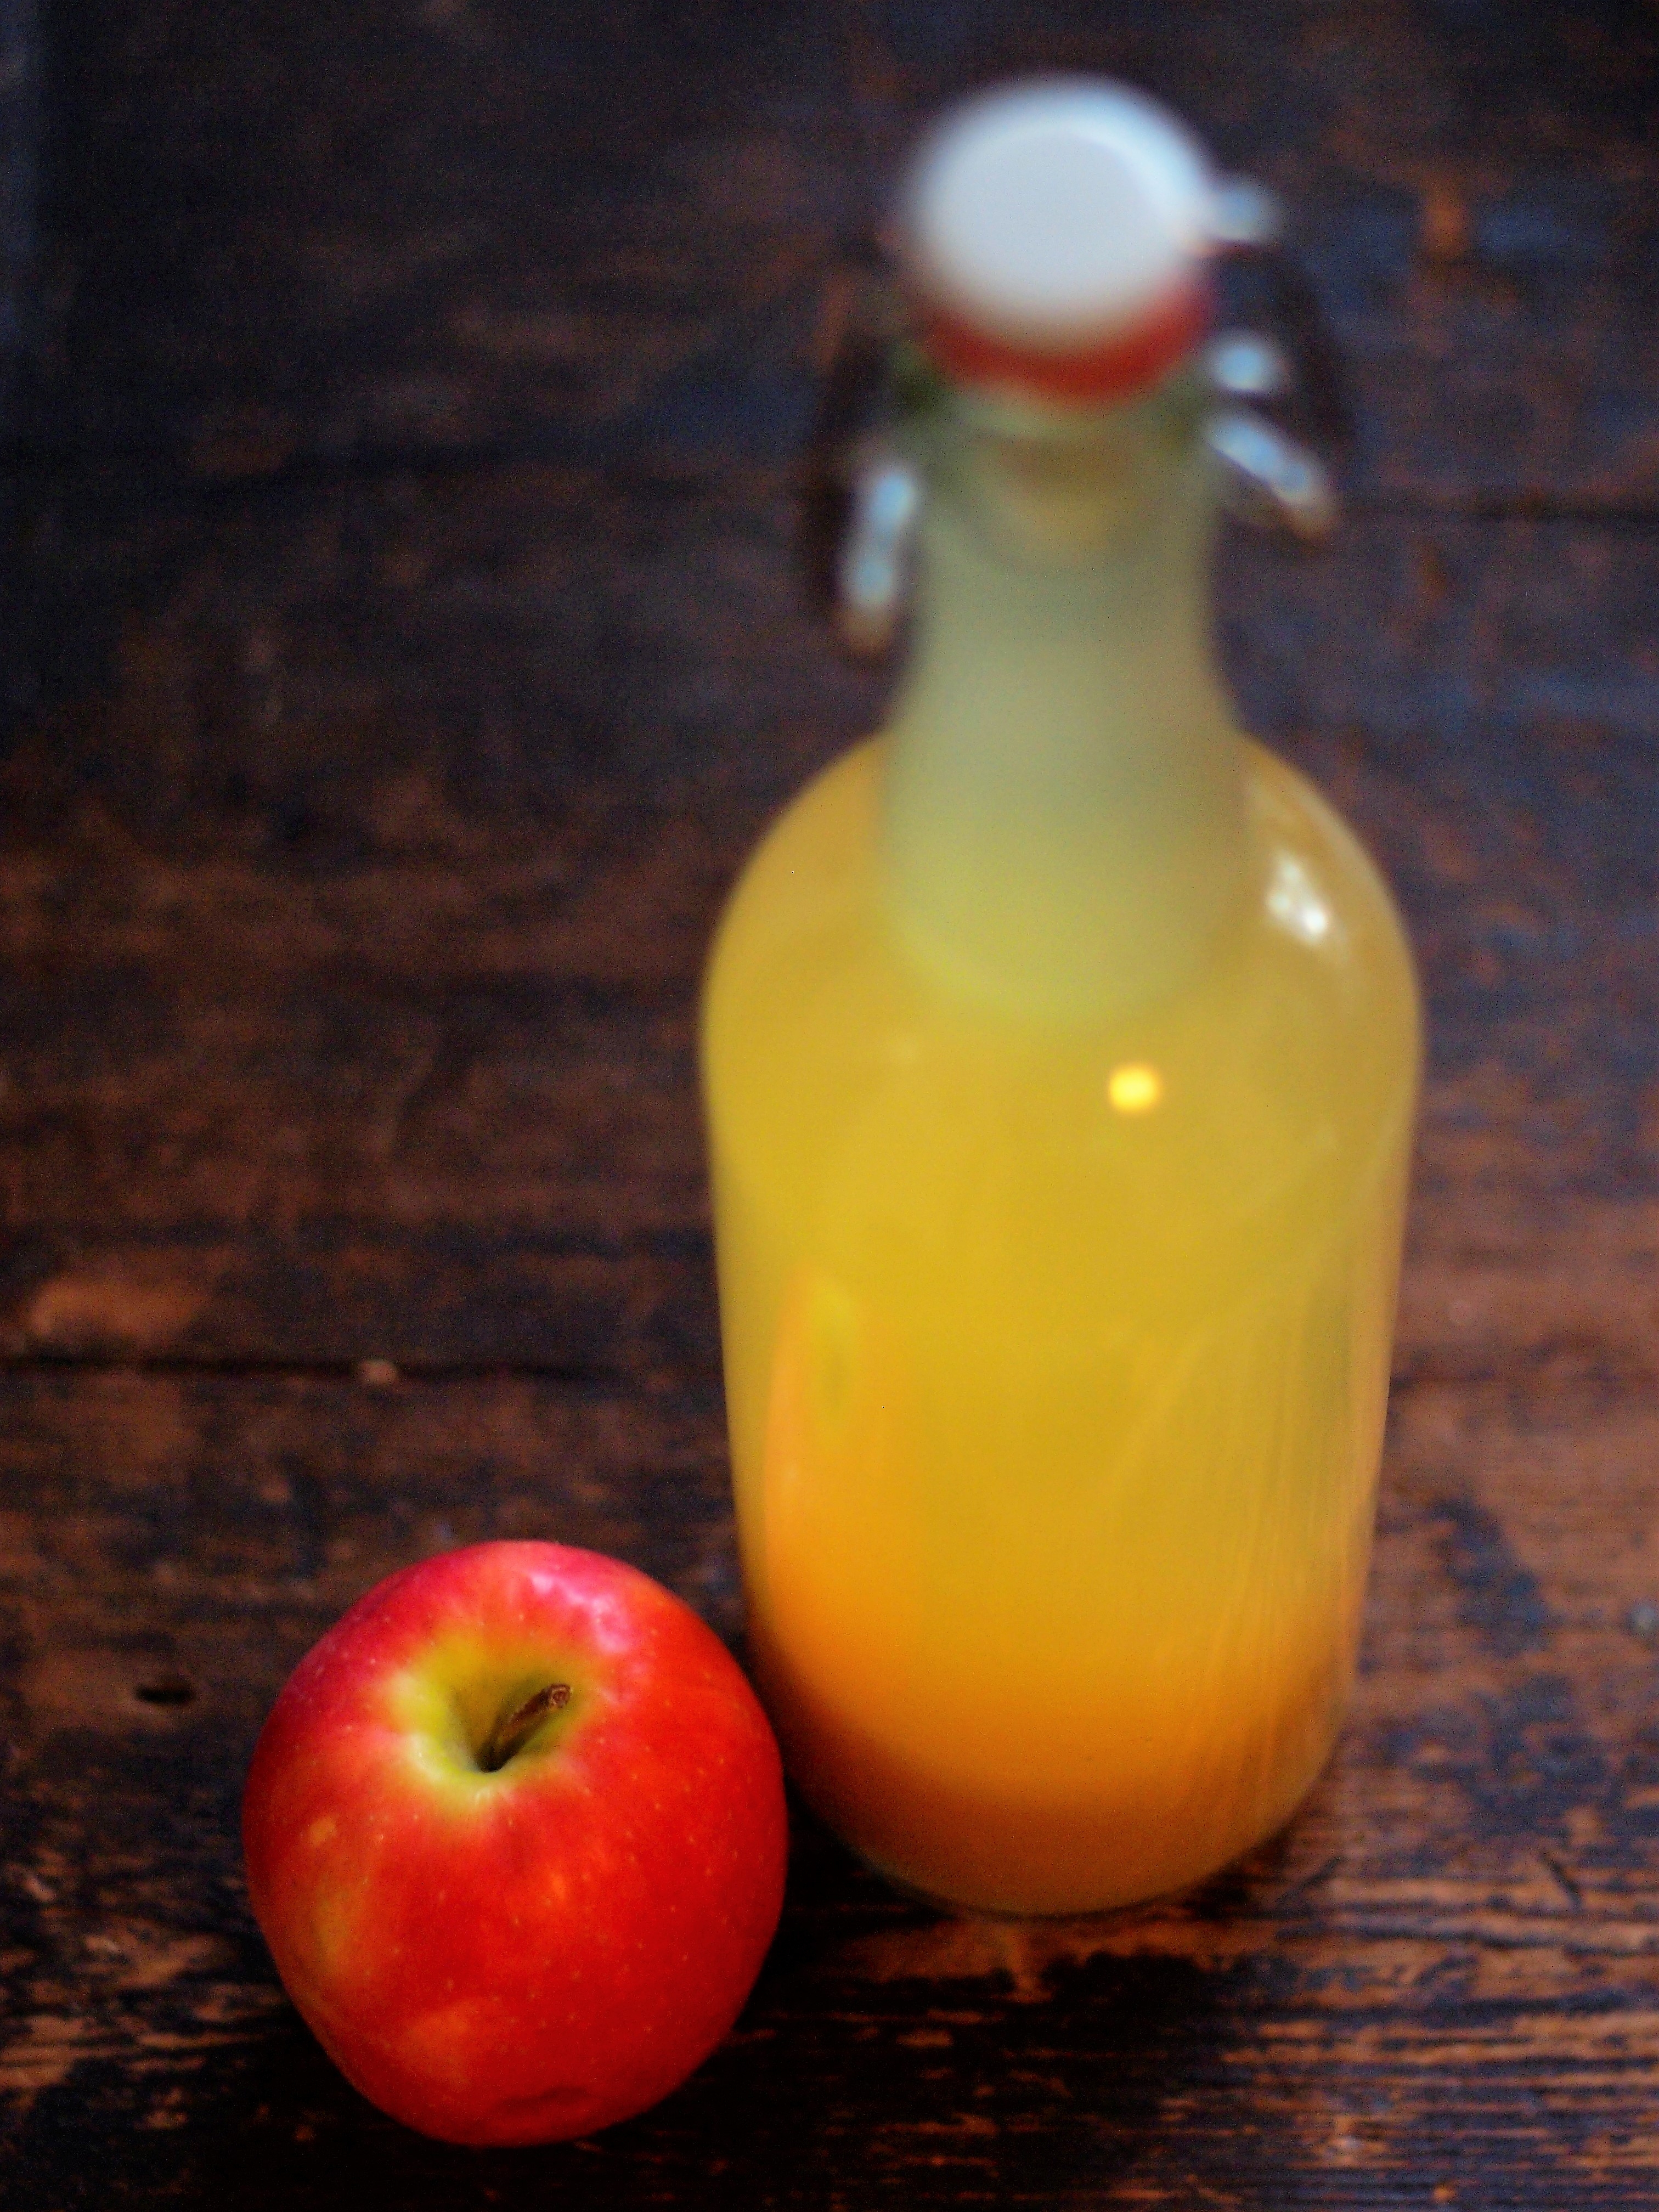
My taste test told me we were right where we wanted to be. I ran the vinegar through a sieve again to remove more sediment and funneled the liquid into clean glass bottles. I ended up with two full 750 ml bottles and a small mason jar from my batch.
The taste? A million times better then any store bought! The difficulty? Just about as easy as it comes. Equipment? Minimal. Anyone could do this and I’m sure kids would find it a fun, learning experiment. If apple cider vinegar is an ingredient that you use I would recommend giving this a try. And I mean really, if you’re doing it with scraps how much do you have to lose?
Raw Apple Cider Vinegar Recipe
Ingredients:
- enough apple chunks/scraps to fill jar over half full
- room temperature filtered water
- 1 C sugar
Equipment:
- 1 wide mouth 4 liter glass jar
- coffee filters, clean dish towels or cheesecloth
- large rubber band
- wooden spoon
- sieve
Instructions:
Wash and trim apples of any bad spots. If not using scraps, chop apples into 1 inch chunks, including cores, stems and seeds.
Place chopped pieces in 4 liter, glass jar, filling at least half way.
Pour in room temperature, filtered water to fill jar, leaving a couple inches space at the top.
Stir in the sugar until dissolved.
Cover the jar with a coffee filter and secure with a rubber band.
Leave the jar in a warm place, out of direct sunlight, and stir twice a day. Over the next two weeks bubbles will begin to form and will smell of fermenting.
After two weeks has passed, strain the apple chunks out into a clean, glass jar. (I used a glass water pitcher, washed my original 4 liter jar, then poured the strained mixture back into it.)
Recover with a coffee filter and rubber band and place back on the counter. Allow to continue fermenting, checking to ensure there is no mould, for another month. Begin to check the taste after 3 weeks.
Once desired taste had been reached, strain once more and funnel into clean bottles. Store in a cupboard or pantry out of direct sunlight.
The vinegar should last indefinitely. If you notice the taste becoming too strong just dilute with some filtered water. Another mother culture may form over time, which can be strained away.
Once you’ve got your finished product give this salad dressing recipe a try! It’s my absolute go to!
Simple Salad Dressing
- 1/4 C Apple Cider Vinegar
- 1/2 C Olive Oil
- 1/4 tsp Salt
- 1/4 tsp Mustard Powder
- 1 clove minced Garlic
- 1 tsp Oregano
Combine in a jar and shake.
Salad dressing is only a start to all the ways apple cider vinegar can be used. It has numerous uses so don’t forget to do some searching and find ways to use up this incredibly easy, super healthy, homemade recipe!
Enjoy! x