
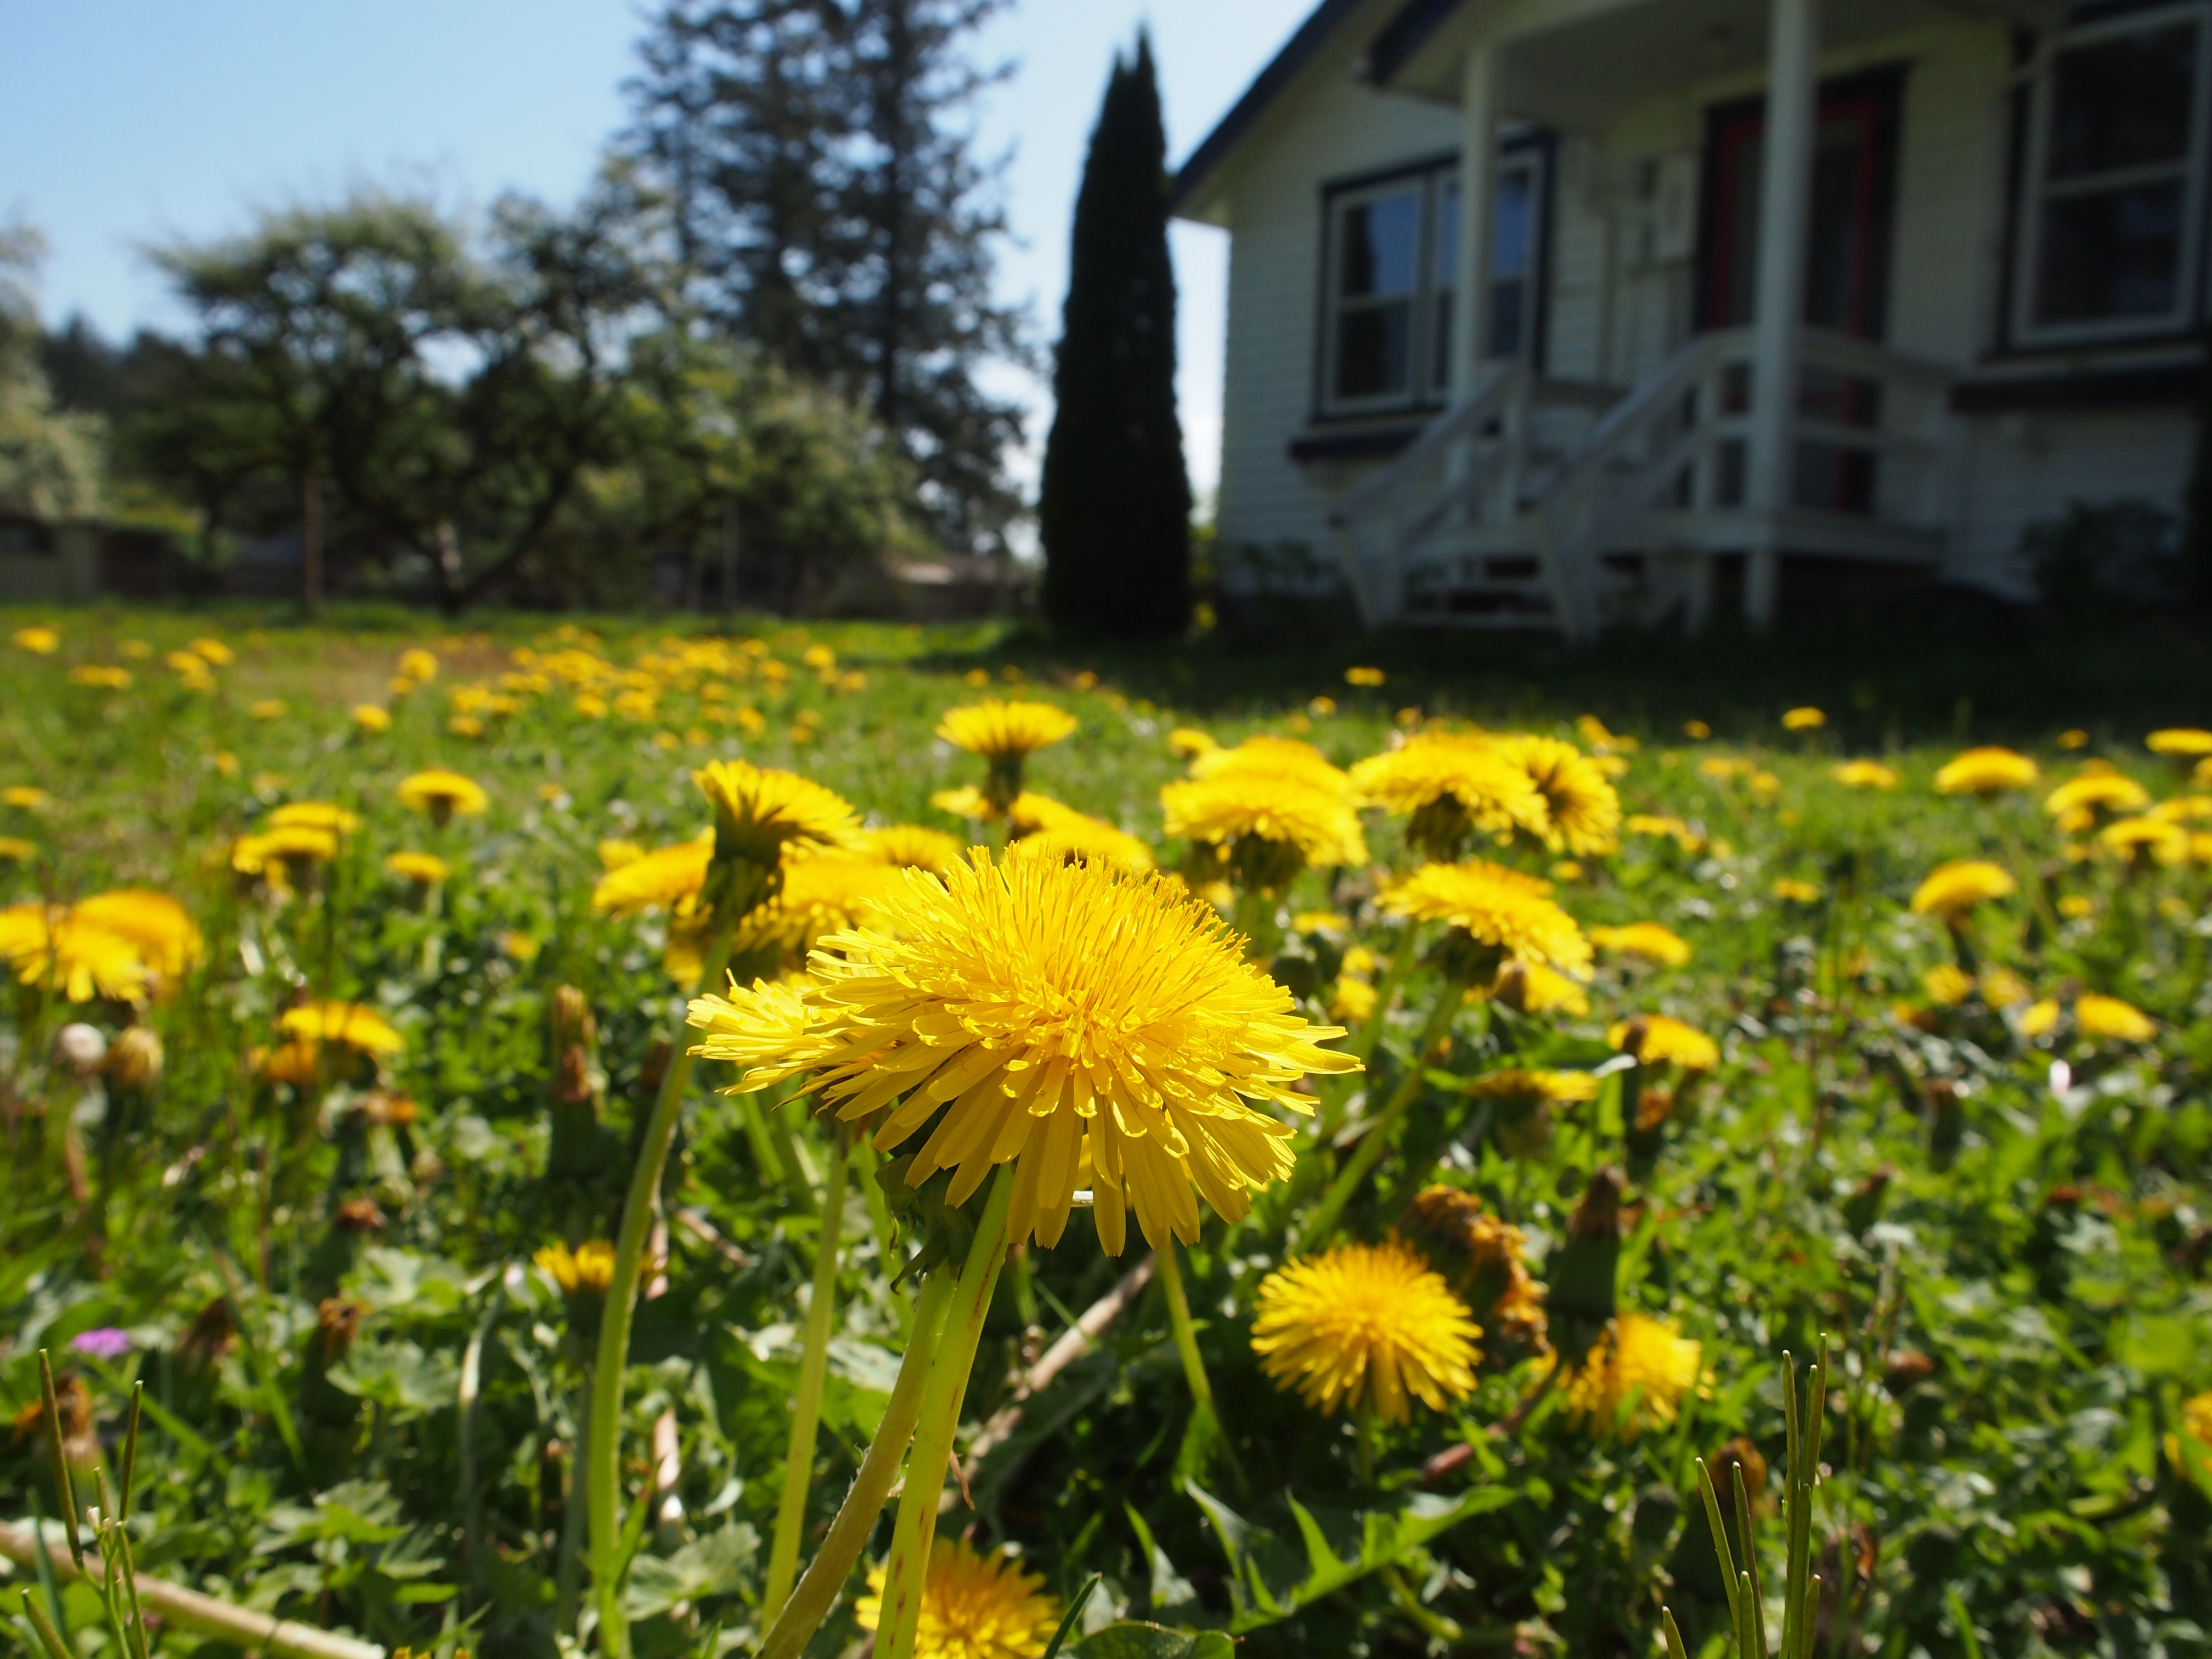
A little over a year ago, early April weather was like summer and everything seemed to be a little ahead of schedule. The yard was covered with those lovely yellow flowers that most home owners grumble about, buying some toxic chemical to spray them with, hoping to never see their little yellow blossoms again. I can remember as a child, begrudgingly sitting in the gravel with a screwdriver pulling them out. Trying desperately to get the root, hearing my mothers voice “they’ll just come back if you don’t get the root”. My mom loves her yard and she has always had one that’s a pleasure to look at.
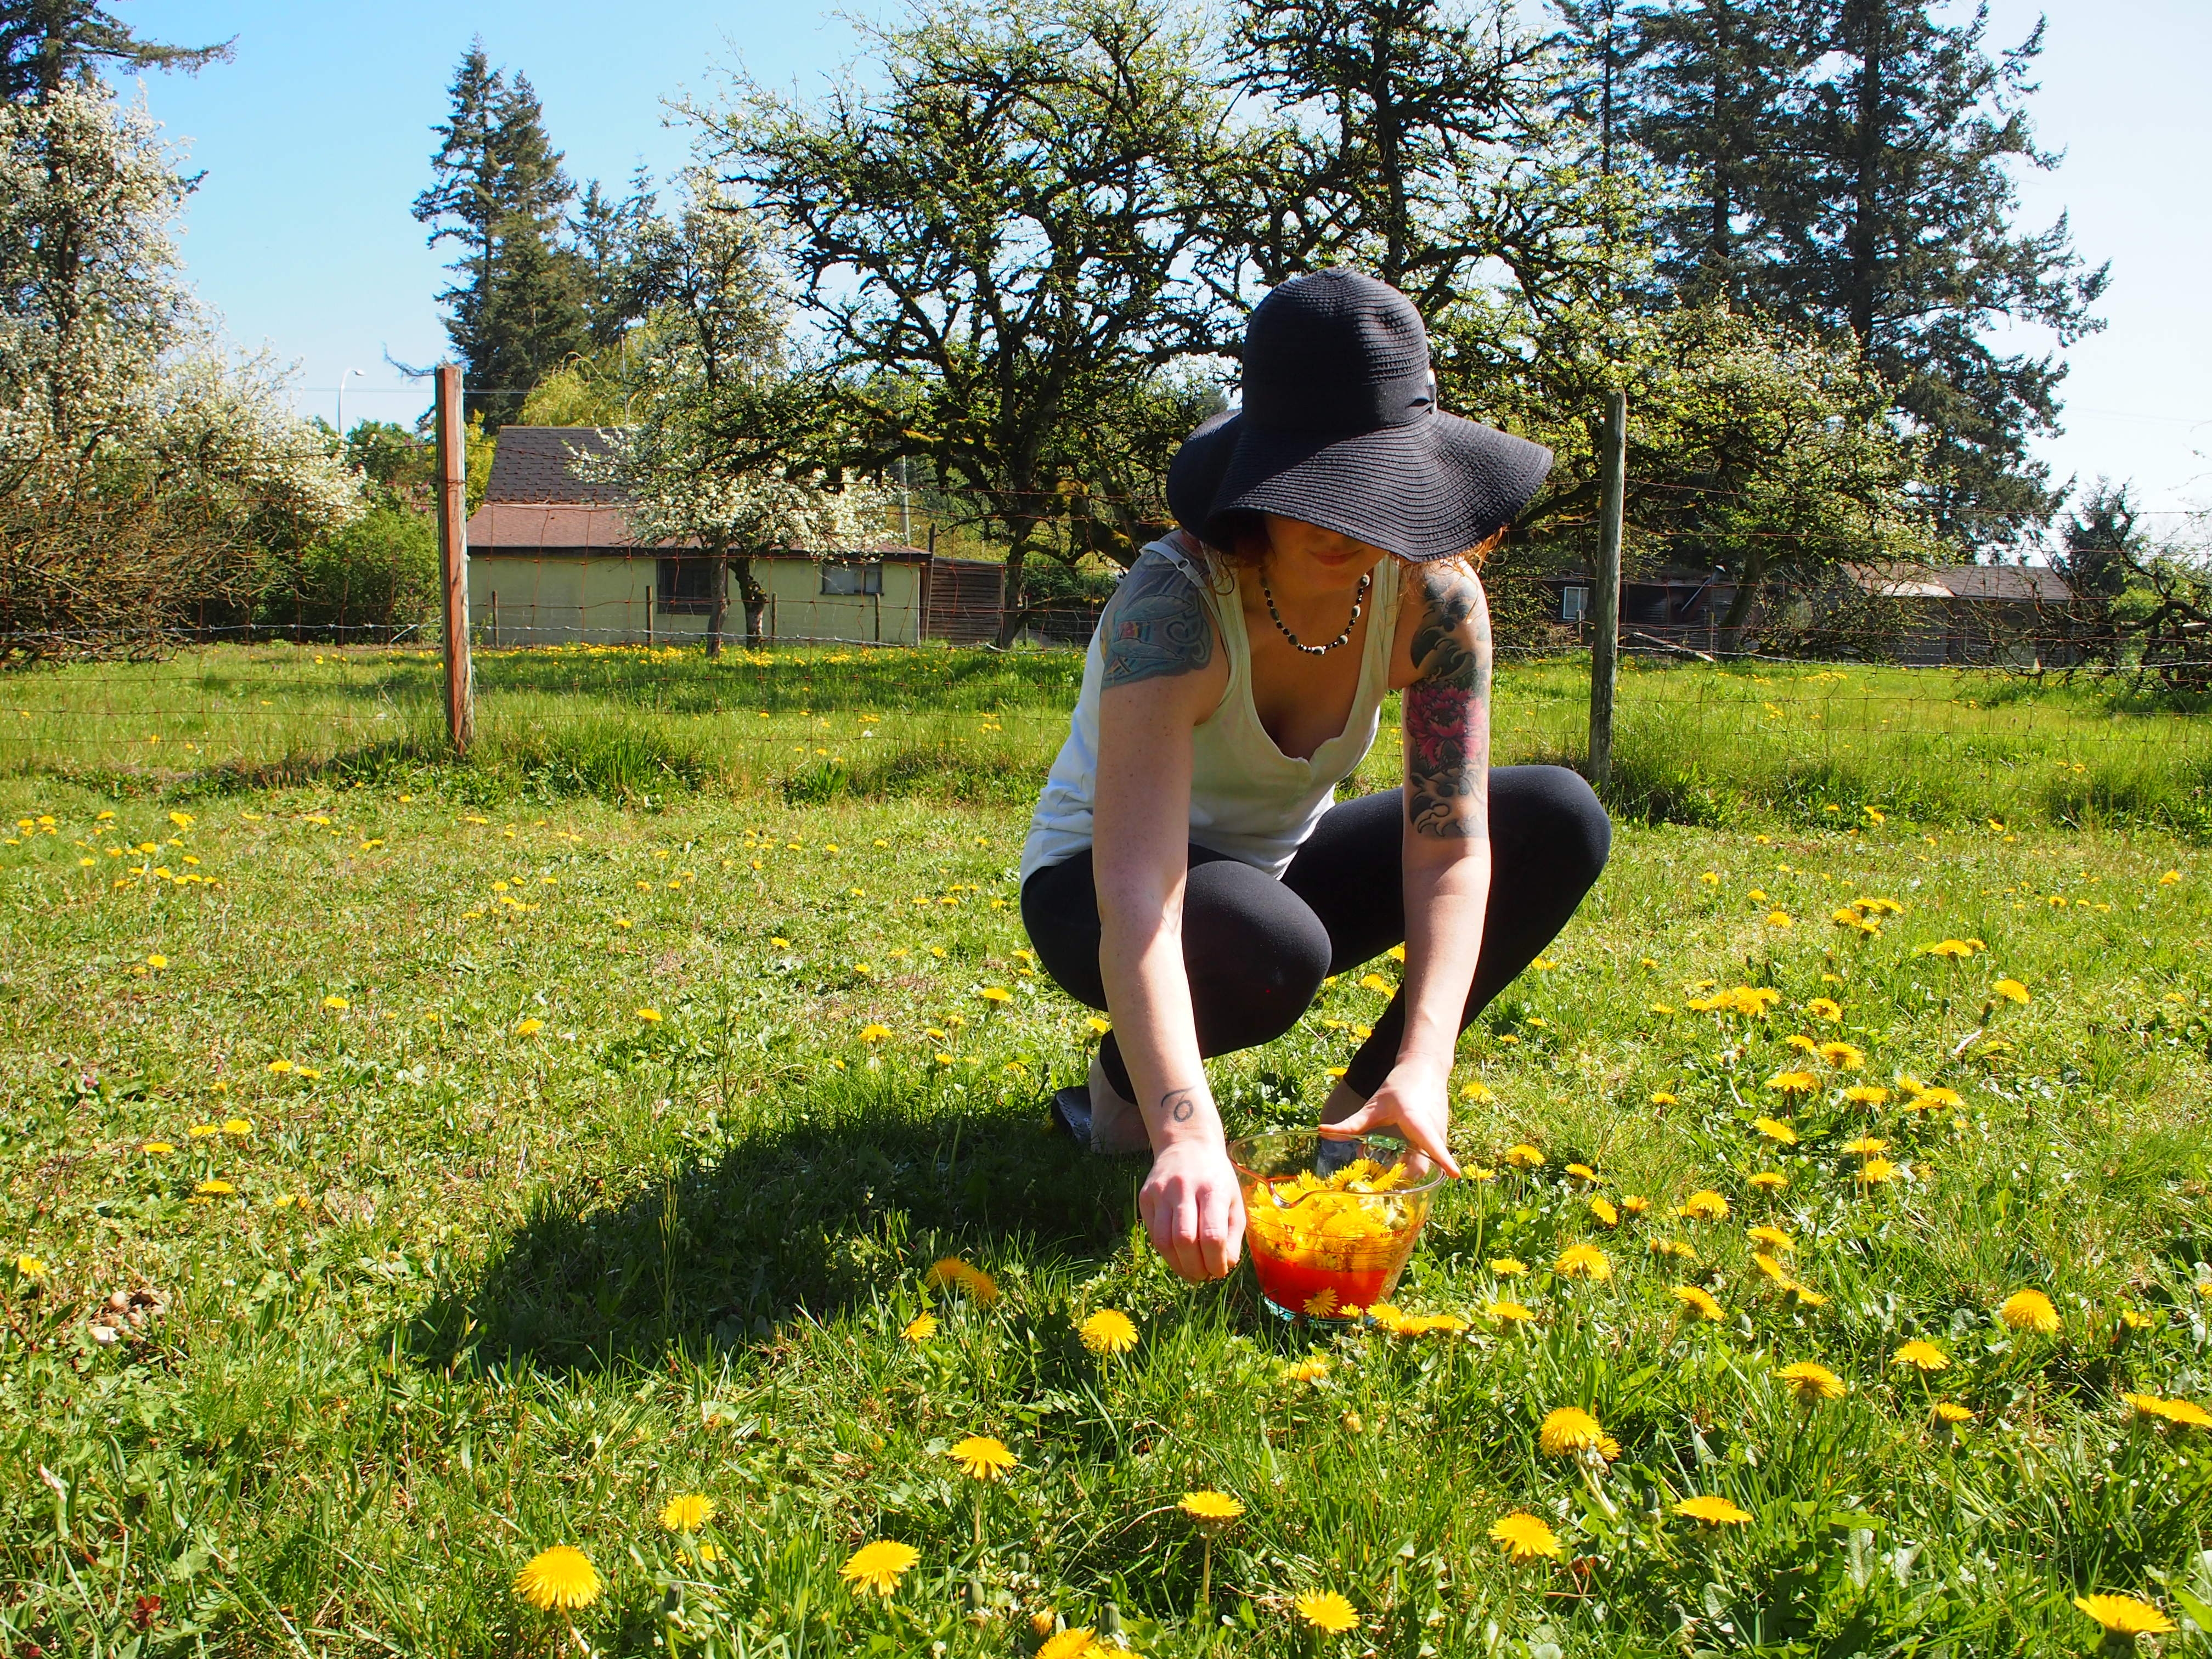 Well! In my yard it’s a different story! The dandelions are more then welcome. In fact we make a point of spreading the seeds, like little parachutes, in hopes of a larger harvest each year. It’s been jelly mostly but last year I made a point of picking extra to try making wine. We needed sun hats, sun block and the shade of a tree to work in. I spent a day with my mom processing enough dandelion petals to make a batch of jelly (recipe here) and some wine. This time last year we were still fermenting with the possibility of utter failure as the outcome.
Last weekend was Easter and like every other Easter my family would gather to enjoy a feast. I thought this would be a great occasion to bring out a bottle of the dandelion wine. This would be the second of three bottles (the first we drank at Christmas). This made me realize that I never shared the journey of dandelion wine making with you! Well here it is. And I can proudly say that utter failure was averted!
Some things you will need:
- A large glass container to steep your petal “tea”
- strainer
- A 4 liter growler style bottle
- an airlock to fit the growler bottle
- cheesecloth
- swing top bottles (or wine bottles, corks and a corker)
- balloons
The first steps in starting your wine is to pick some dandelion flowers. Please ensure you are picking them from a yard that is not sprayed with any chemicals. You will need to pick a lot. The total you are aiming for is approximately 12 cups of blossoms, give or take. Try to choose a sunny day when the flowers are fully open.
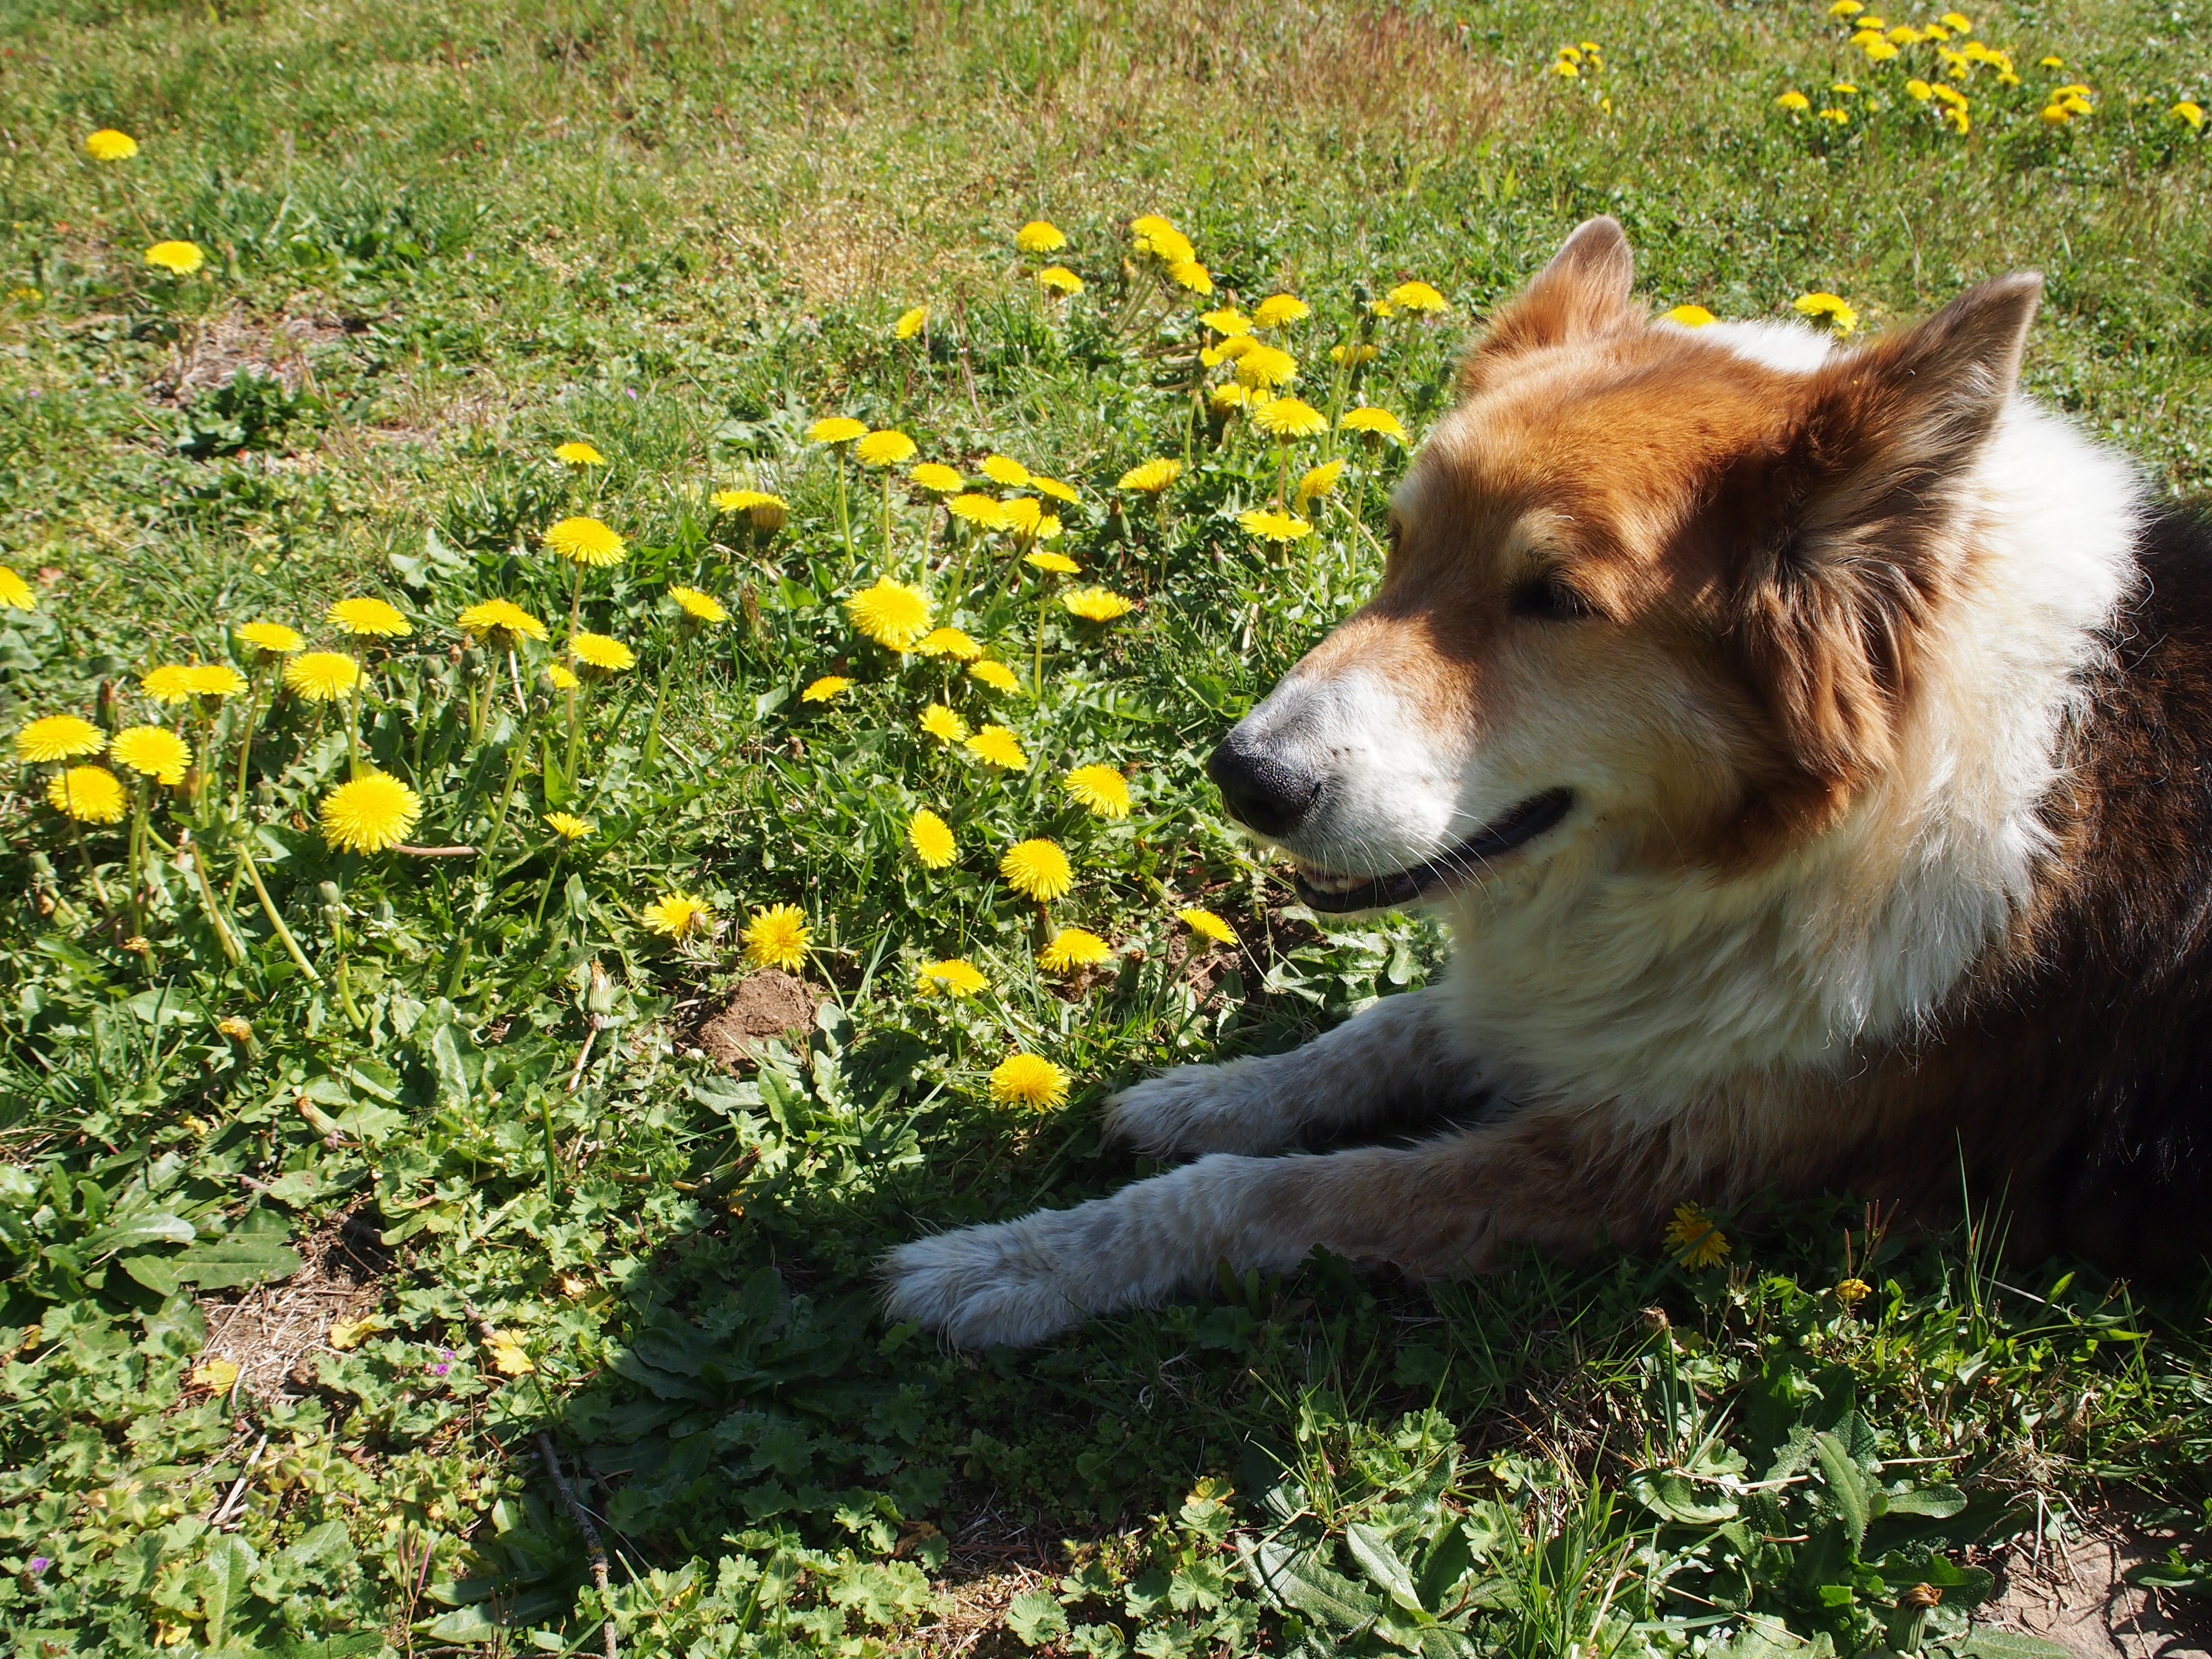
Even if there is no dog roaming your yard (or where ever you are getting your flowers from) there may still be other beasts such as deer, coyotes, raccoons or rabbits. They do things in the grass. You will need to wash your blossoms. You get what I’m saying. The easiest, in my opinion, is to rinse your petals, after you’ve removed them from the green bases, in a sieve.
You need to separate the petals from the stems. The green parts are bitter and will ruin your wine if not removed. Take the time to pull the petals from the bases. If a small amount of green bits make there way into your petals don’t freak out, a small amount won’t effect anything. But do try to separate just the petals.
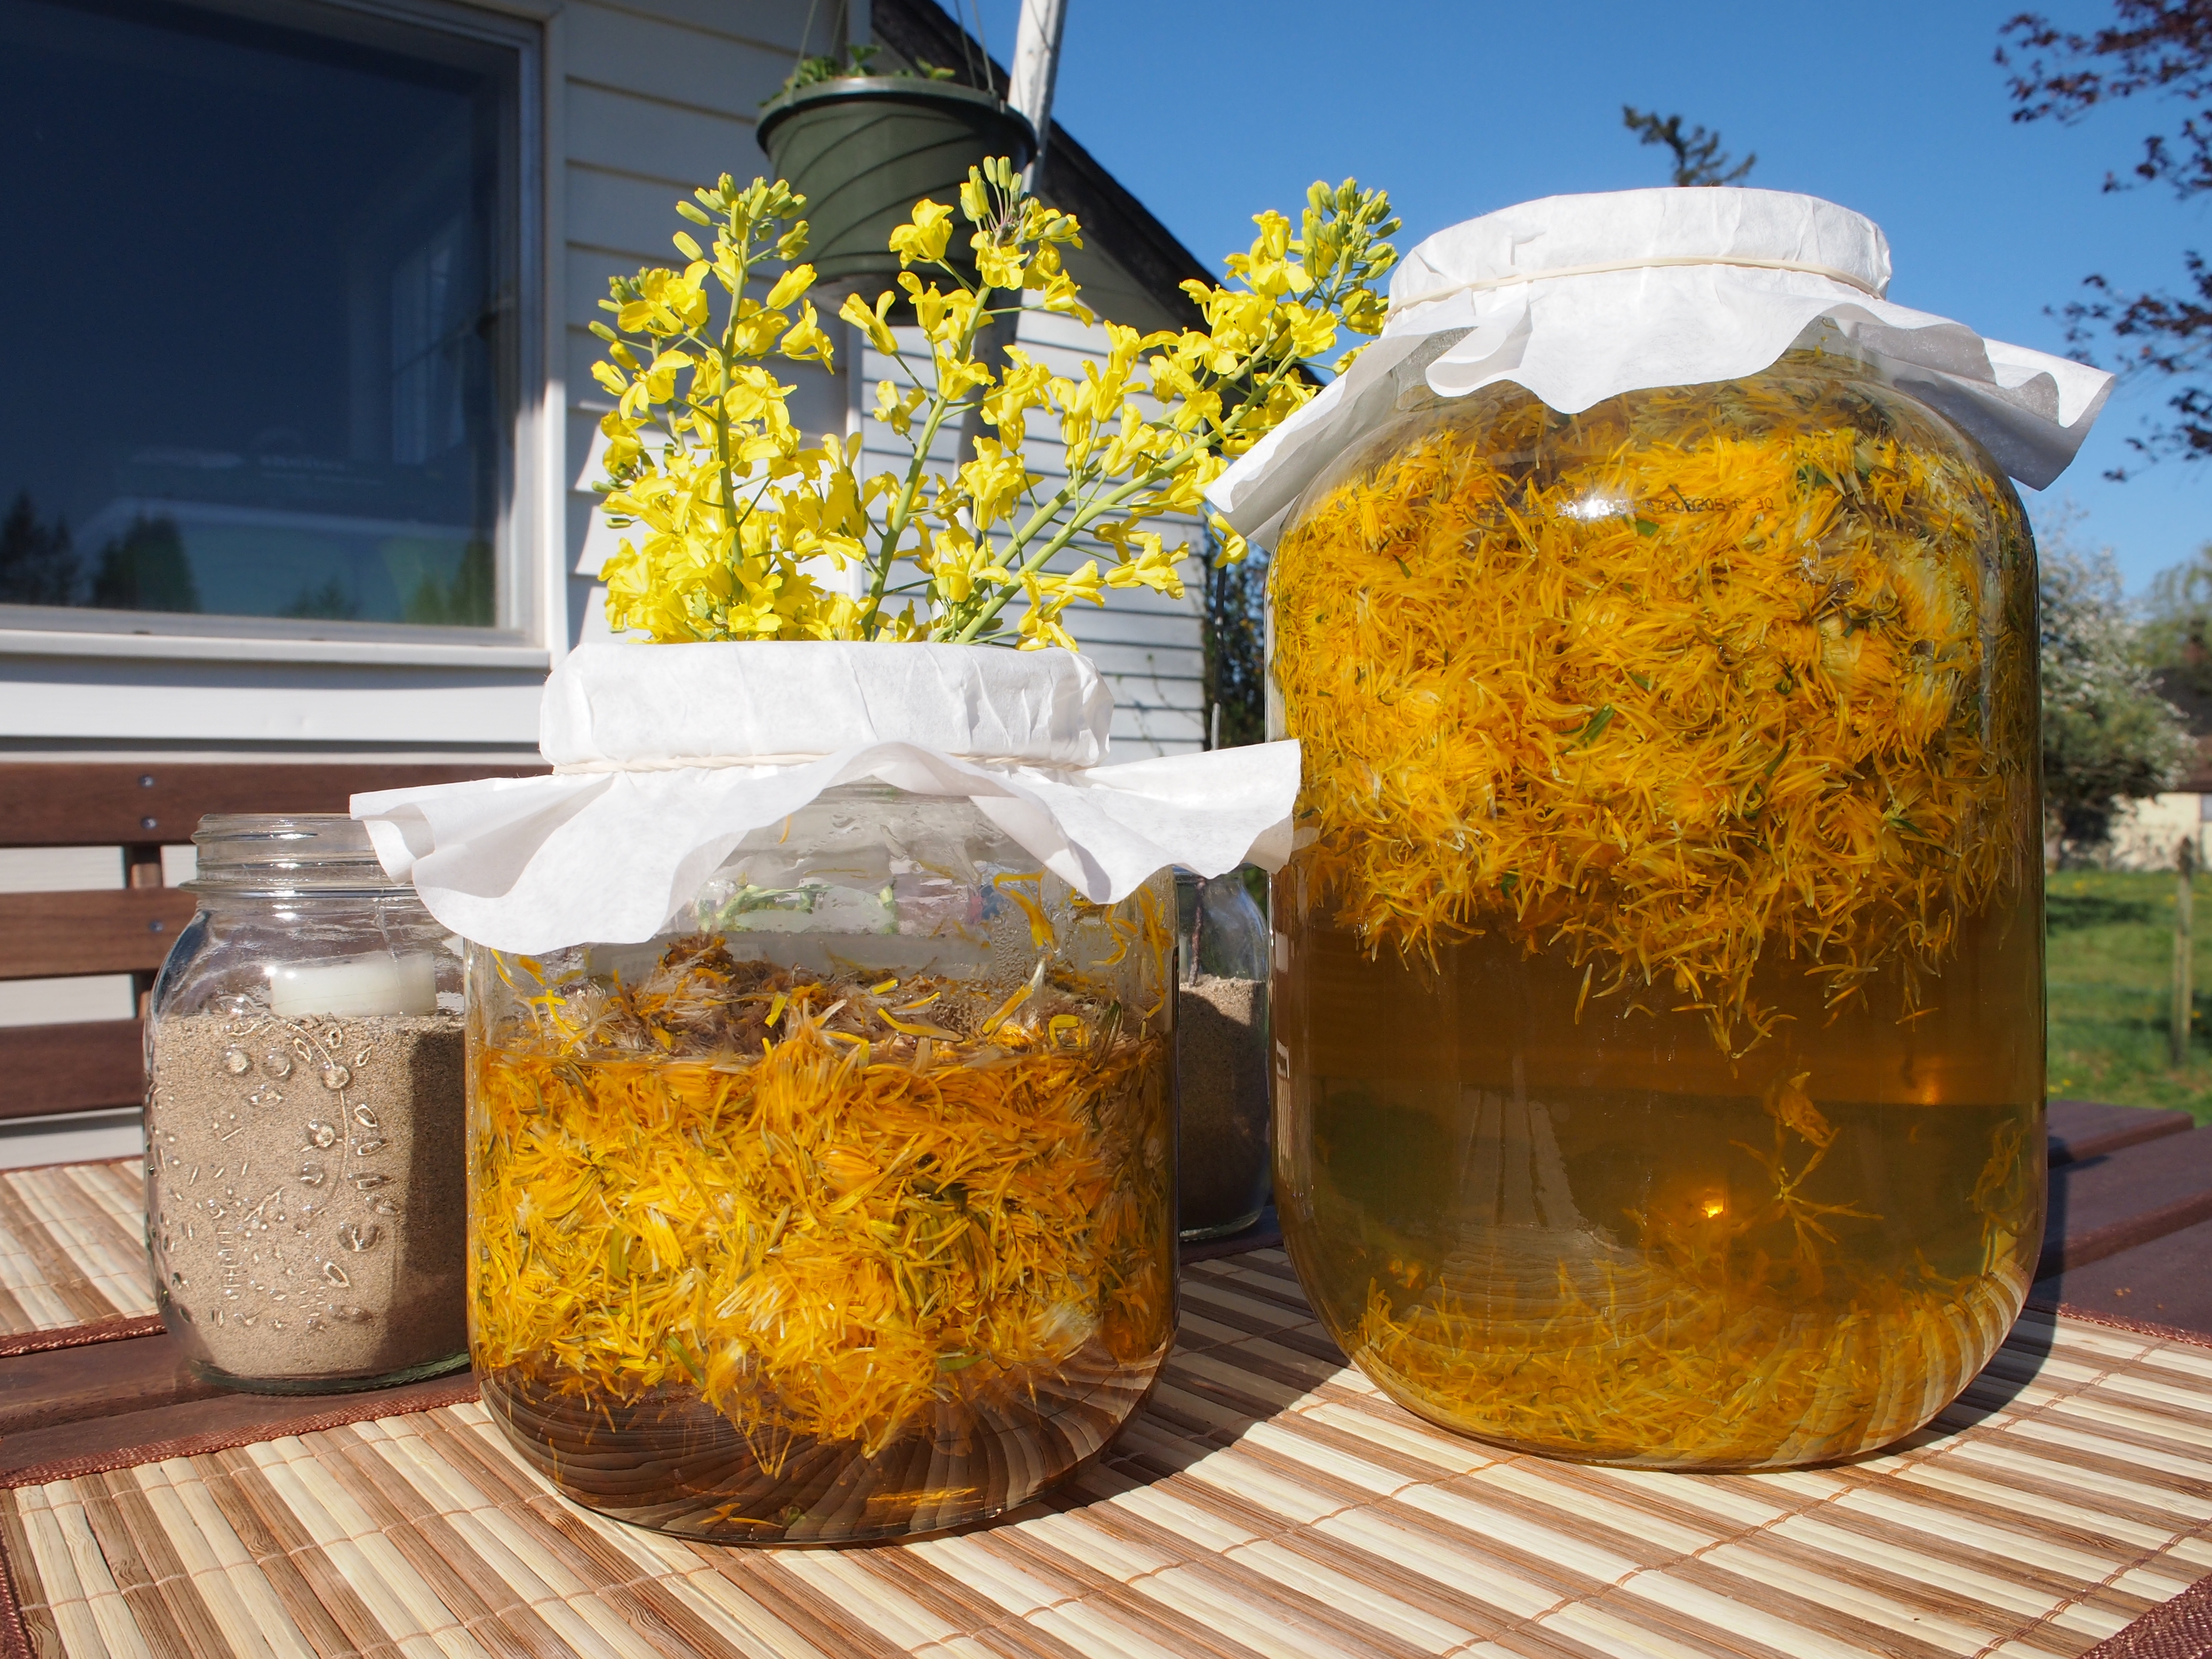 Put your petals into a large glass container and bring four liters of water to a boil. Very, very slowly pour the water over the petals. I am serious about slowly. My first year doing this I poured too quickly and broke the base of my container. I had dandelion “tea” and petals everywhere! Plus a mad scramble to pick more blossoms before dusk! Learn from this! Pour really, really slowly. Cover loosely and leave the “tea” to steep for three days.
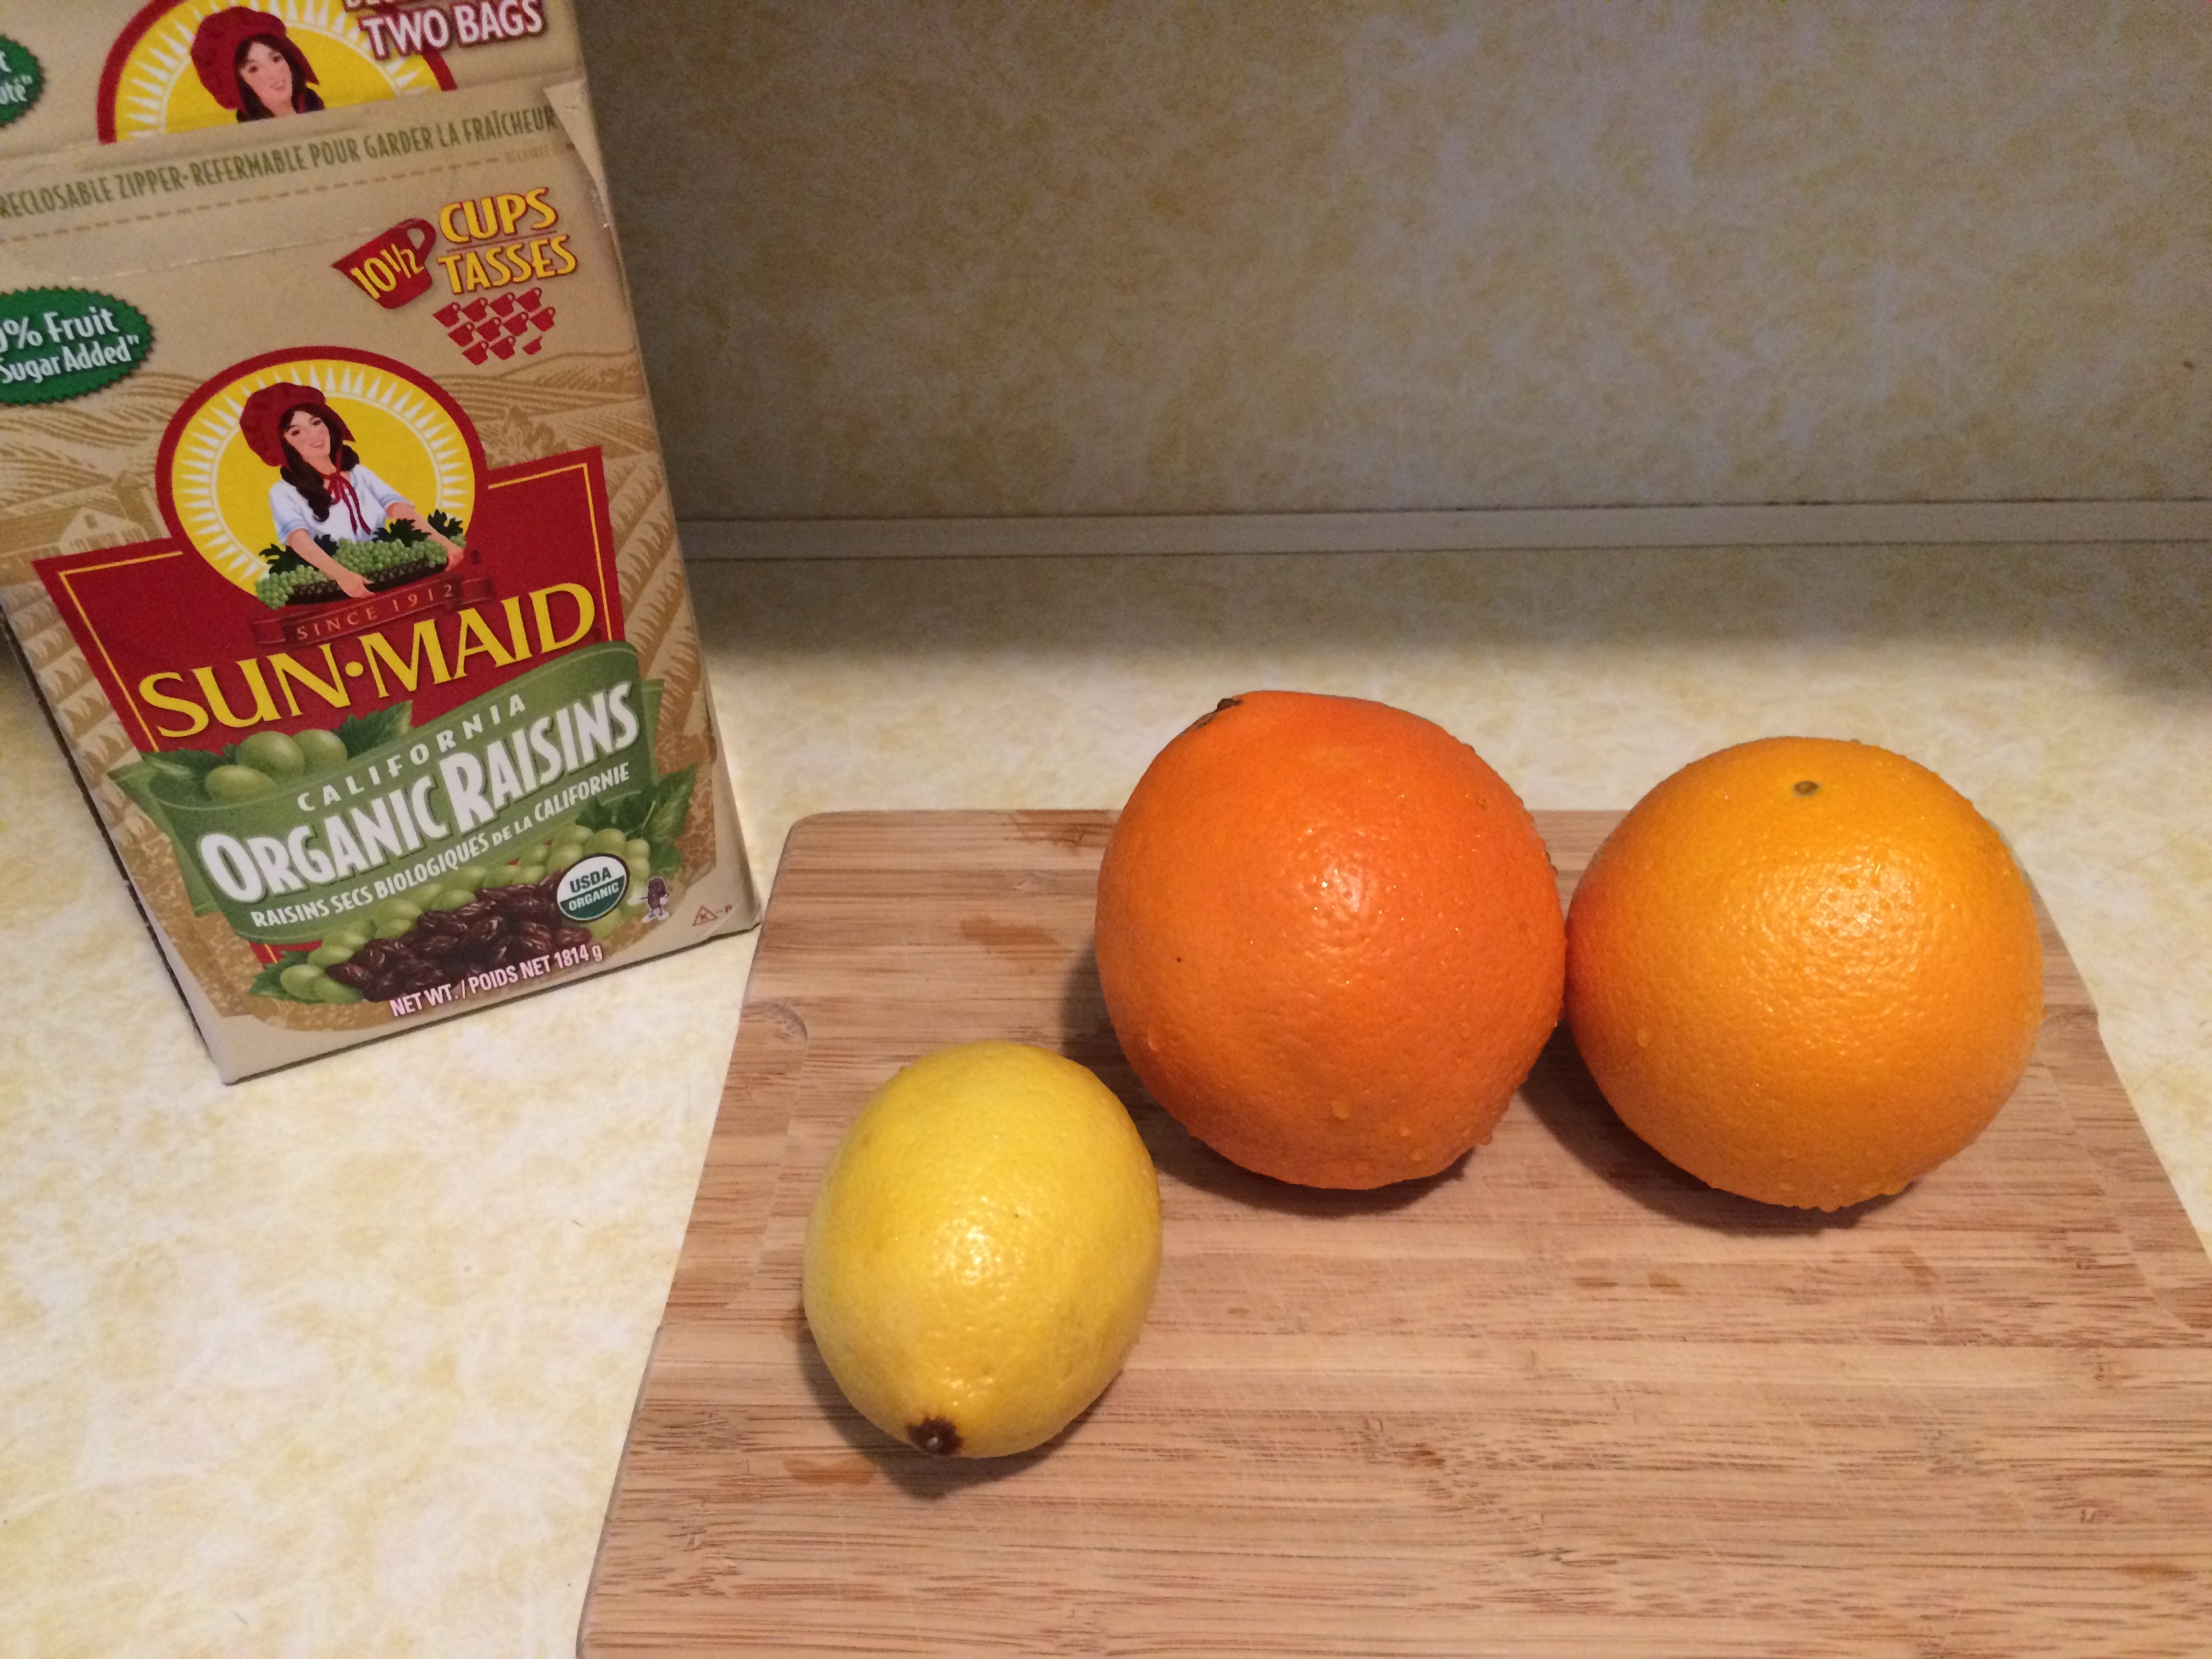
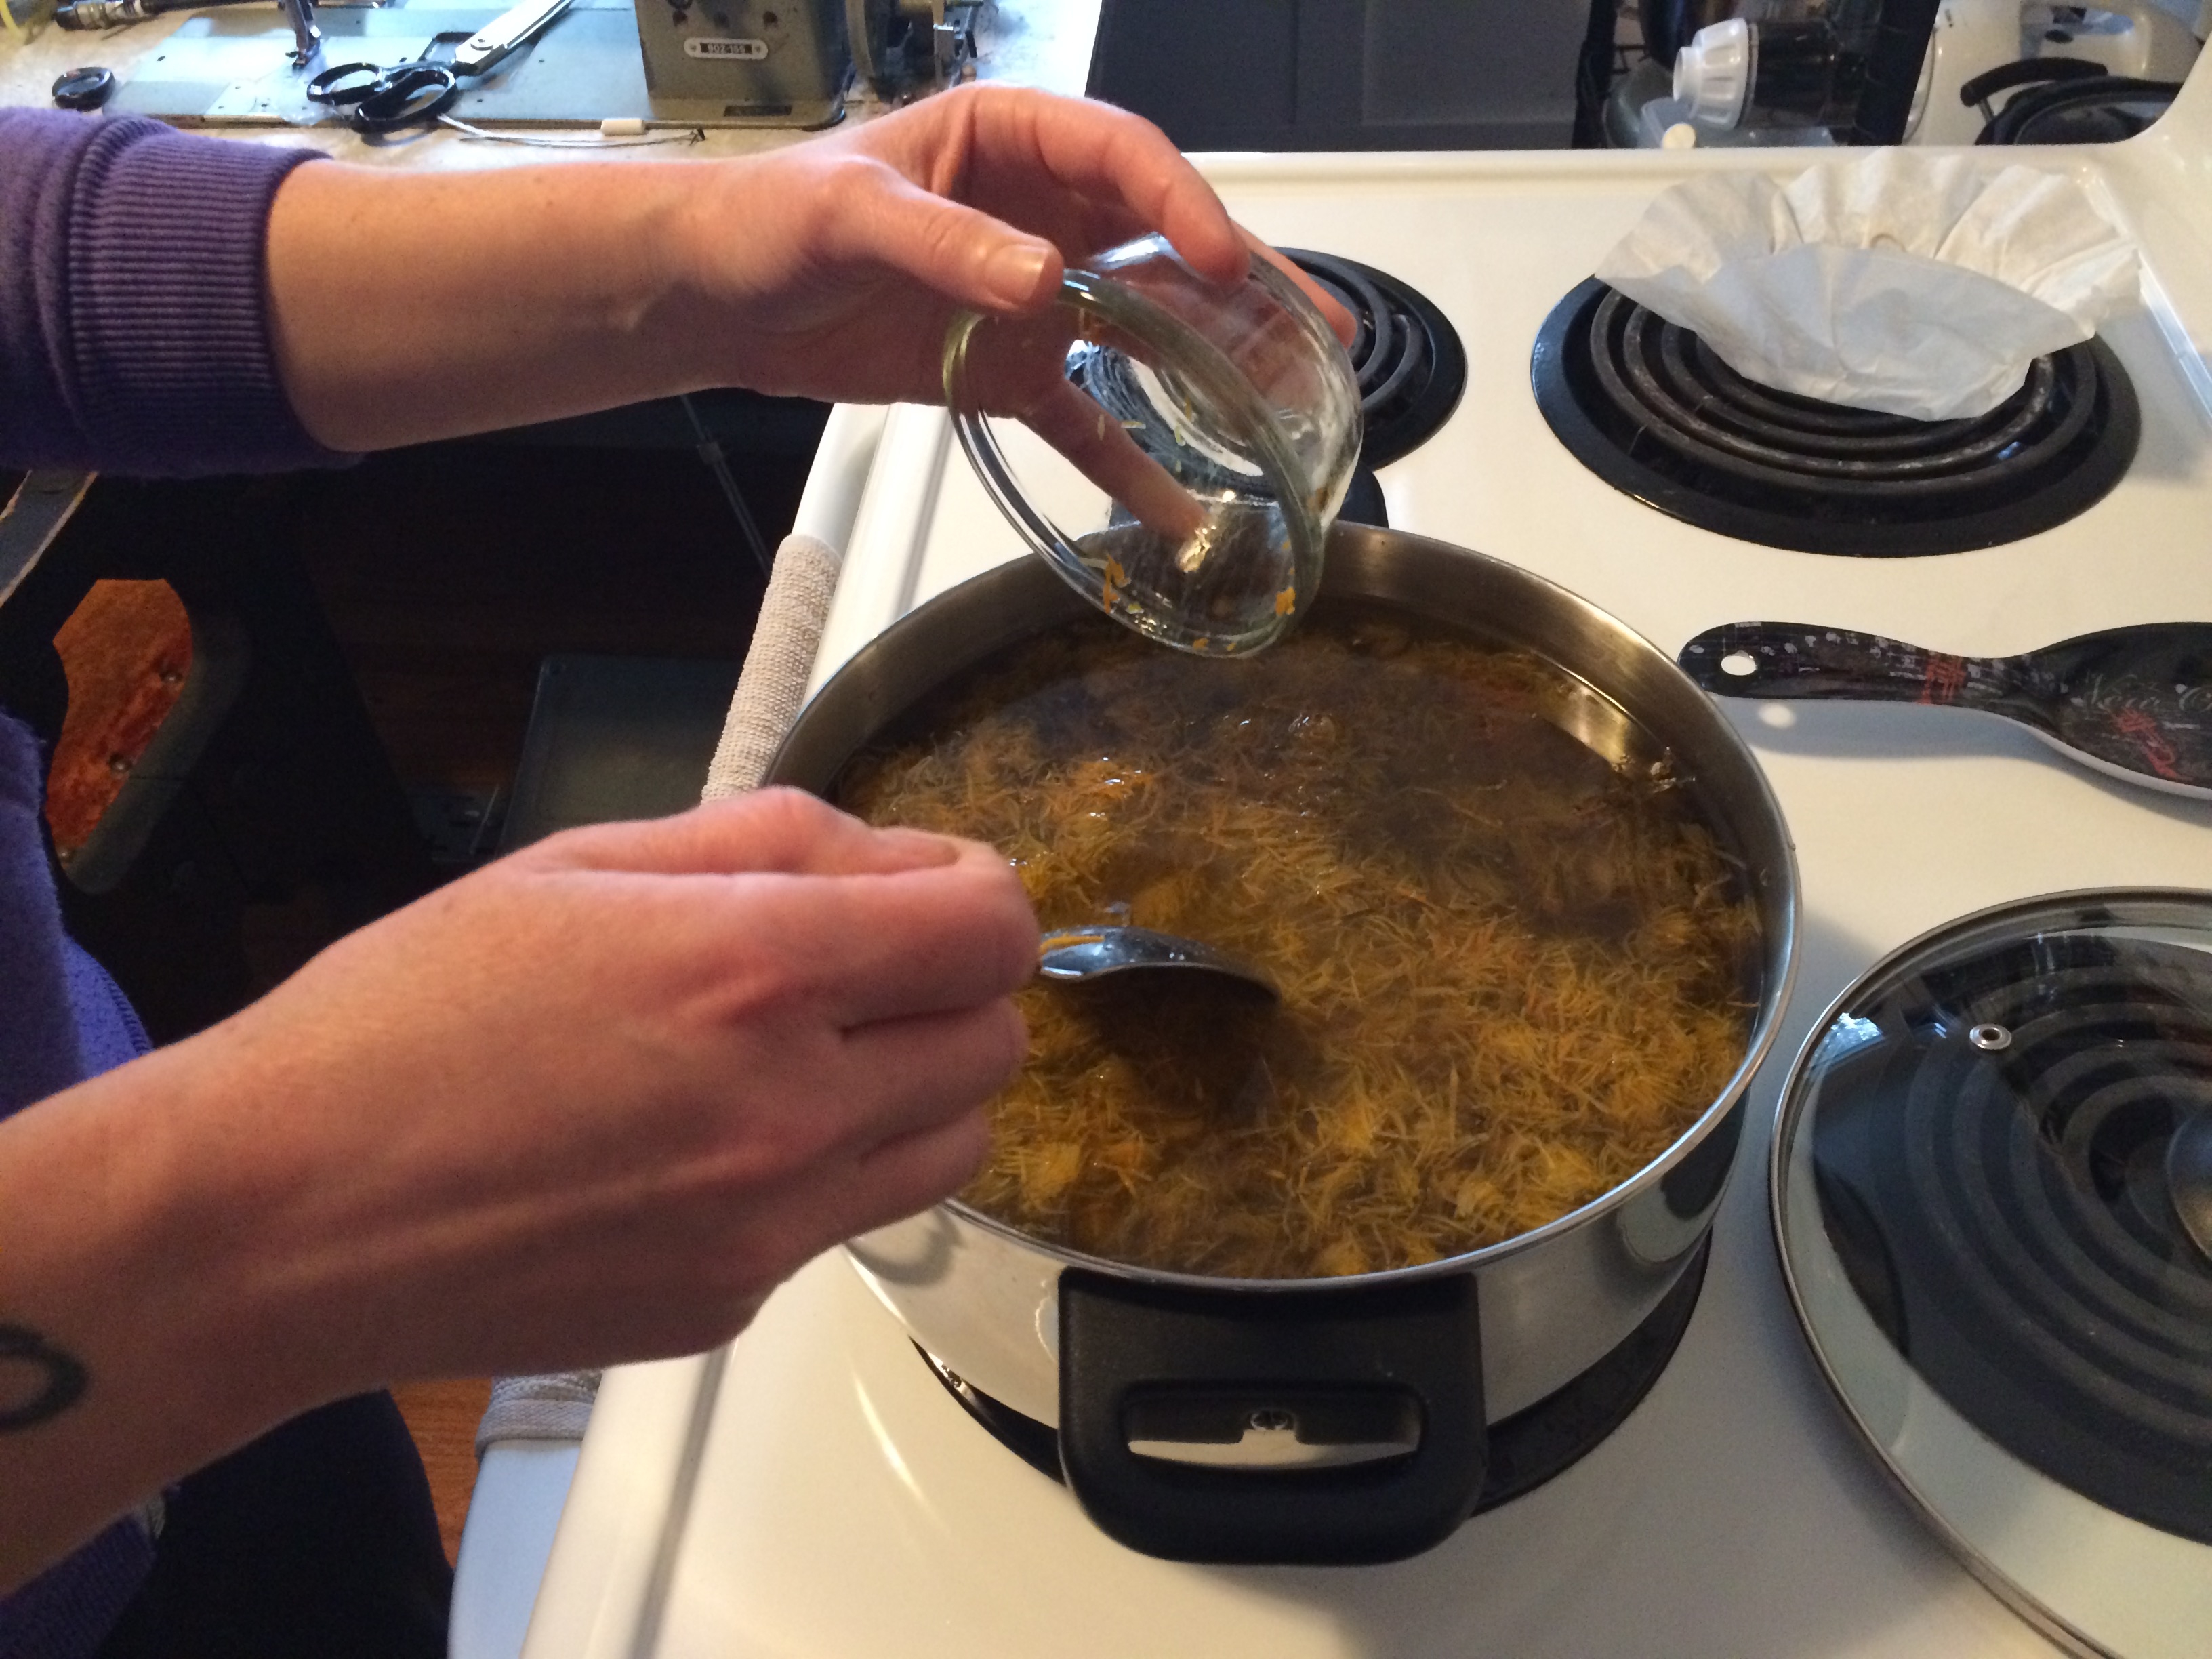
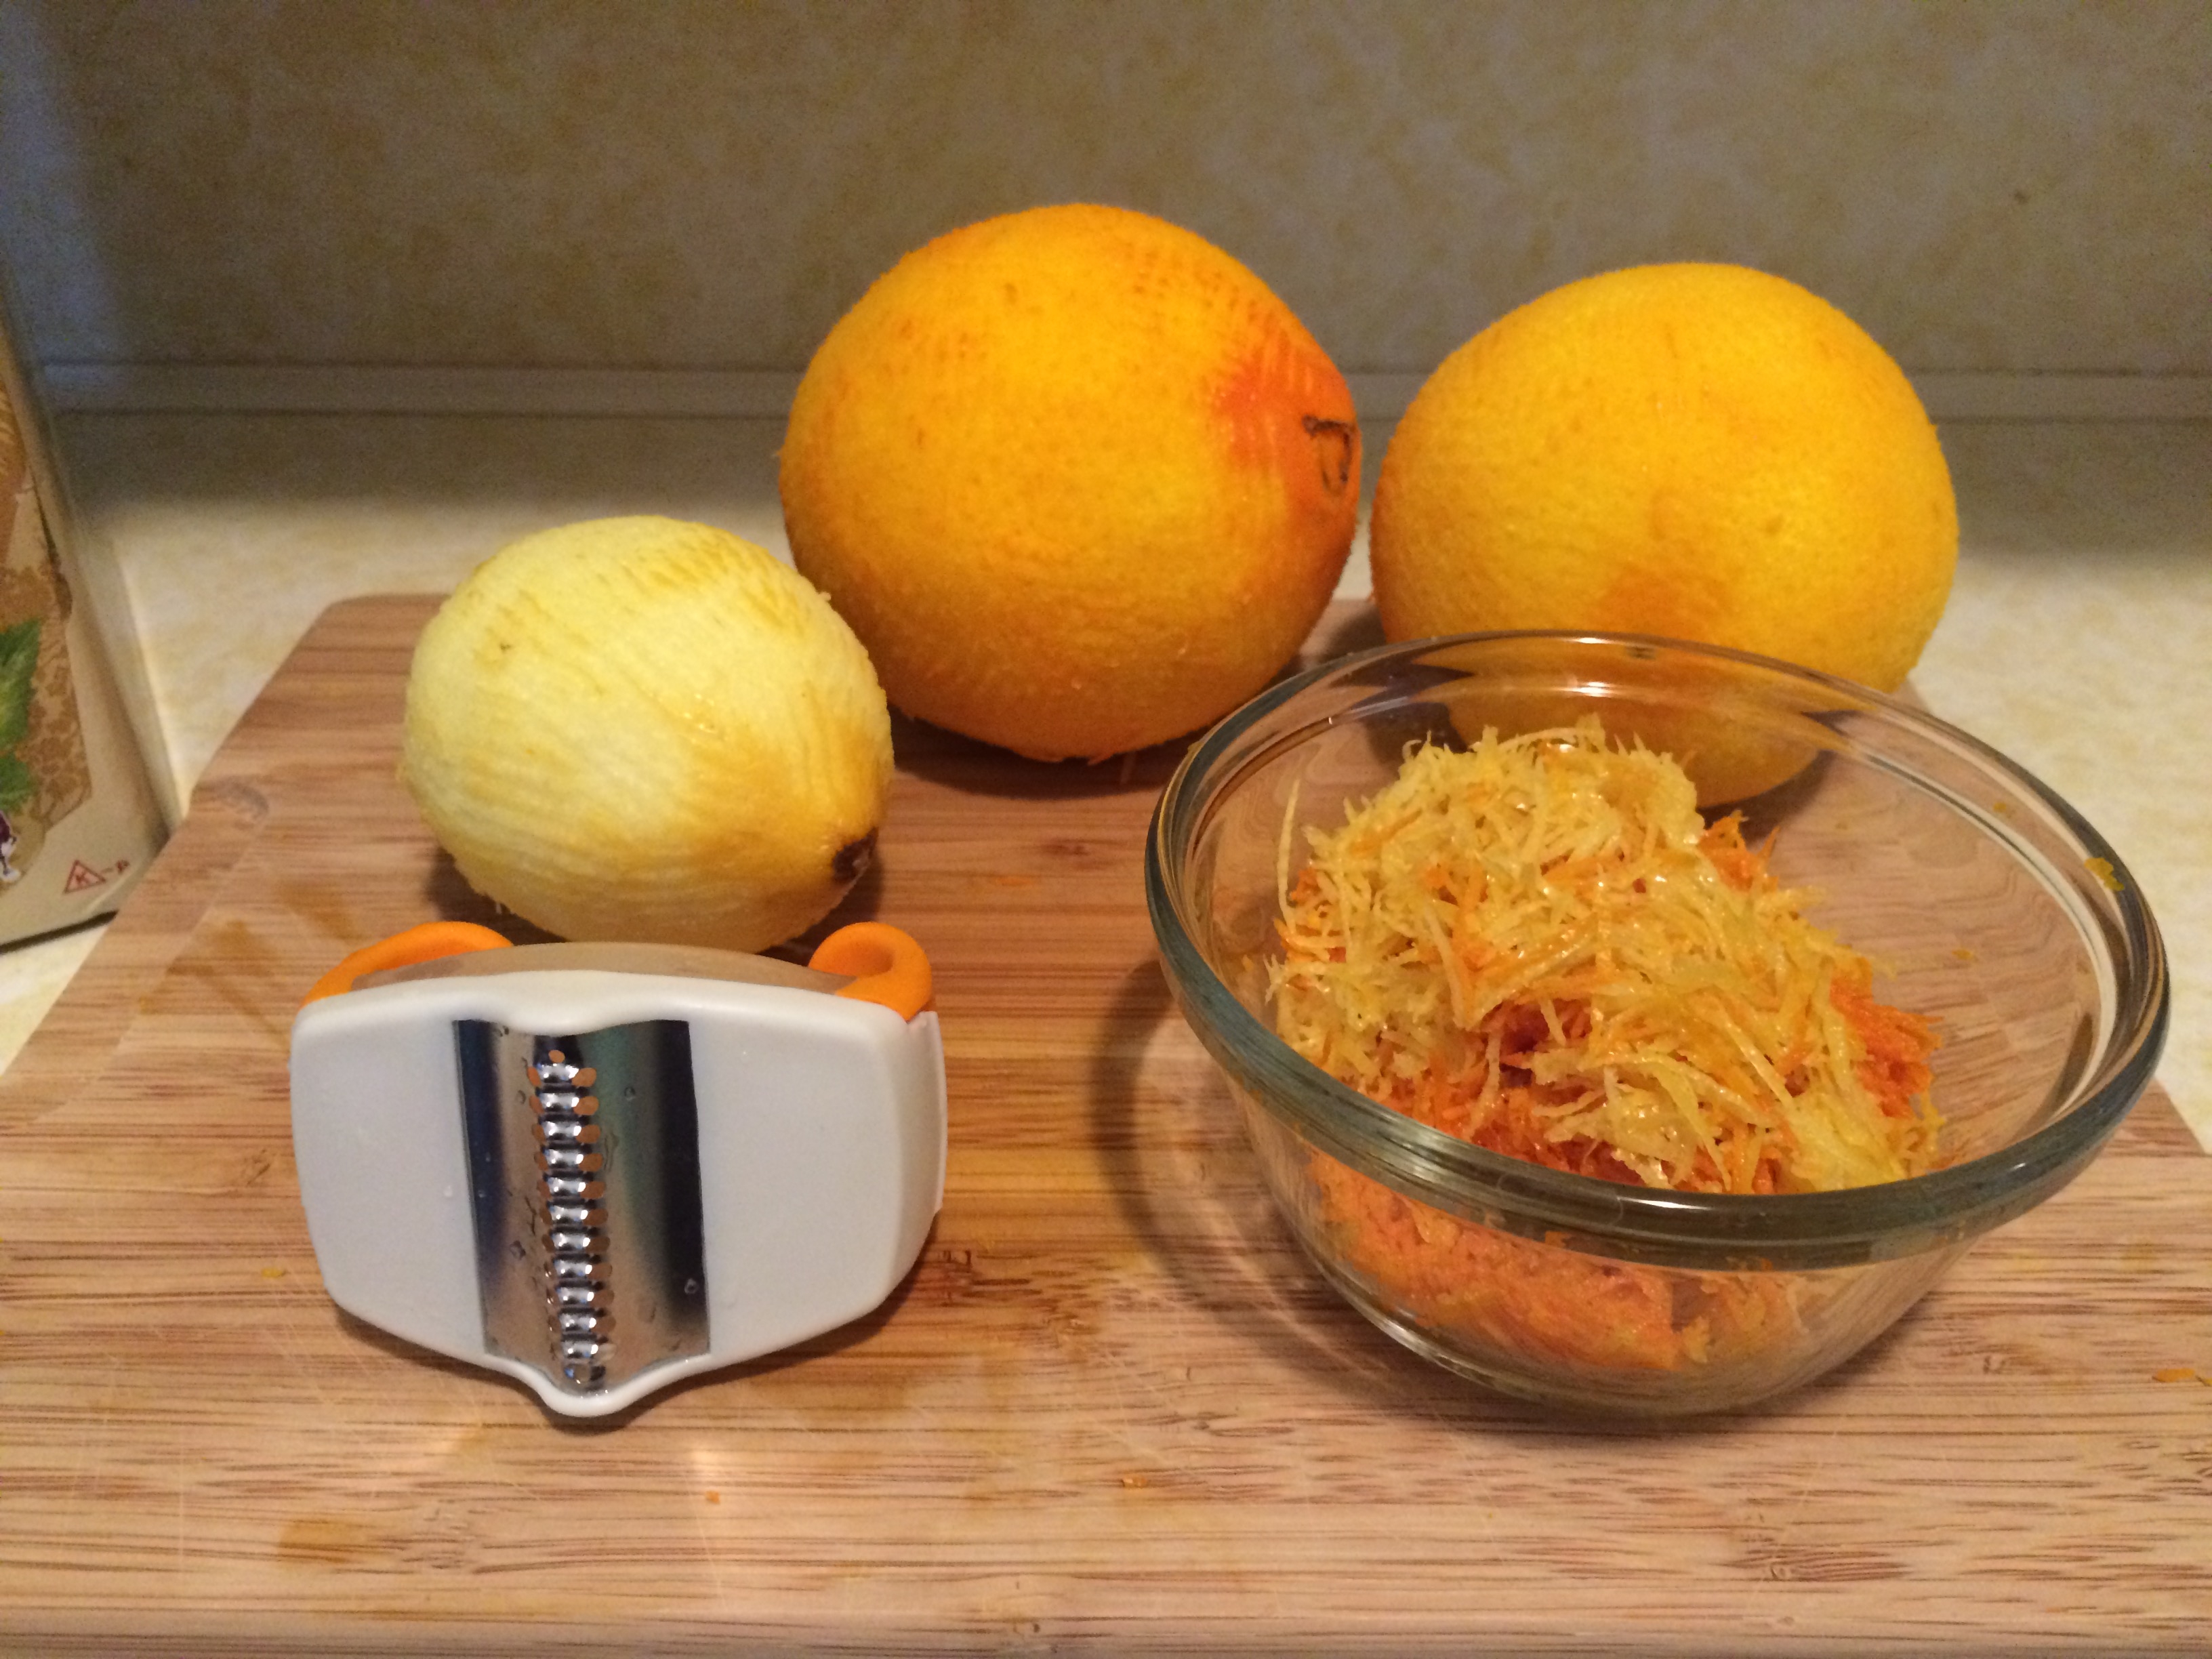 After the three days prepare your oranges and lemon. Zest the fruit, then peel and cut into pieces that will fit into your fermenting vessel. I am using a four liter glass growler style bottle. Pour your “tea” into a large pot, add the orange and lemon zest and bring to a boil. Remove from heat, strain out the solids and add your sugar. The recipe I was following called for three pounds of sugar. I felt like that was too much and would take up way too much room in my fermenting vessel. I decided on 5 cups which is a little over 2 lbs. I would say between two and three pounds and you’d be safe. My wine was not lacking in booziness or sweetness!

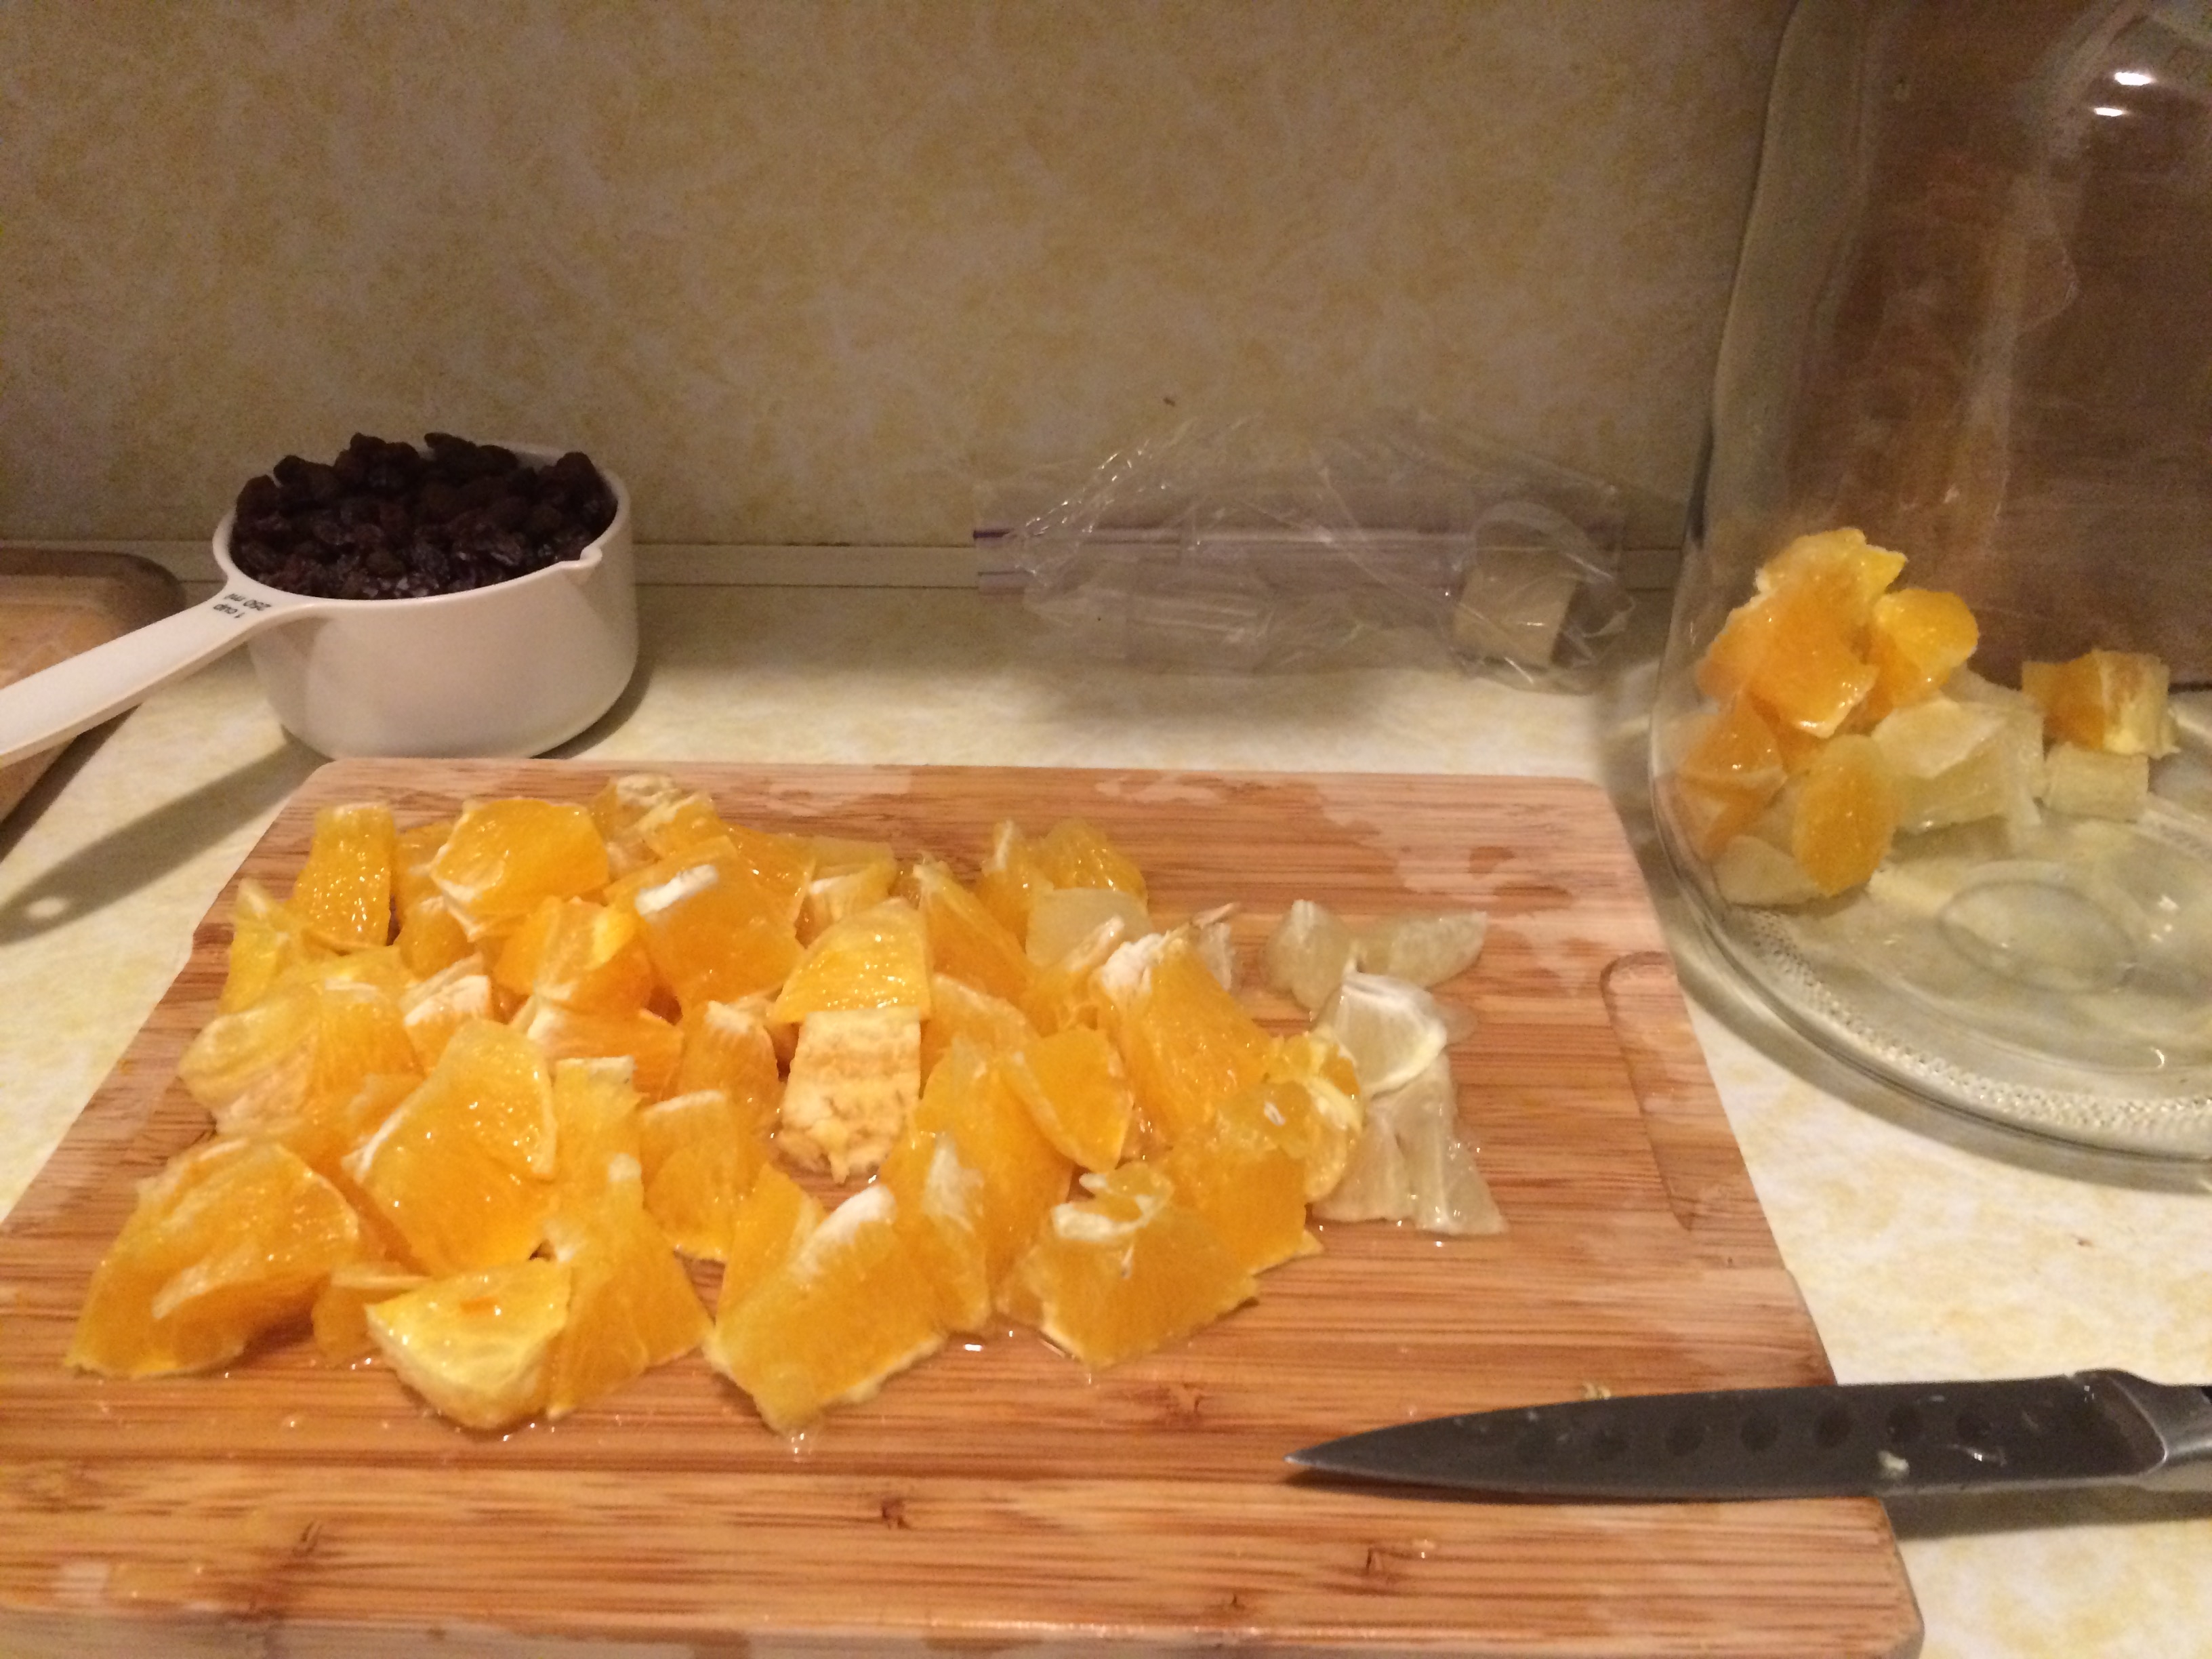
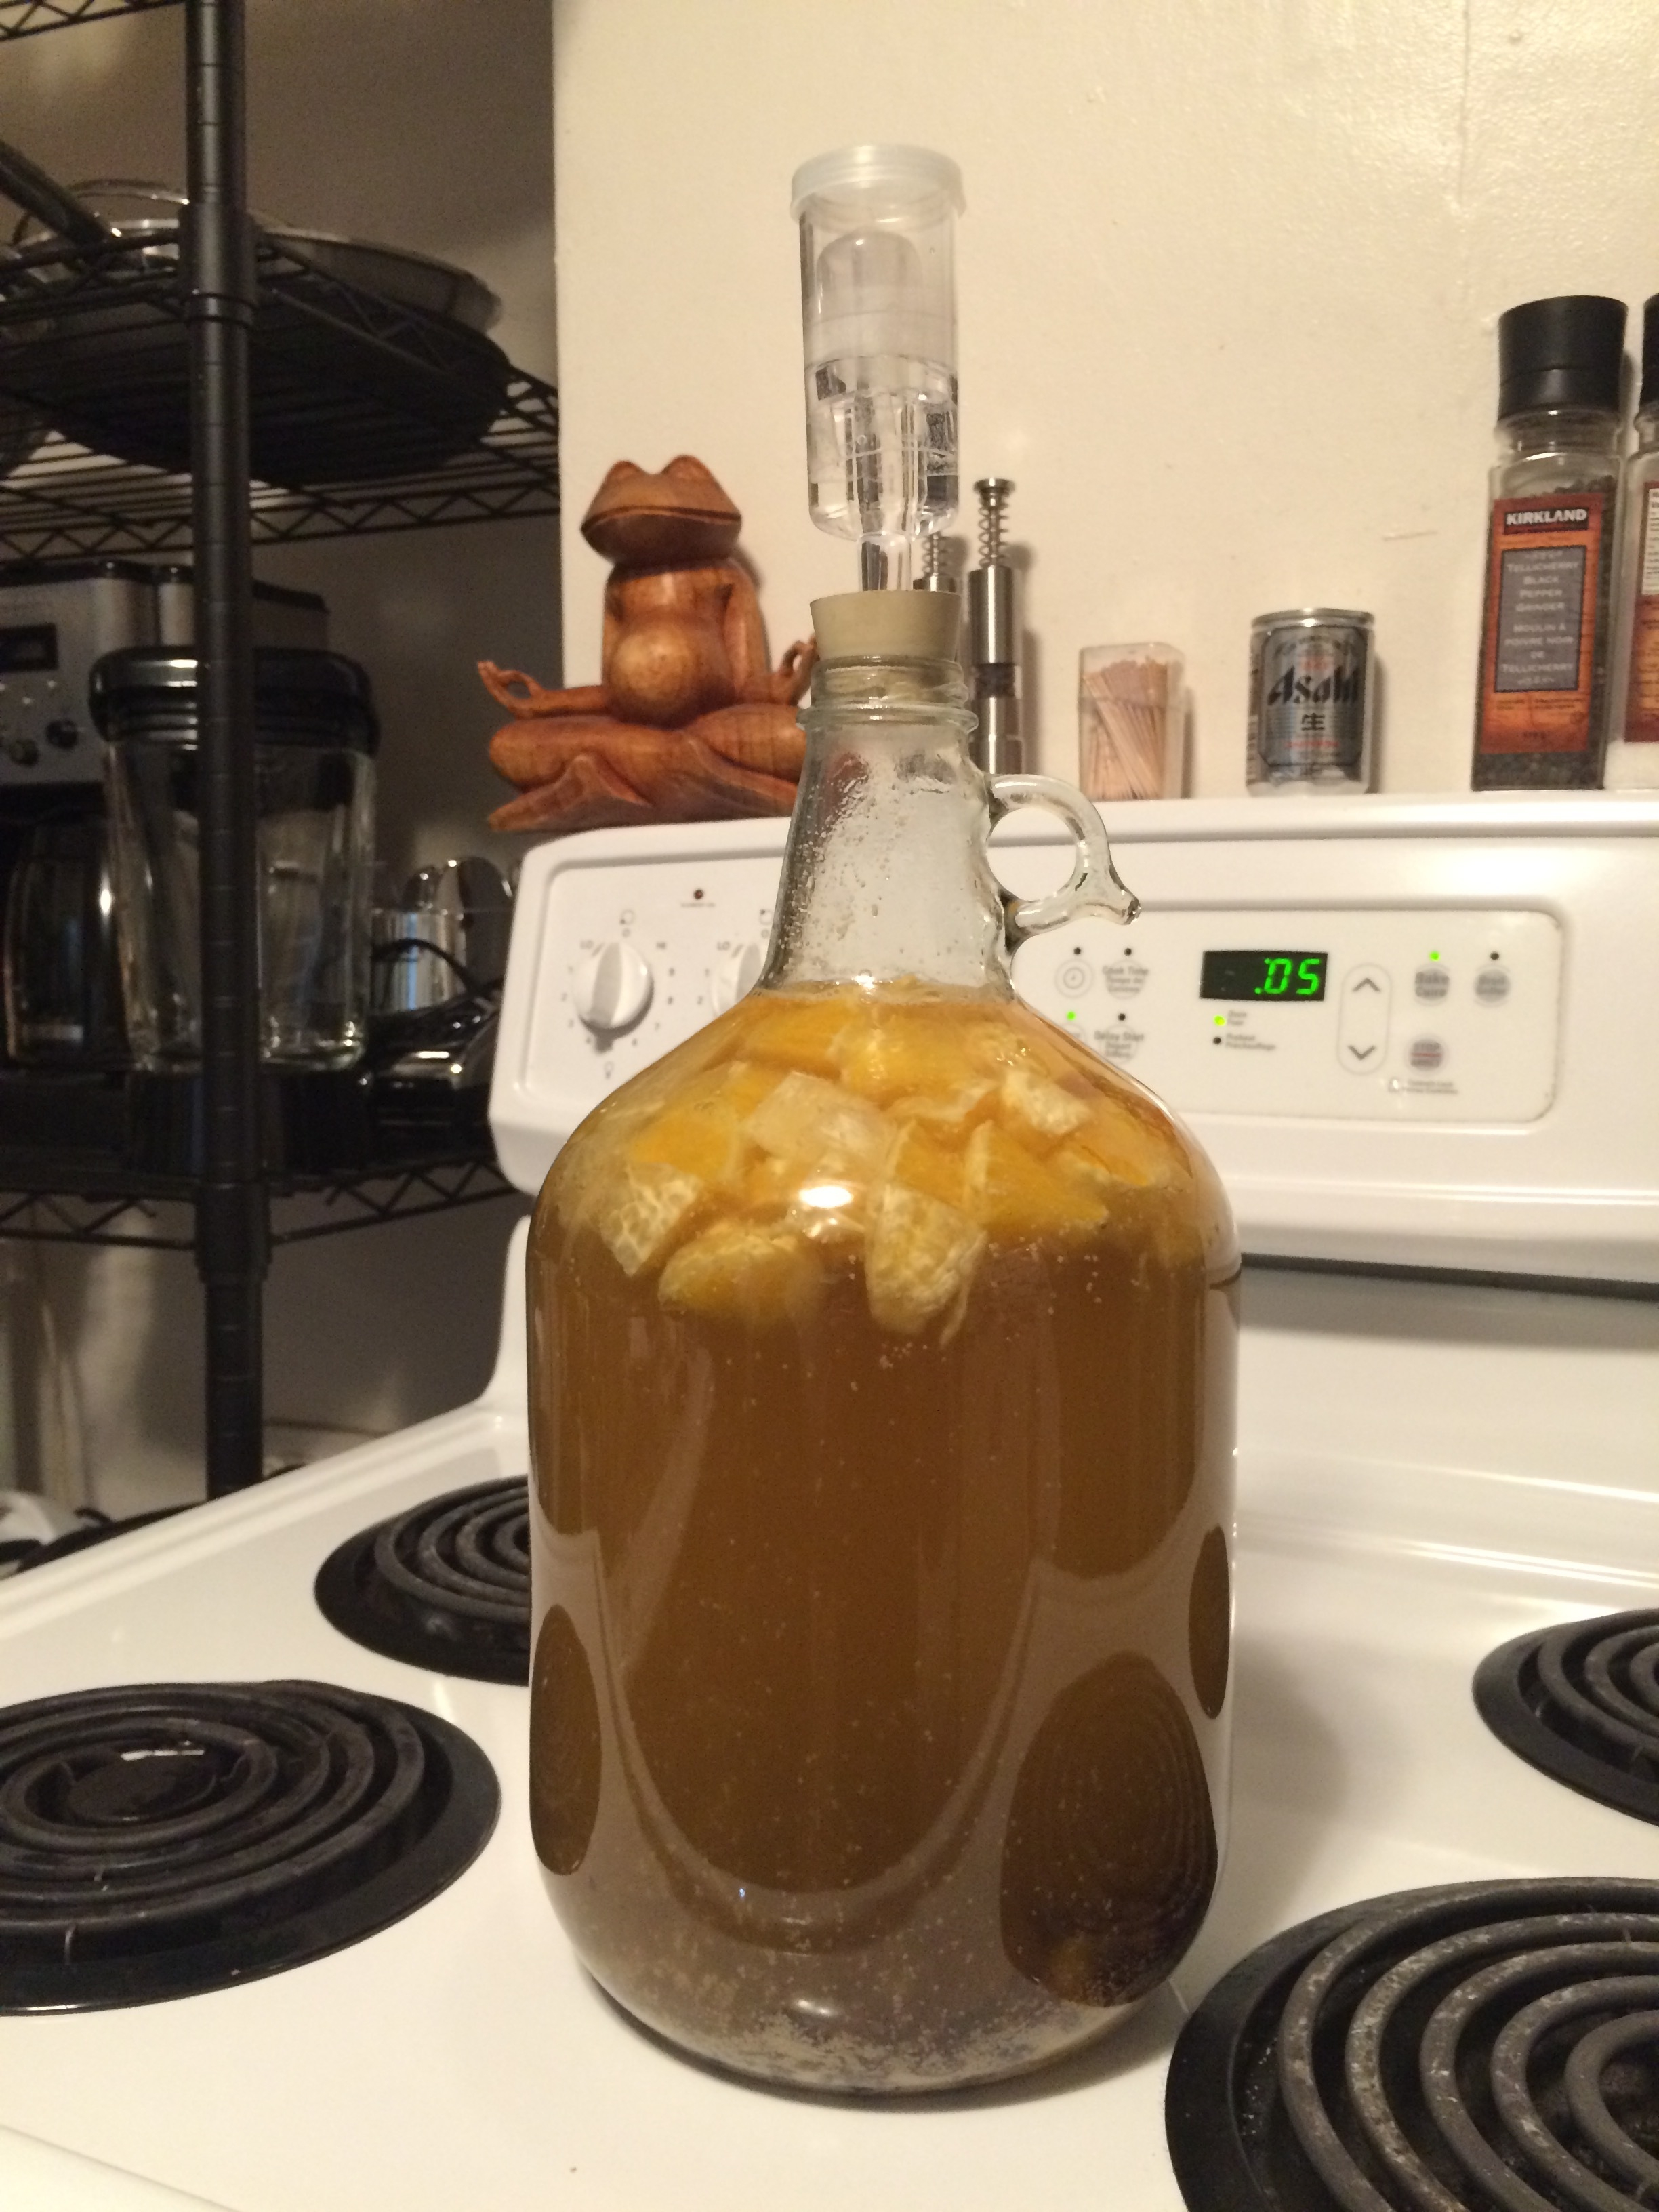
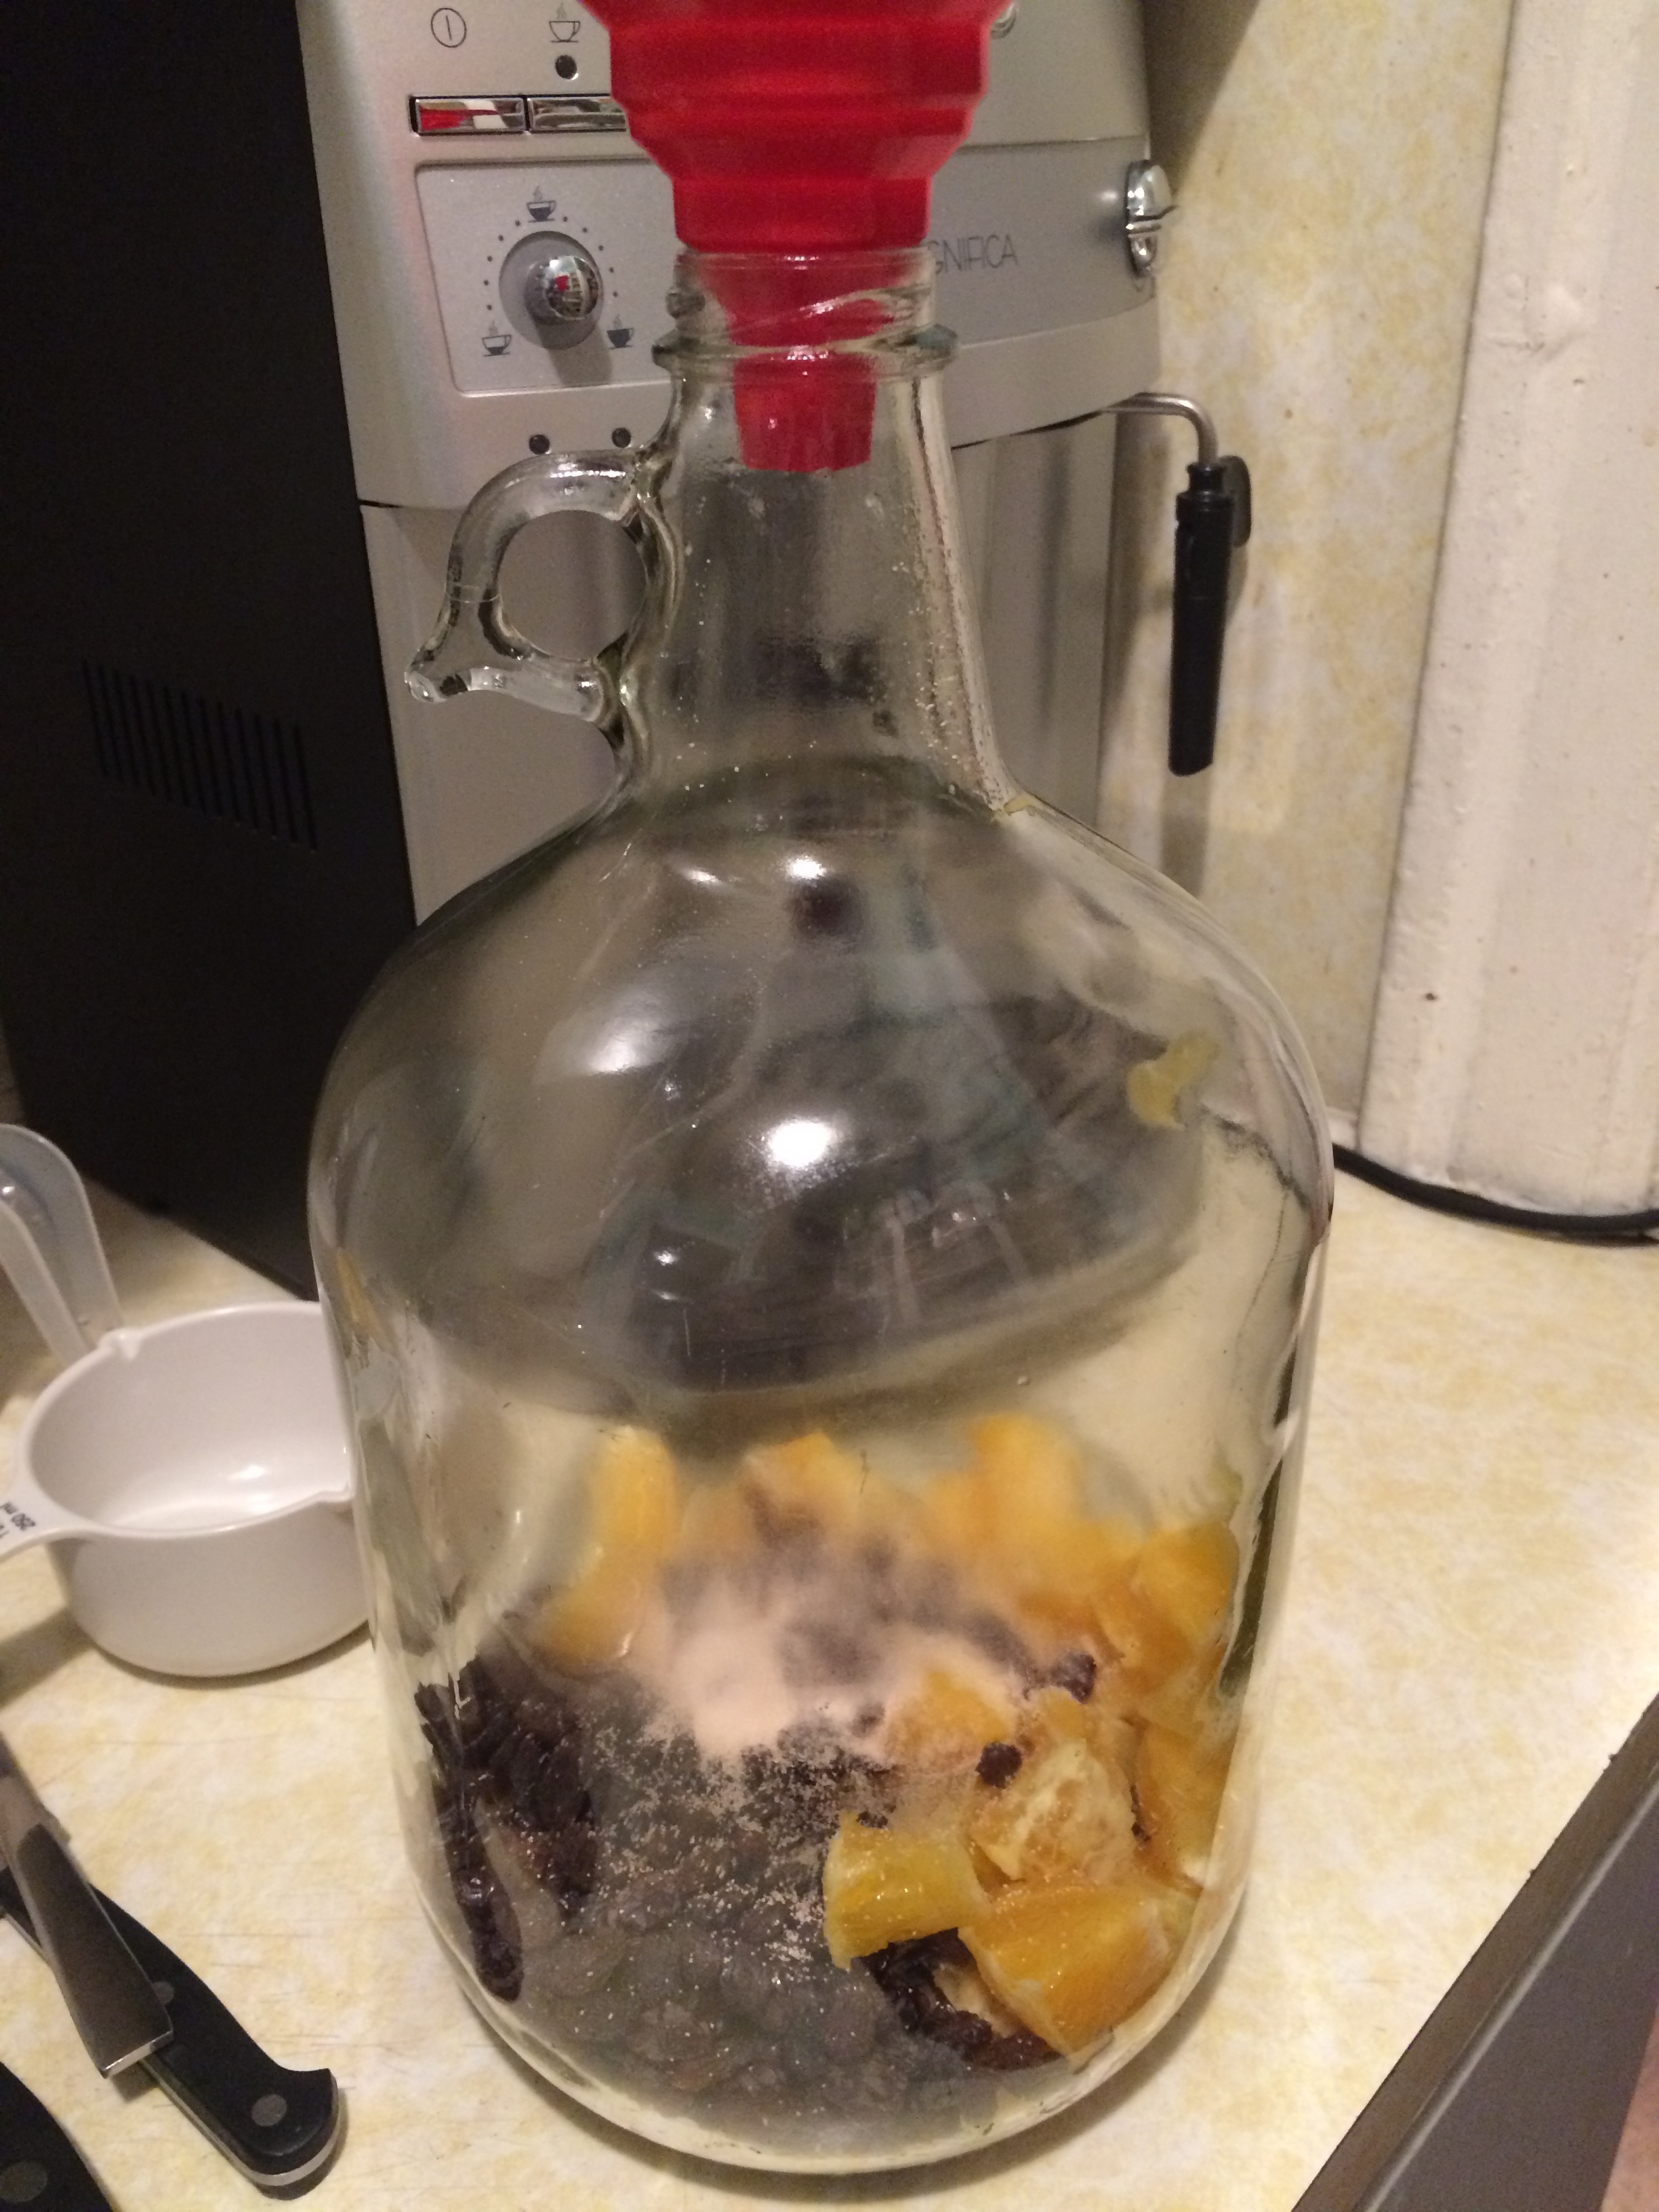 Be sure to sterilize your fermenting vessel. I add a splash of bleach, fill it with hot water, go do some chores, come back and rinse with hot water. Really rinse. If there’s still bleach in there when you start your ferment there will be problems. Put your oranges and lemon pieces, a cup of raisins and a packet of wine yeast in the growler. Then use a funnel and pour your “tea” in. Make sure it is not too hot! You don’t want to kill the yeast. Fill so the liquid comes up into the neck of the bottle. Put your airlock in place and leave to ferment until the bubbling in the air lock stops. A couple of days to a week or more. At first there should be quite a lot of action with the yeast bouncing like mad! (Exciting to watch!) It may even bubble up into the airlock and you will have to remove and clean it. There are so many variables to time so you will really have to watch it. Wait until there is a full minute with no bubble coming up the airlock.
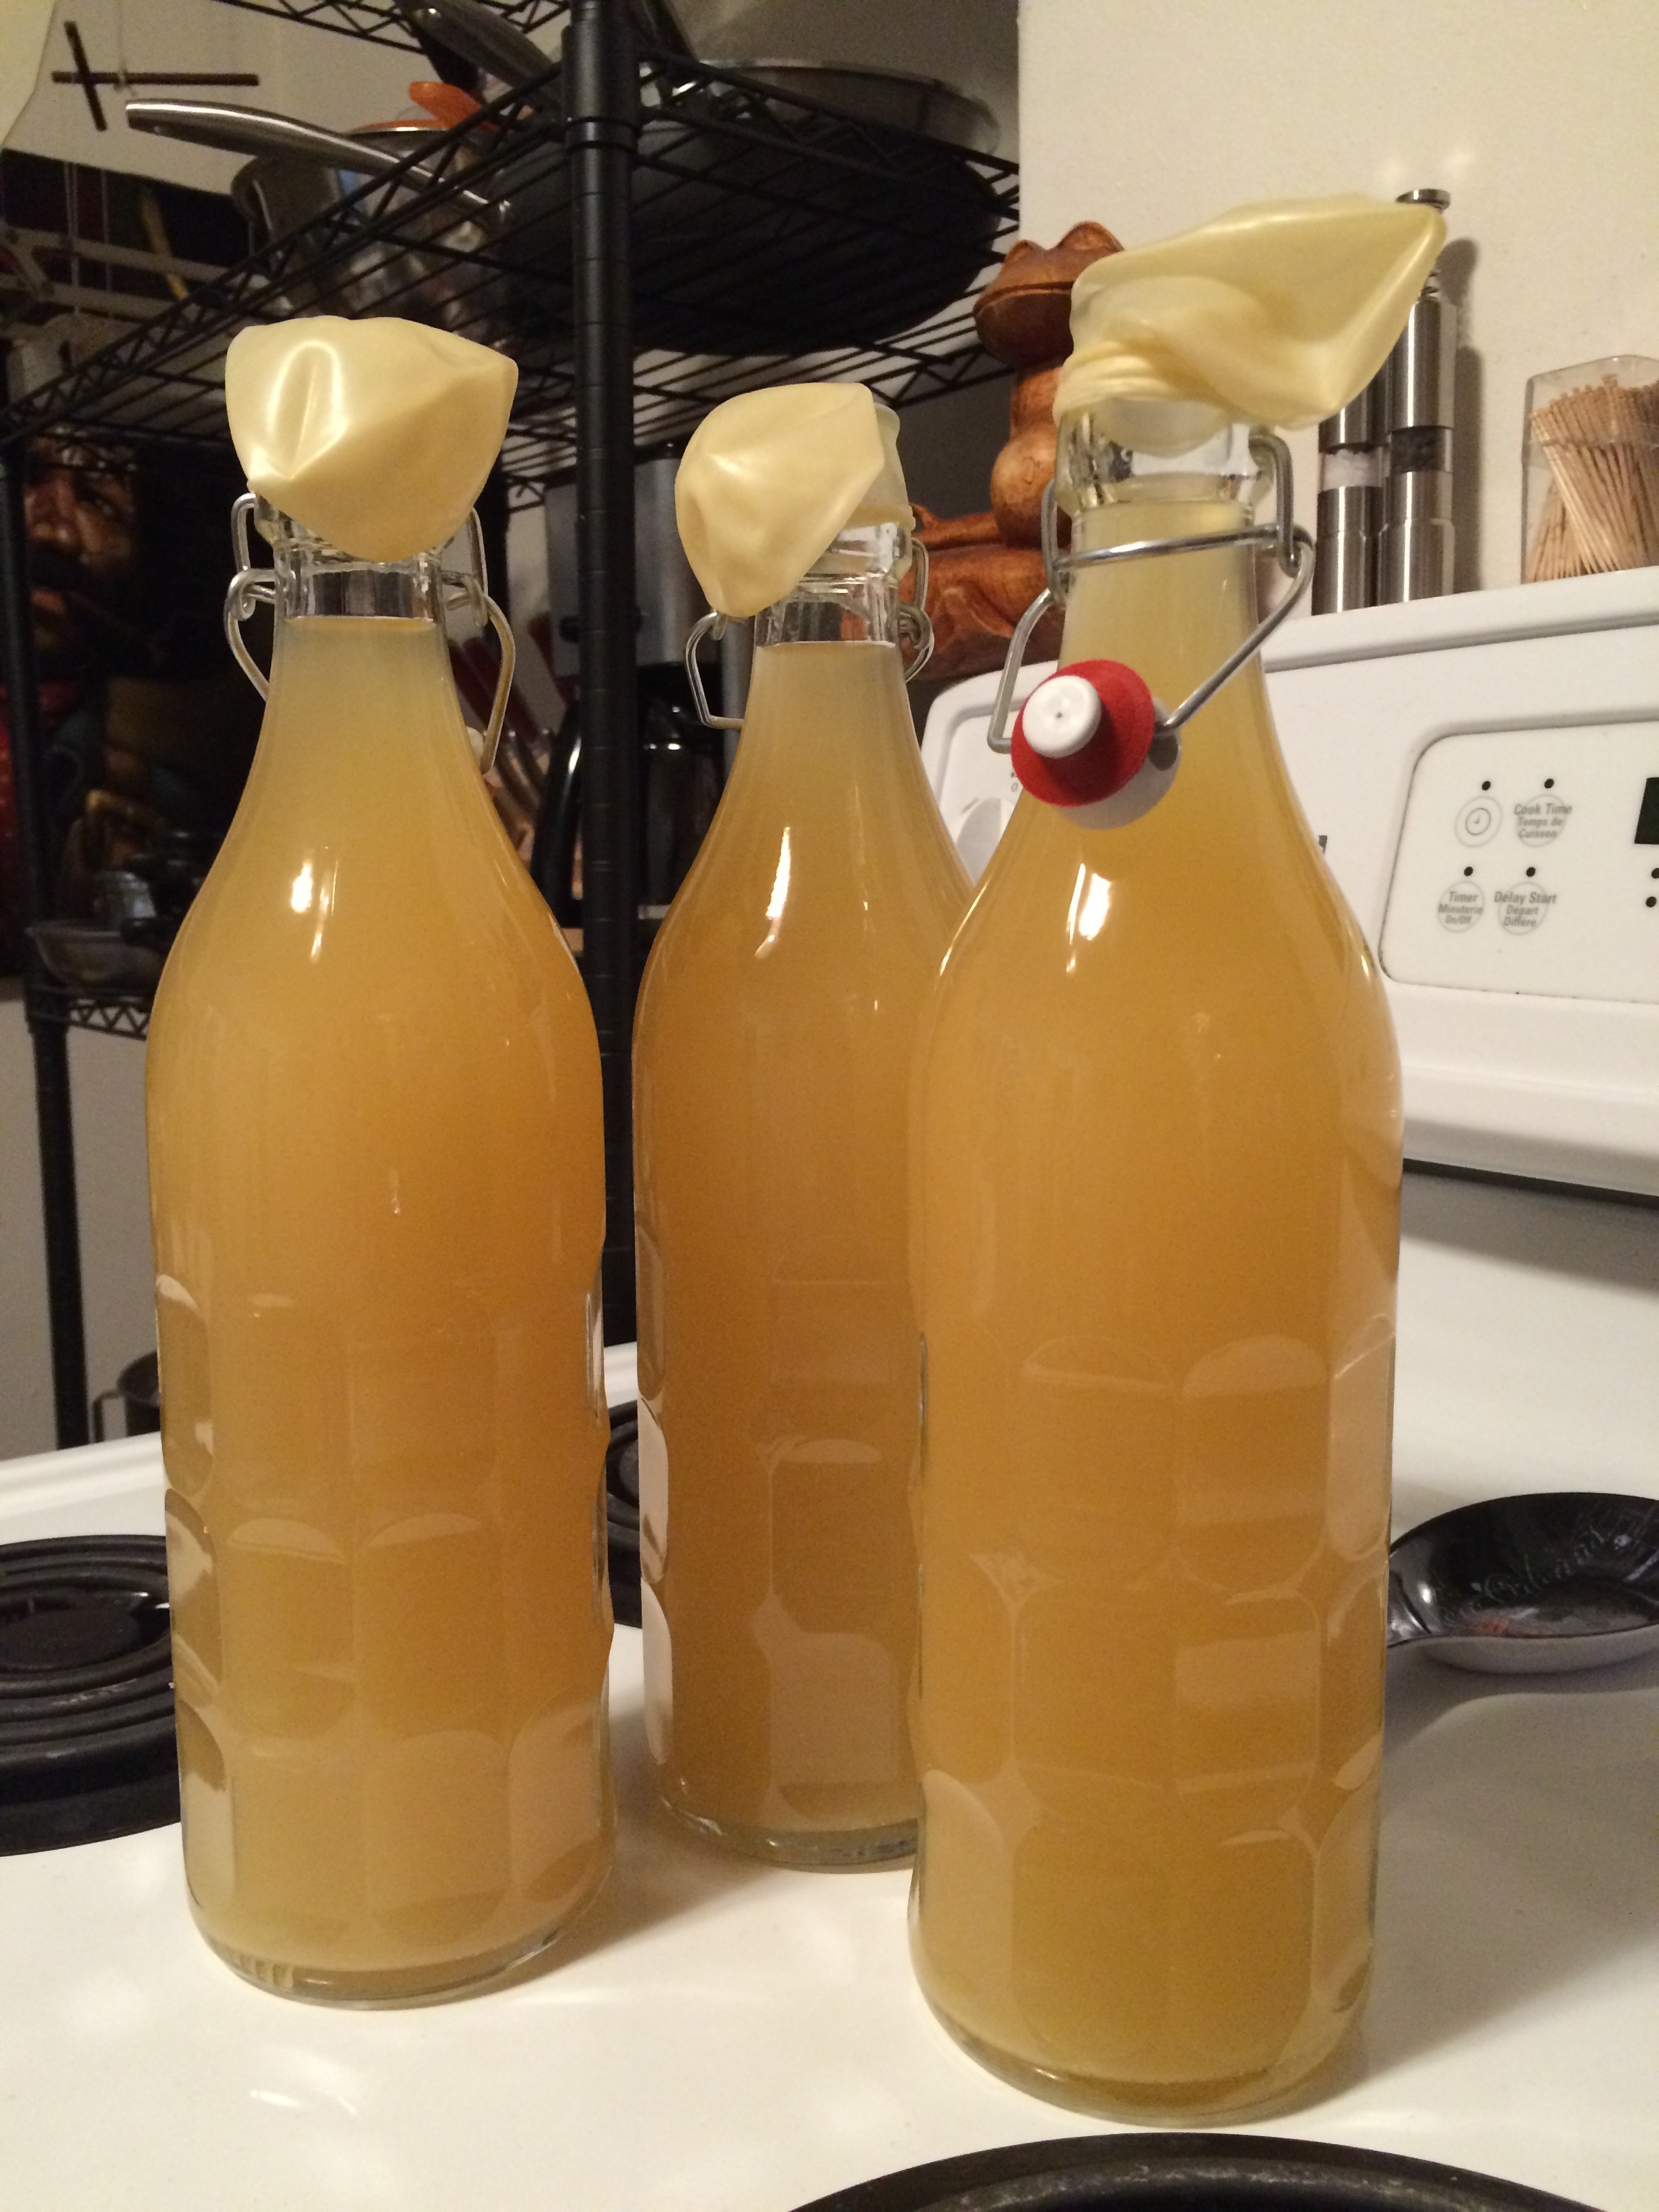
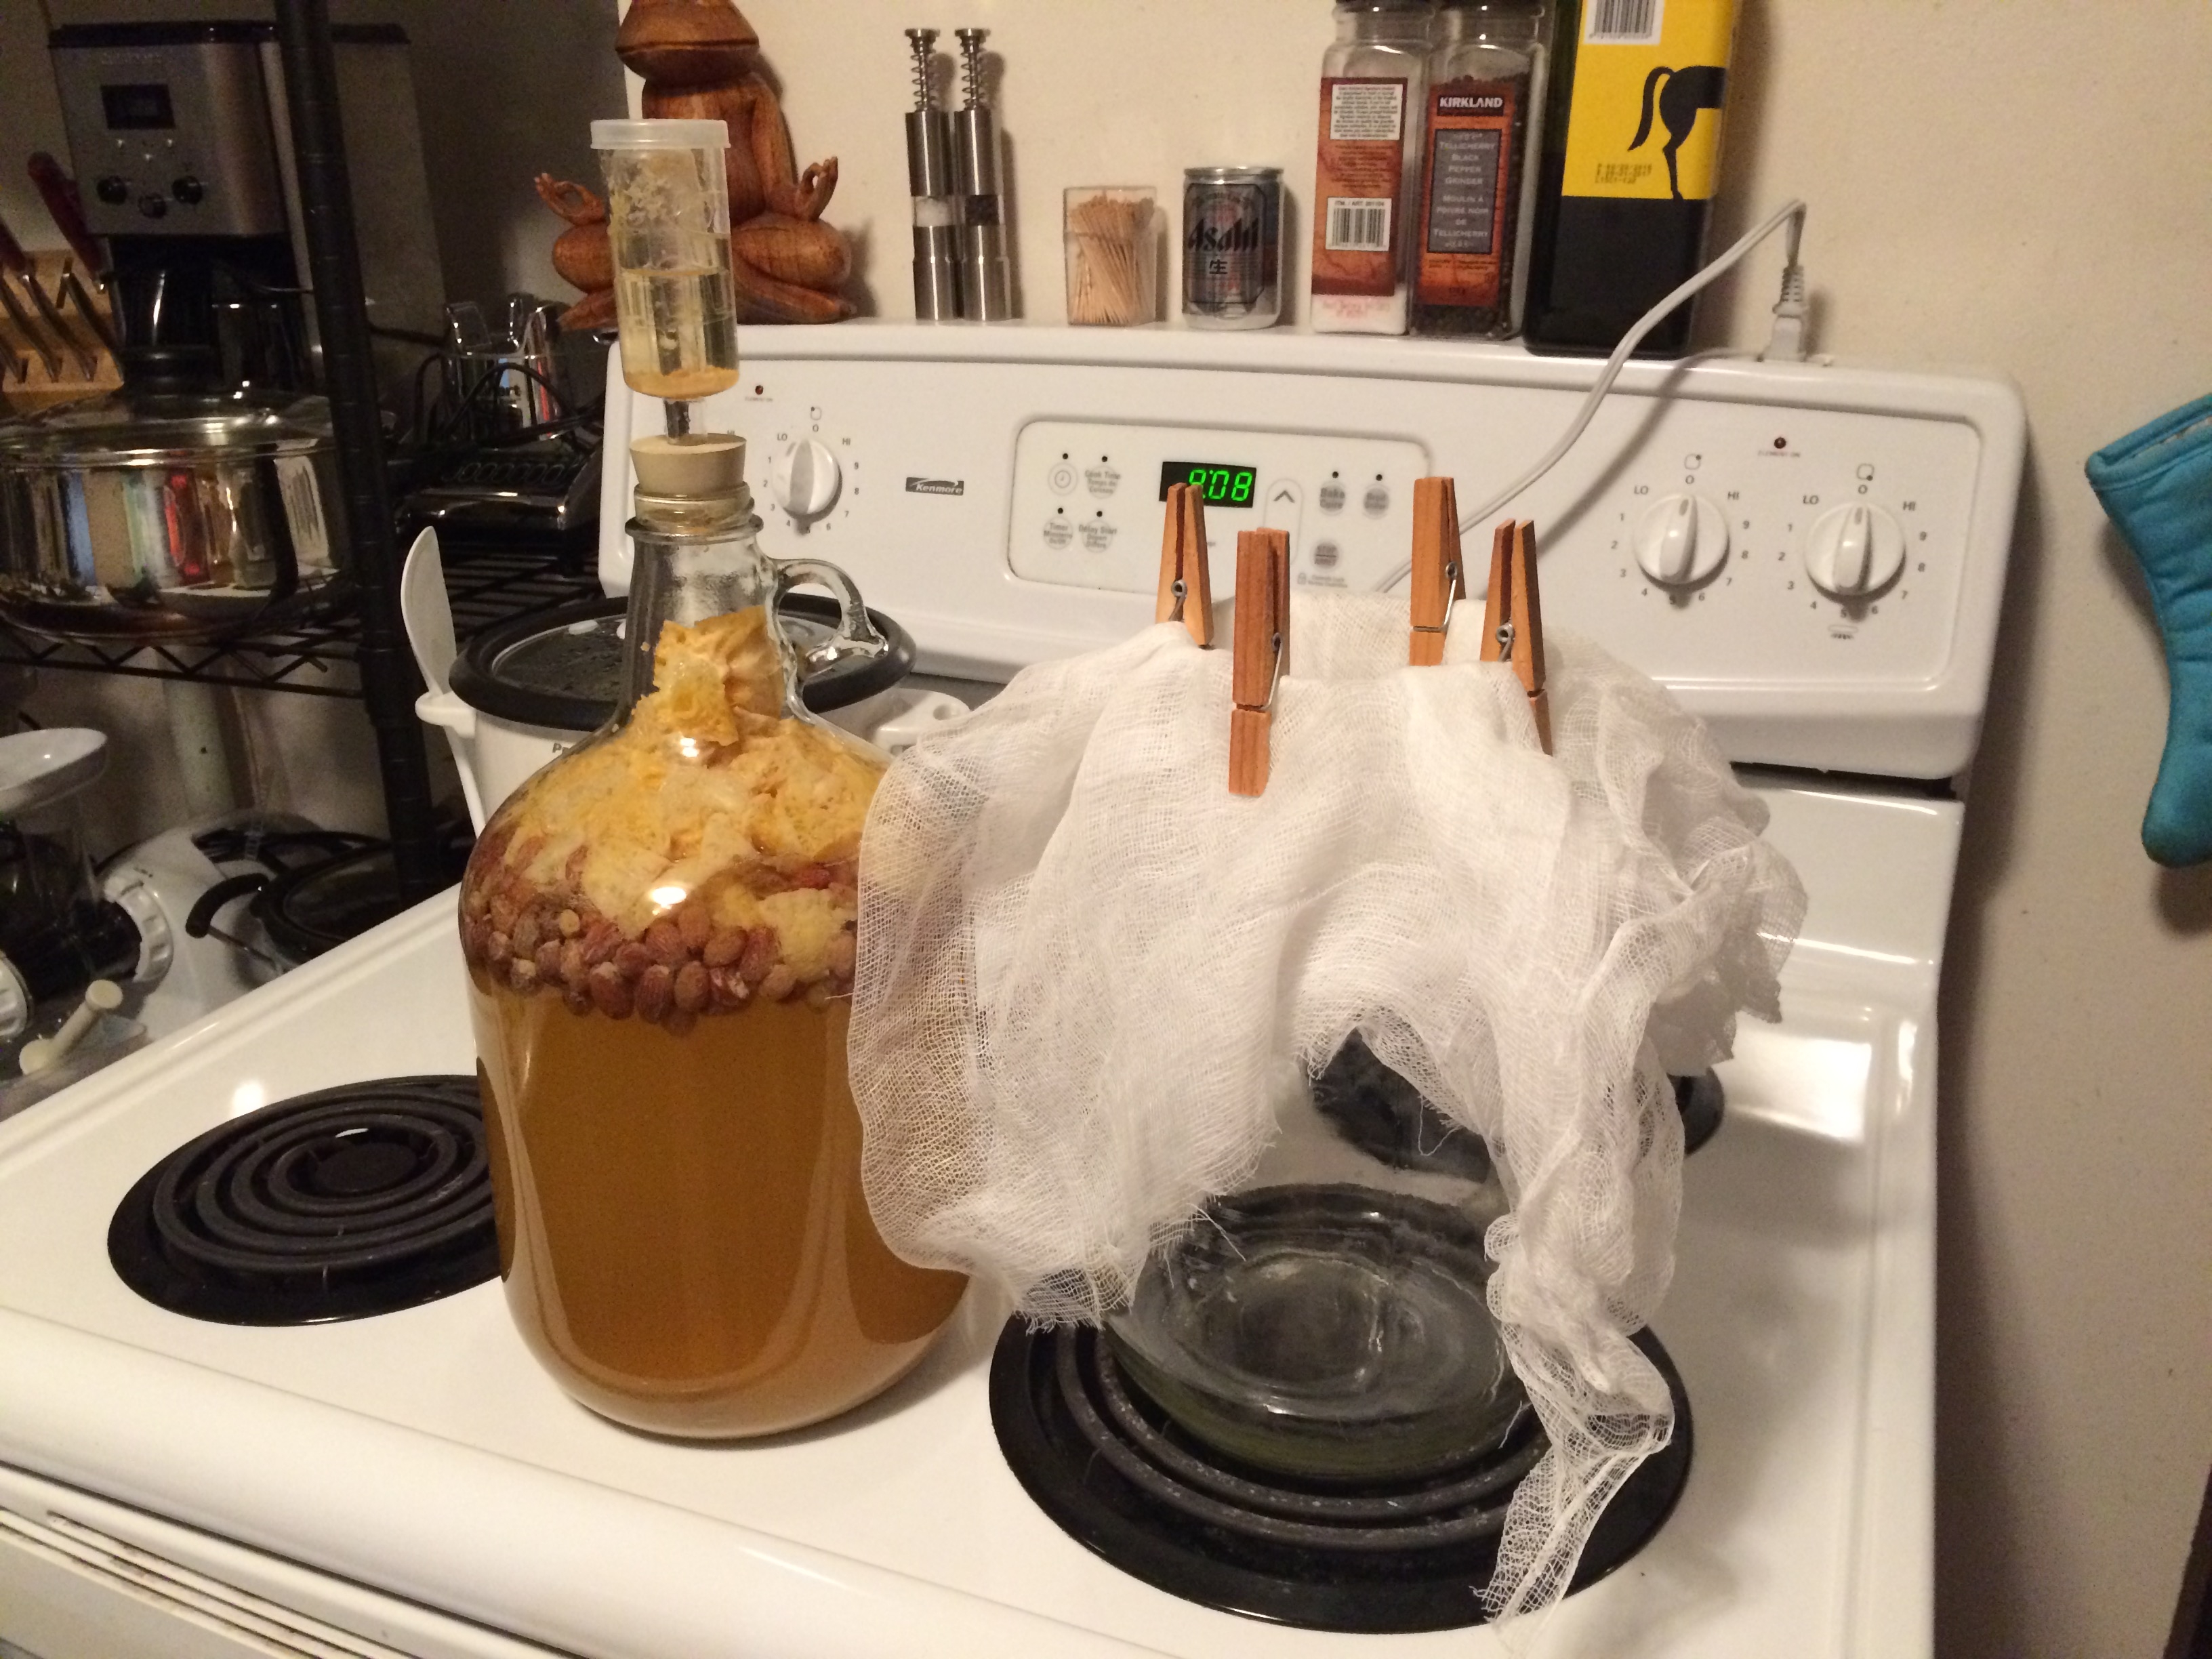 Once you’ve reached this part, the first stage of the ferment is finished. You are now ready to strain all the solids out of your wine. Use several layers of cheese cloth and strain into a four liter, sterilized glass container. Then using your funnel pour the strained liquid into sterilized bottles. In the end this filled up three, one liter, swing top bottles with a little extra left over. Take some balloons and poke a couple holes in them with a pin, then slide them over the necks of the bottles. Whatever fermenting there is still left to do will inflate the balloons and the tiny holes will allow air to release. Once your balloons are no longer inflated for 24 hours you can put the tops on your bottles and set them away to age.
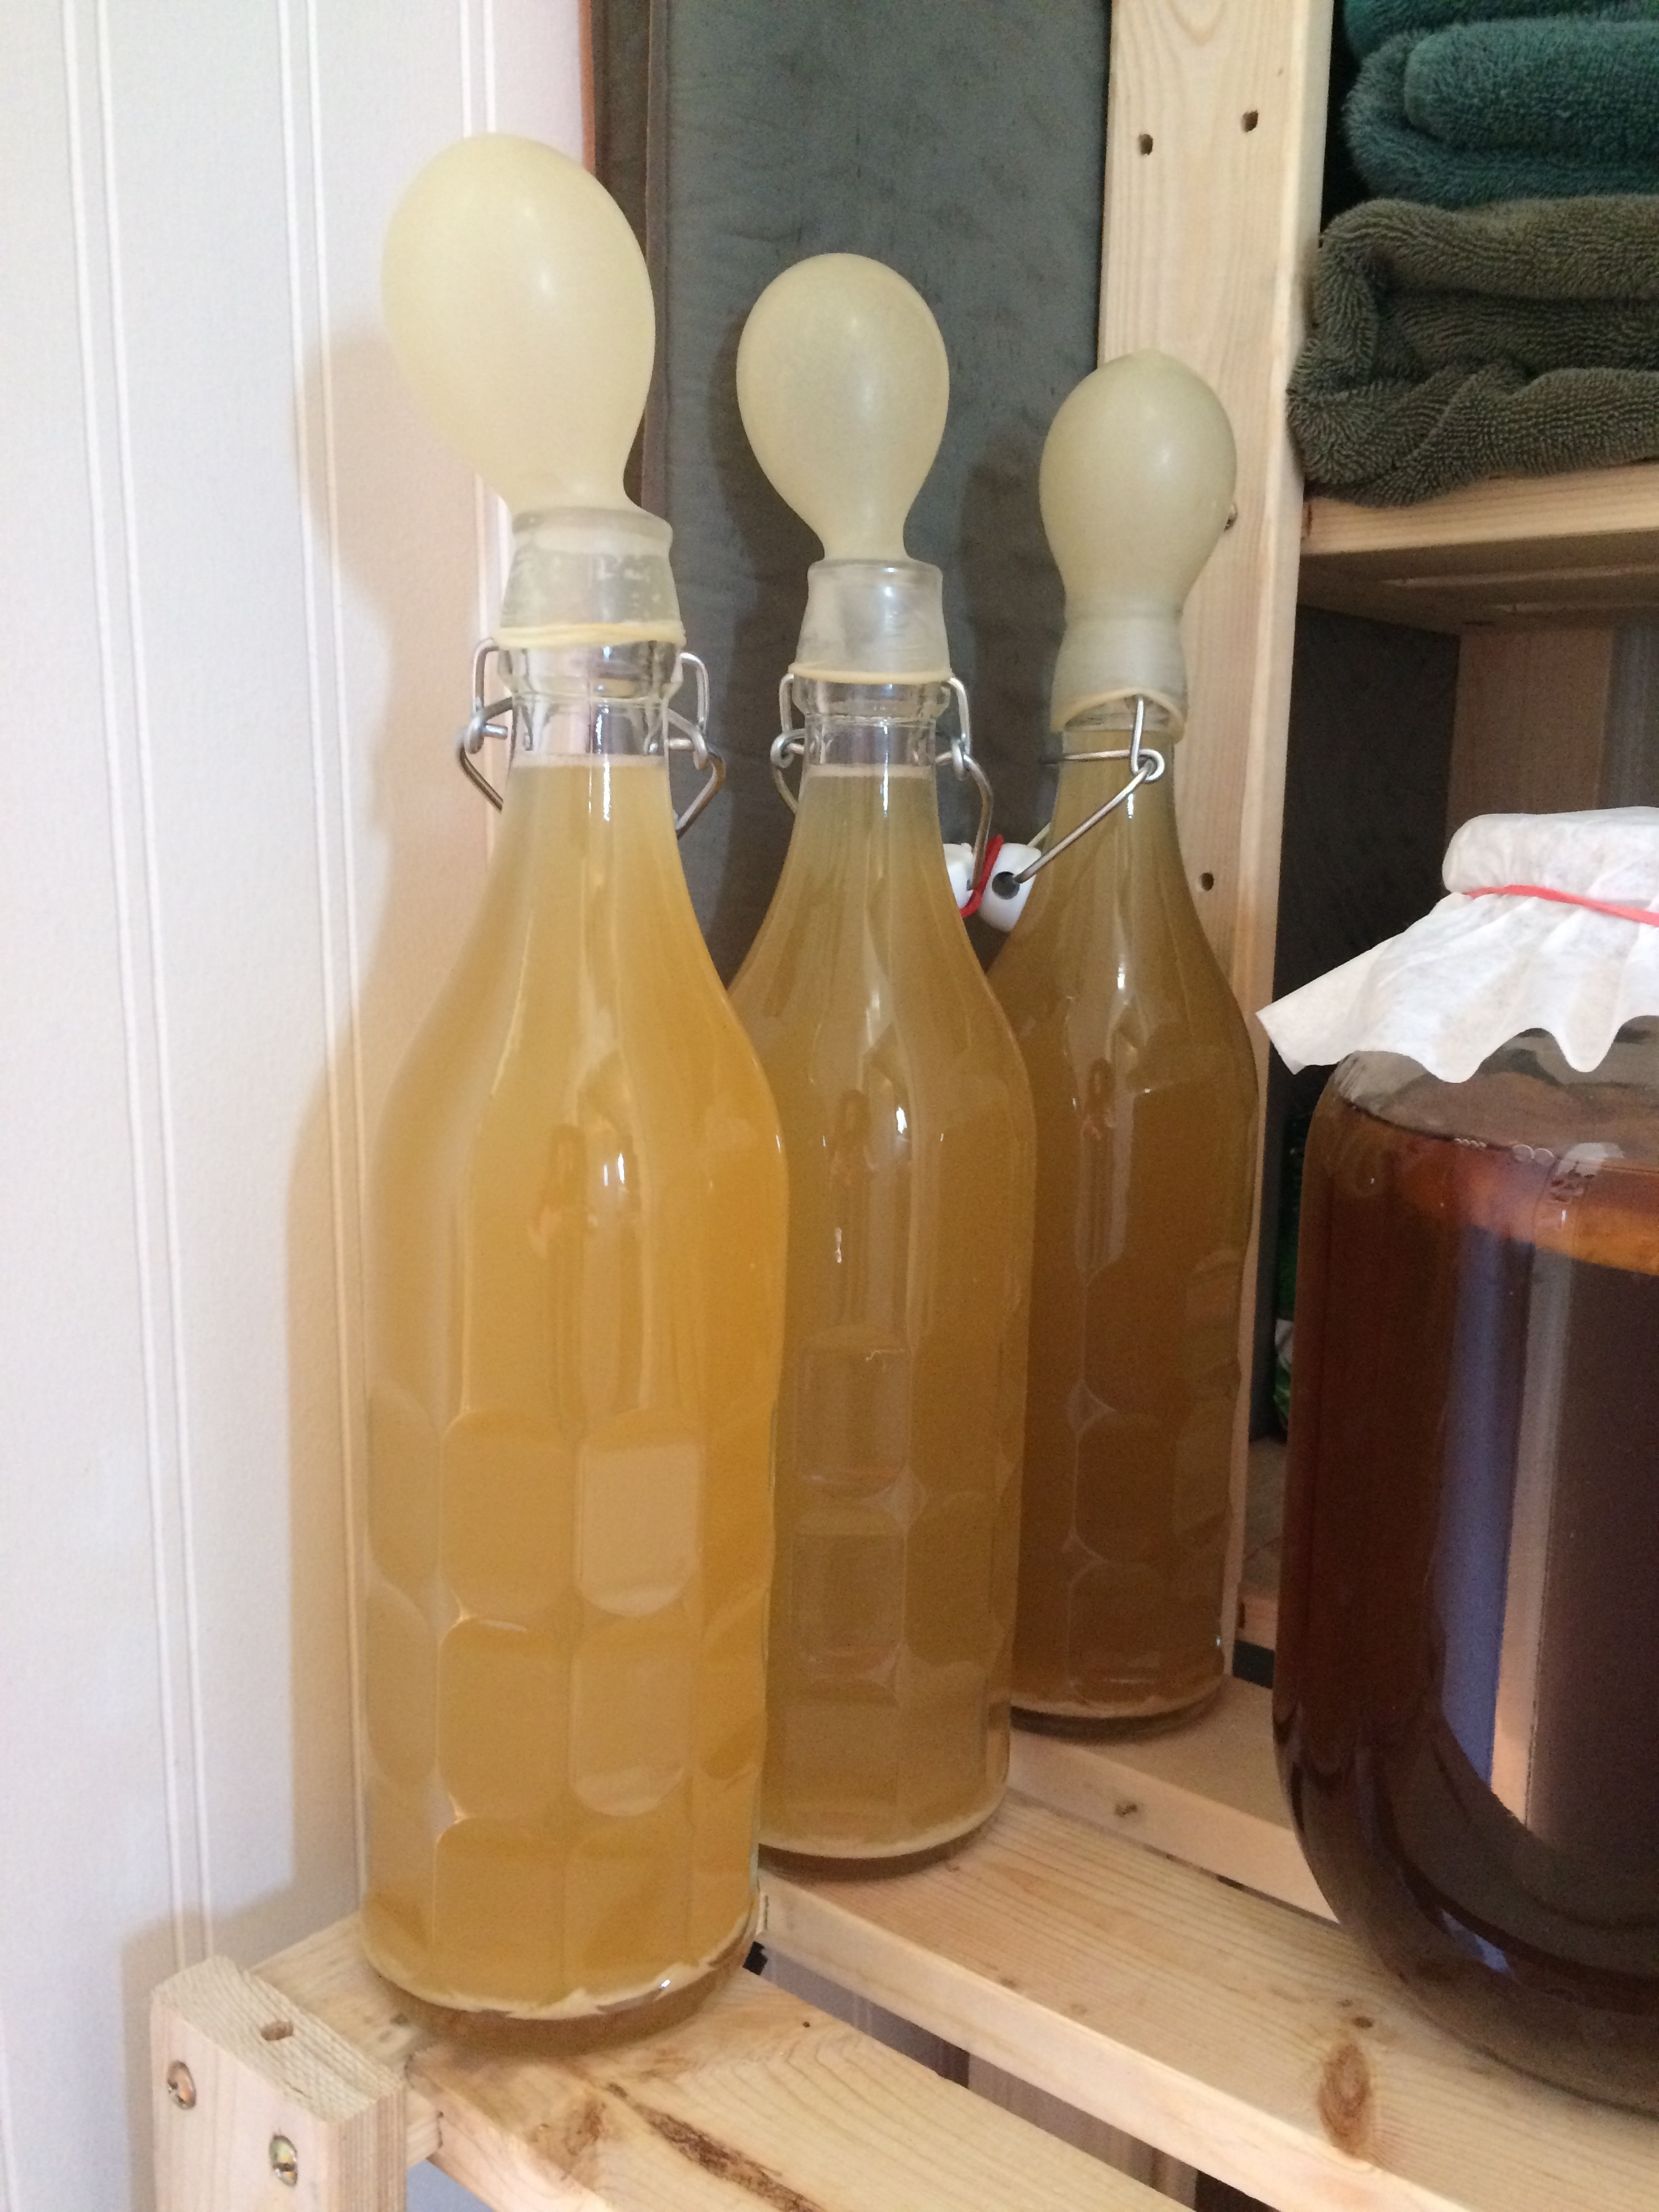
I know, I know! Any of you home brew people are probably doing a mega eye roll after reading this. Balloons? A recipe for disaster and inconsistency right? I agree. There are far better, more precise ways to make homemade booze. But let’s just say I am comfortable leaving a bit of success to chance. That a little on the wild side is ok with me. And by wild I mean wild ferment.
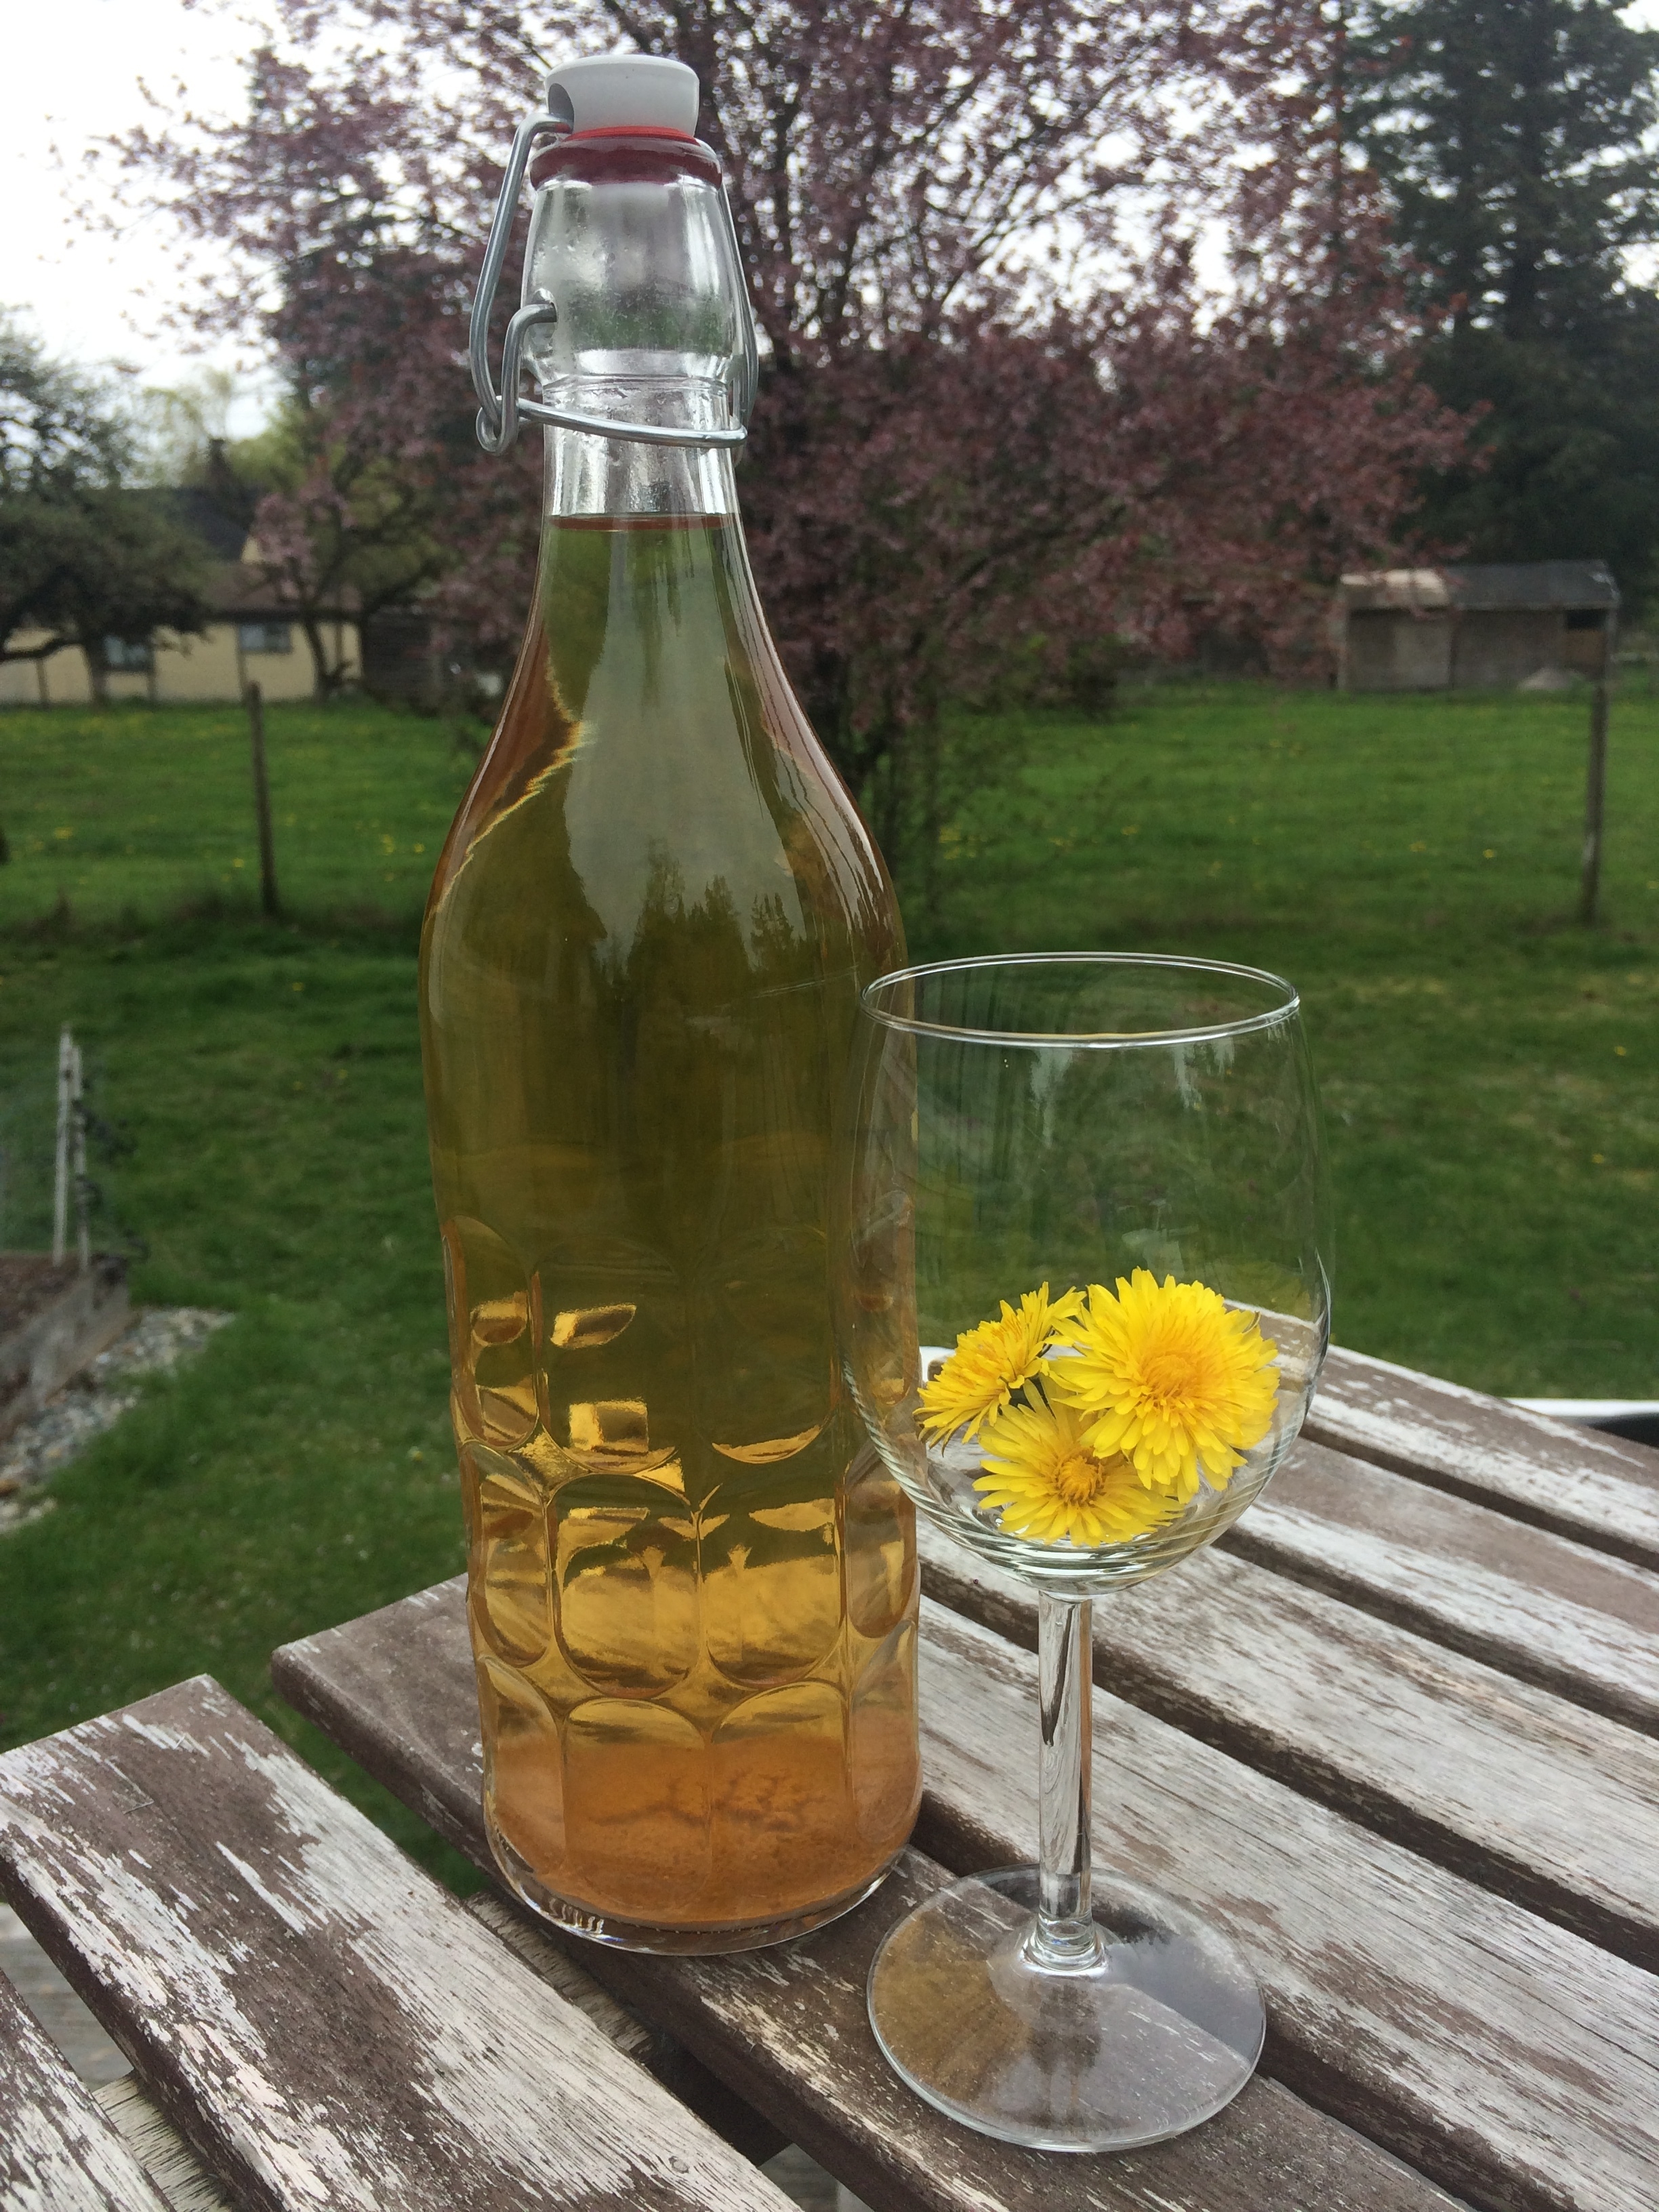
I’ve read that dandelion wine does best if it’s left to develop so we did not have a sample until Christmas last year, 8 months after it all began. The verdict? A bunch of thumbs up from everyone at the family dinner. The wine tasted nice with a very unique flavor to it. One too complicated for me to try and describe. What about the Easter bottle? A full year after the project began? Well it was great too! Packing a good punch with a nice sweetness that complimented dessert after dinner.
Anyone can pick up a bottle of wine at the liquor store on their way to a gathering of friends and food! But there’s a sense of pride and excitement handing over your homemade bottle and can make for an interesting exchange of stories shared of do-it-yourself experiences.
Homemade Dandelion Wine
Ingredients:
- 12 C dandelion blossoms
- 4 L filtered water
- 2 organic oranges
- 1 organic lemon
- 2-3 lbs sugar
- 1 packet wine yeast
- 1 C organic raisins
Instructions:
Collect blossoms when they are fully open, pull petals away from the green and wash in a sieve.
Bring filtered water to a boil and pour over petals in a large glass container. Cover and steep for three days.
Zest (or finely grate) the skin of both oranges and lemon. Peel the fruit and cut into small enough pieces to fit in fermenting vessel.
Pour the dandelion “tea” into a pot and add the zest. Bring to a boil. Remove from heat, strain out the solids and stir in sugar. Allow to cool.
Put the orange and lemon pieces, raisins and yeast into the fermenting vessel. Use a funnel and pour the “tea” in until liquid reaches into the neck of the fermenting bottle. Give the bottle a swirl to mix things up.
Attach airlock and set aside somewhere warm, out of direct sunlight to ferment until there are no more bubbles in the airlock.
Strain the liquid through several layers of cheesecloth into a large sterilized glass container. Then use a funnel and pour into sterilized swing top bottles.
Poke a few holes in balloons and slide over the neck of the bottles. When the balloons remain deflated for 24 hours fermenting is complete.
Cap bottles and set aside for at least six months to allow the flavors to develop.
**Please note! It is important that fermenting is complete before capping or else the bottles may explode from excess pressure.**
Good luck and enjoy! x
Inspired by recipe at commonsensehome.com