
Hello readers! Here I am again, putting pen to …..uh… well making words you can read! If you read my last post you know that I was finding dilemmas about posting here but I am resolved to make this a place I can share without the pressures of “is it good enough?” or a nagging self doubt.
Have any of you watched the Netflix series called Cooked? It’s a four part series about food with each episode focusing on foods/methods linked to earth, air, fire and water. I won’t get too into it but I highly recommend you check them out. The episode that really blew me away, and in a way changed my life, was the “air” episode. I learned so much about bread! Things that had never even occurred to me. Like what exactly is bread? When you break it down to basics. And what is sourdough really? And why do you need a starter? Does grandma have to give said starter to you?
I’ve ordered it with breakfast at the pub and bought the rounds to go with a dip for a party but what actually is sourdough? I learned how bread, in it’s most basic form, is literally two ingredients, flour and water. The yeast that causes the bread to rise occurs naturally in our environment. With a little time and minimal effort I could create a sourdough starter of my own and provide myself with the healthiest of bread choices. I shut Netflix off and declared to my fella that we will never buy bread again!
I got on Google and started to peruse websites and blogs, gathering information. I’ll be honest that complicated things are intimidating to me. I didn’t want to embrace the science of it with scales and weights and measures. Consistent feeding times. But I did. I went with the instruction off a website I had used as a guide for other things in the past. I mixed up the recommended portions of water to flour and began my daily routine with it. I think by day three I found myself too busy, or more likely lazy, to be bothered with it. It was a strange consistency and I didn’t have the confidence that I was making this work. Plus this particular recipe was making a huge amount. I only needed enough for a loaf once, maybe twice a week. I threw it out.
I was still resolved to make us healthier though and bought myself a bottle of bakers yeast. I began my homemade bread journey not with traditional sourdough but with a regular yeast no knead recipe. Baby steps. The recipe goes like this:
- 2 C white flour
- 1 C rye flour
- 1 1/2 tsp sea salt
- 1/2 tsp yeast
- 1 1/2 C lukewarm filtered water
(whole wheat flour can be subbed in but keep in mind you will be getting a denser loaf)
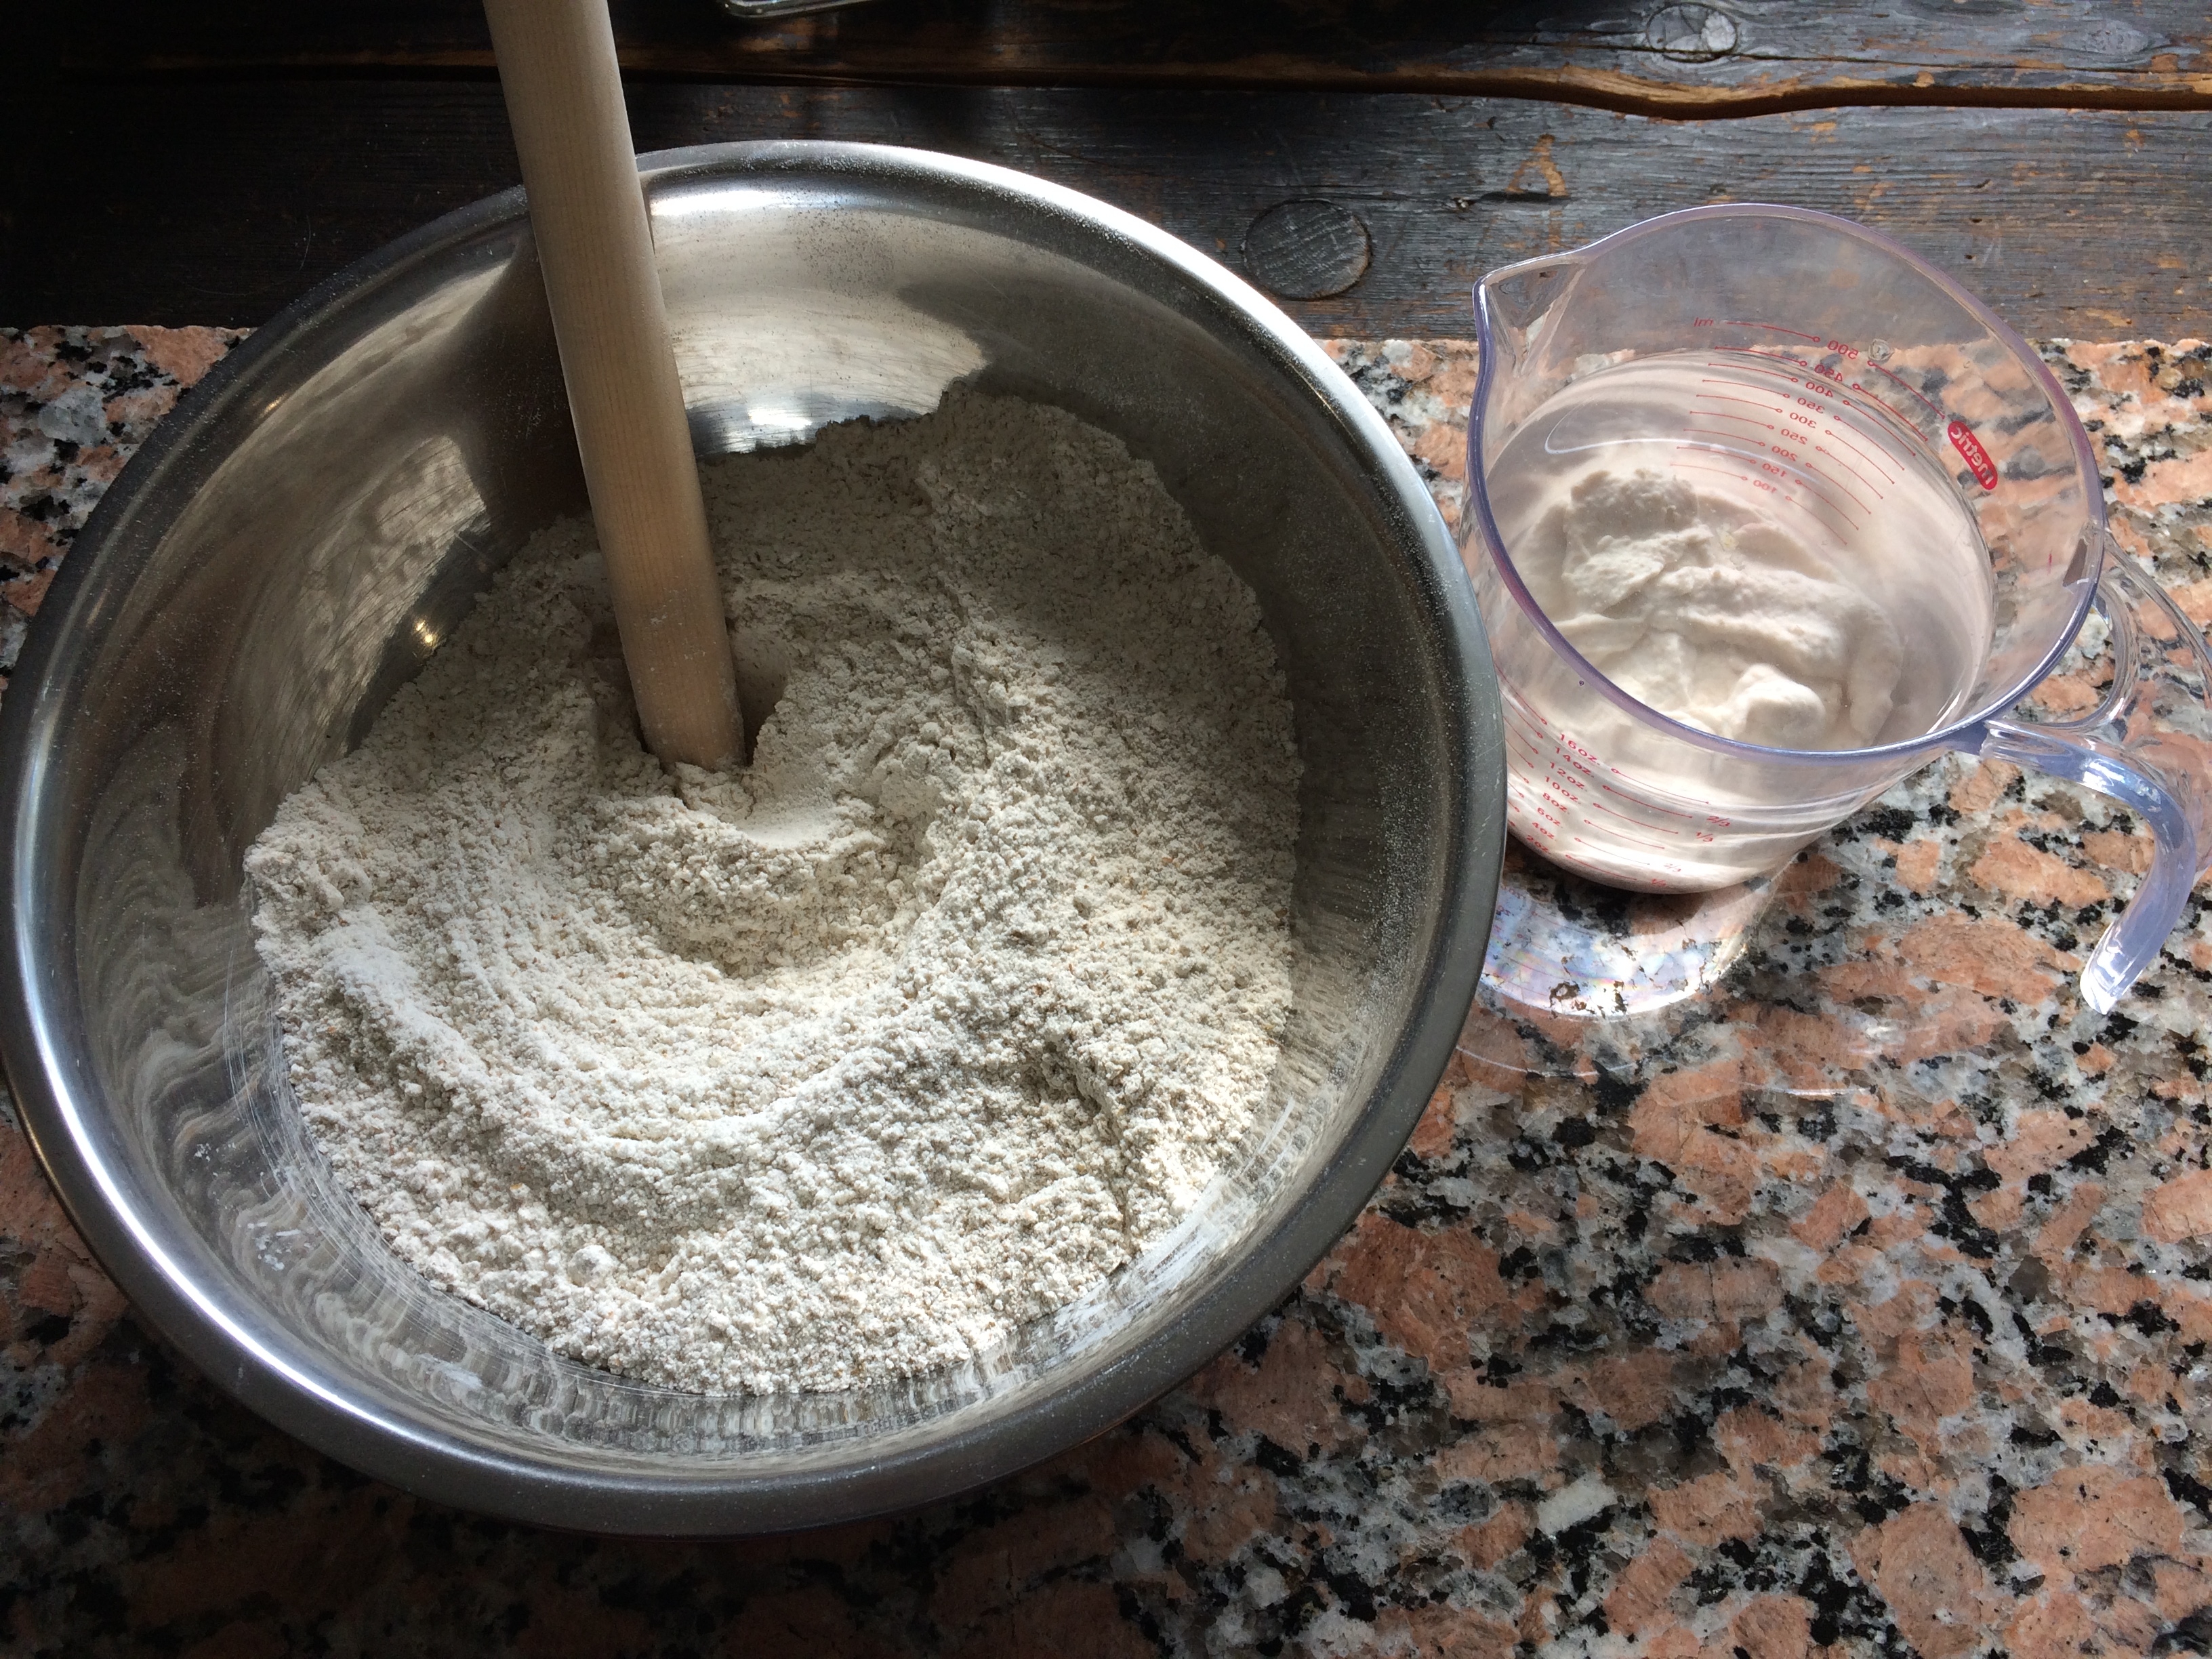
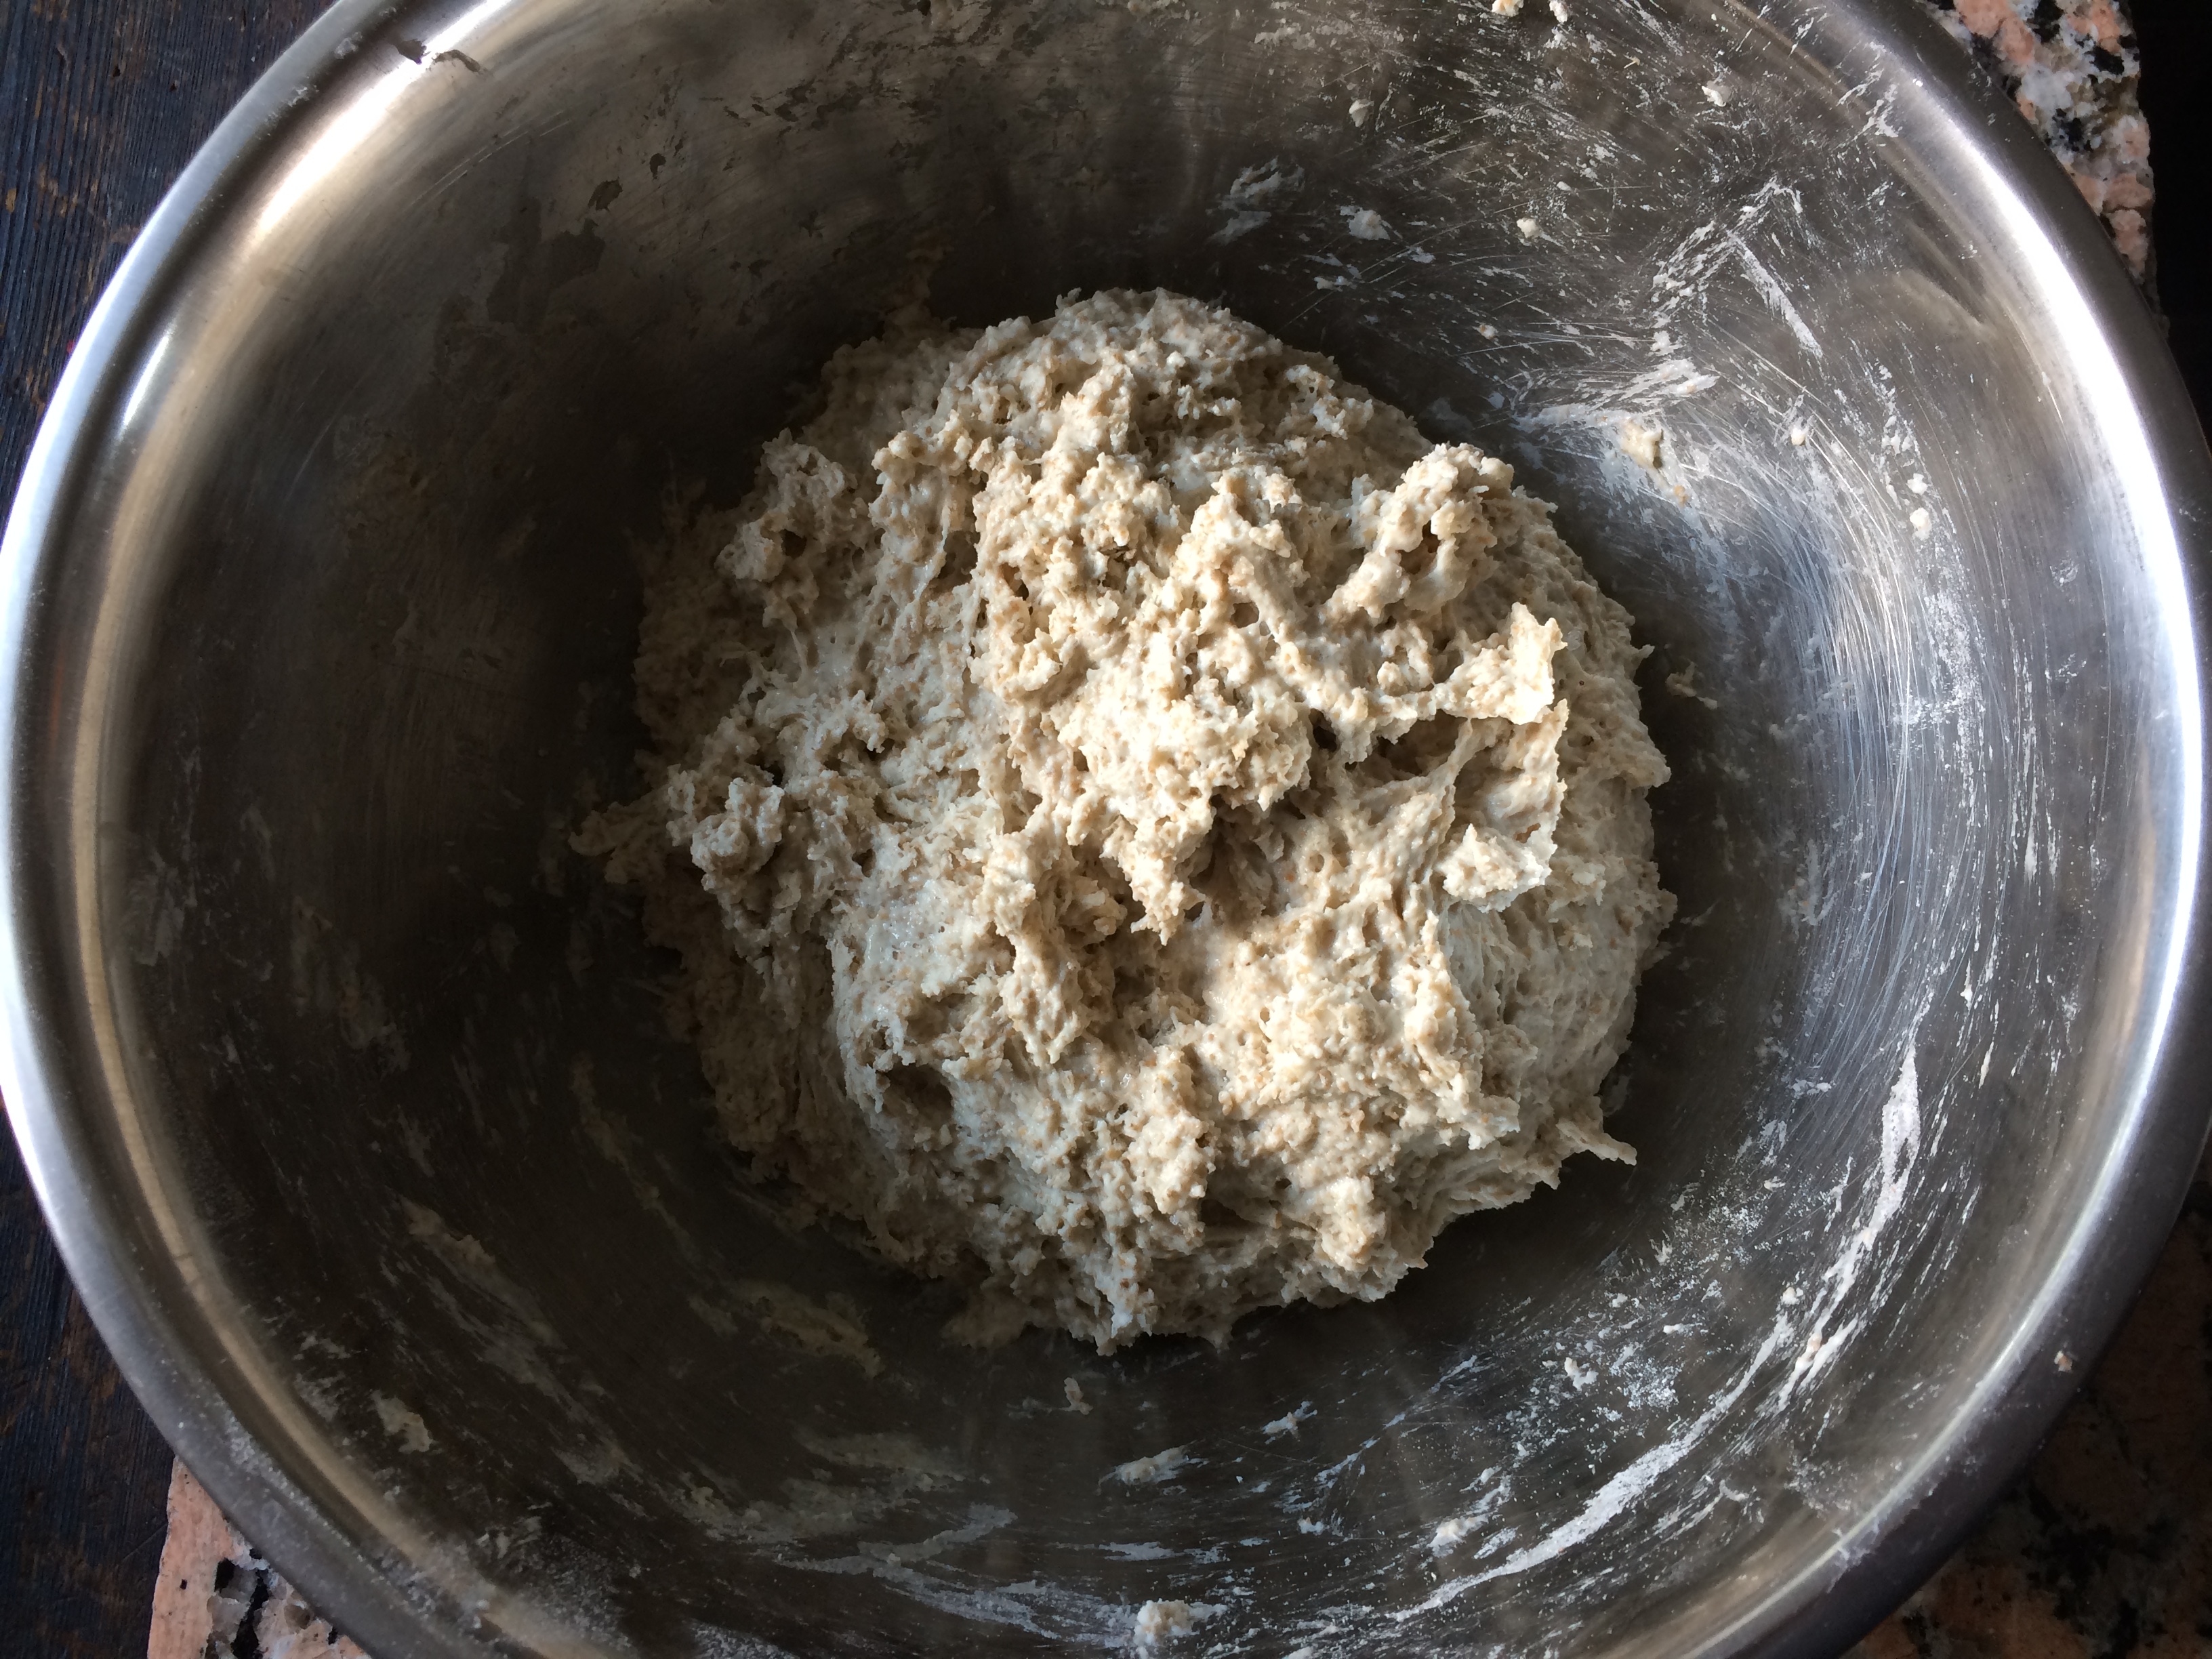
Stir all dry ingredients together. Gradually add the warm water while stirring. Mix until all ingredients are incorporated. Cover with plastic wrap and set in a warm place for 12 – 24 hours.


This takes some forethought but only minutes to put together. I used to stir it together at 5 am before I would leave for work.
After the dough rises, turn it out onto a floured surface and gently press it out into a rectangle. Then fold each side in over itself (pamphlet style) and the top and bottom over that to meet in the middle. Leave to rise for 10 minutes.
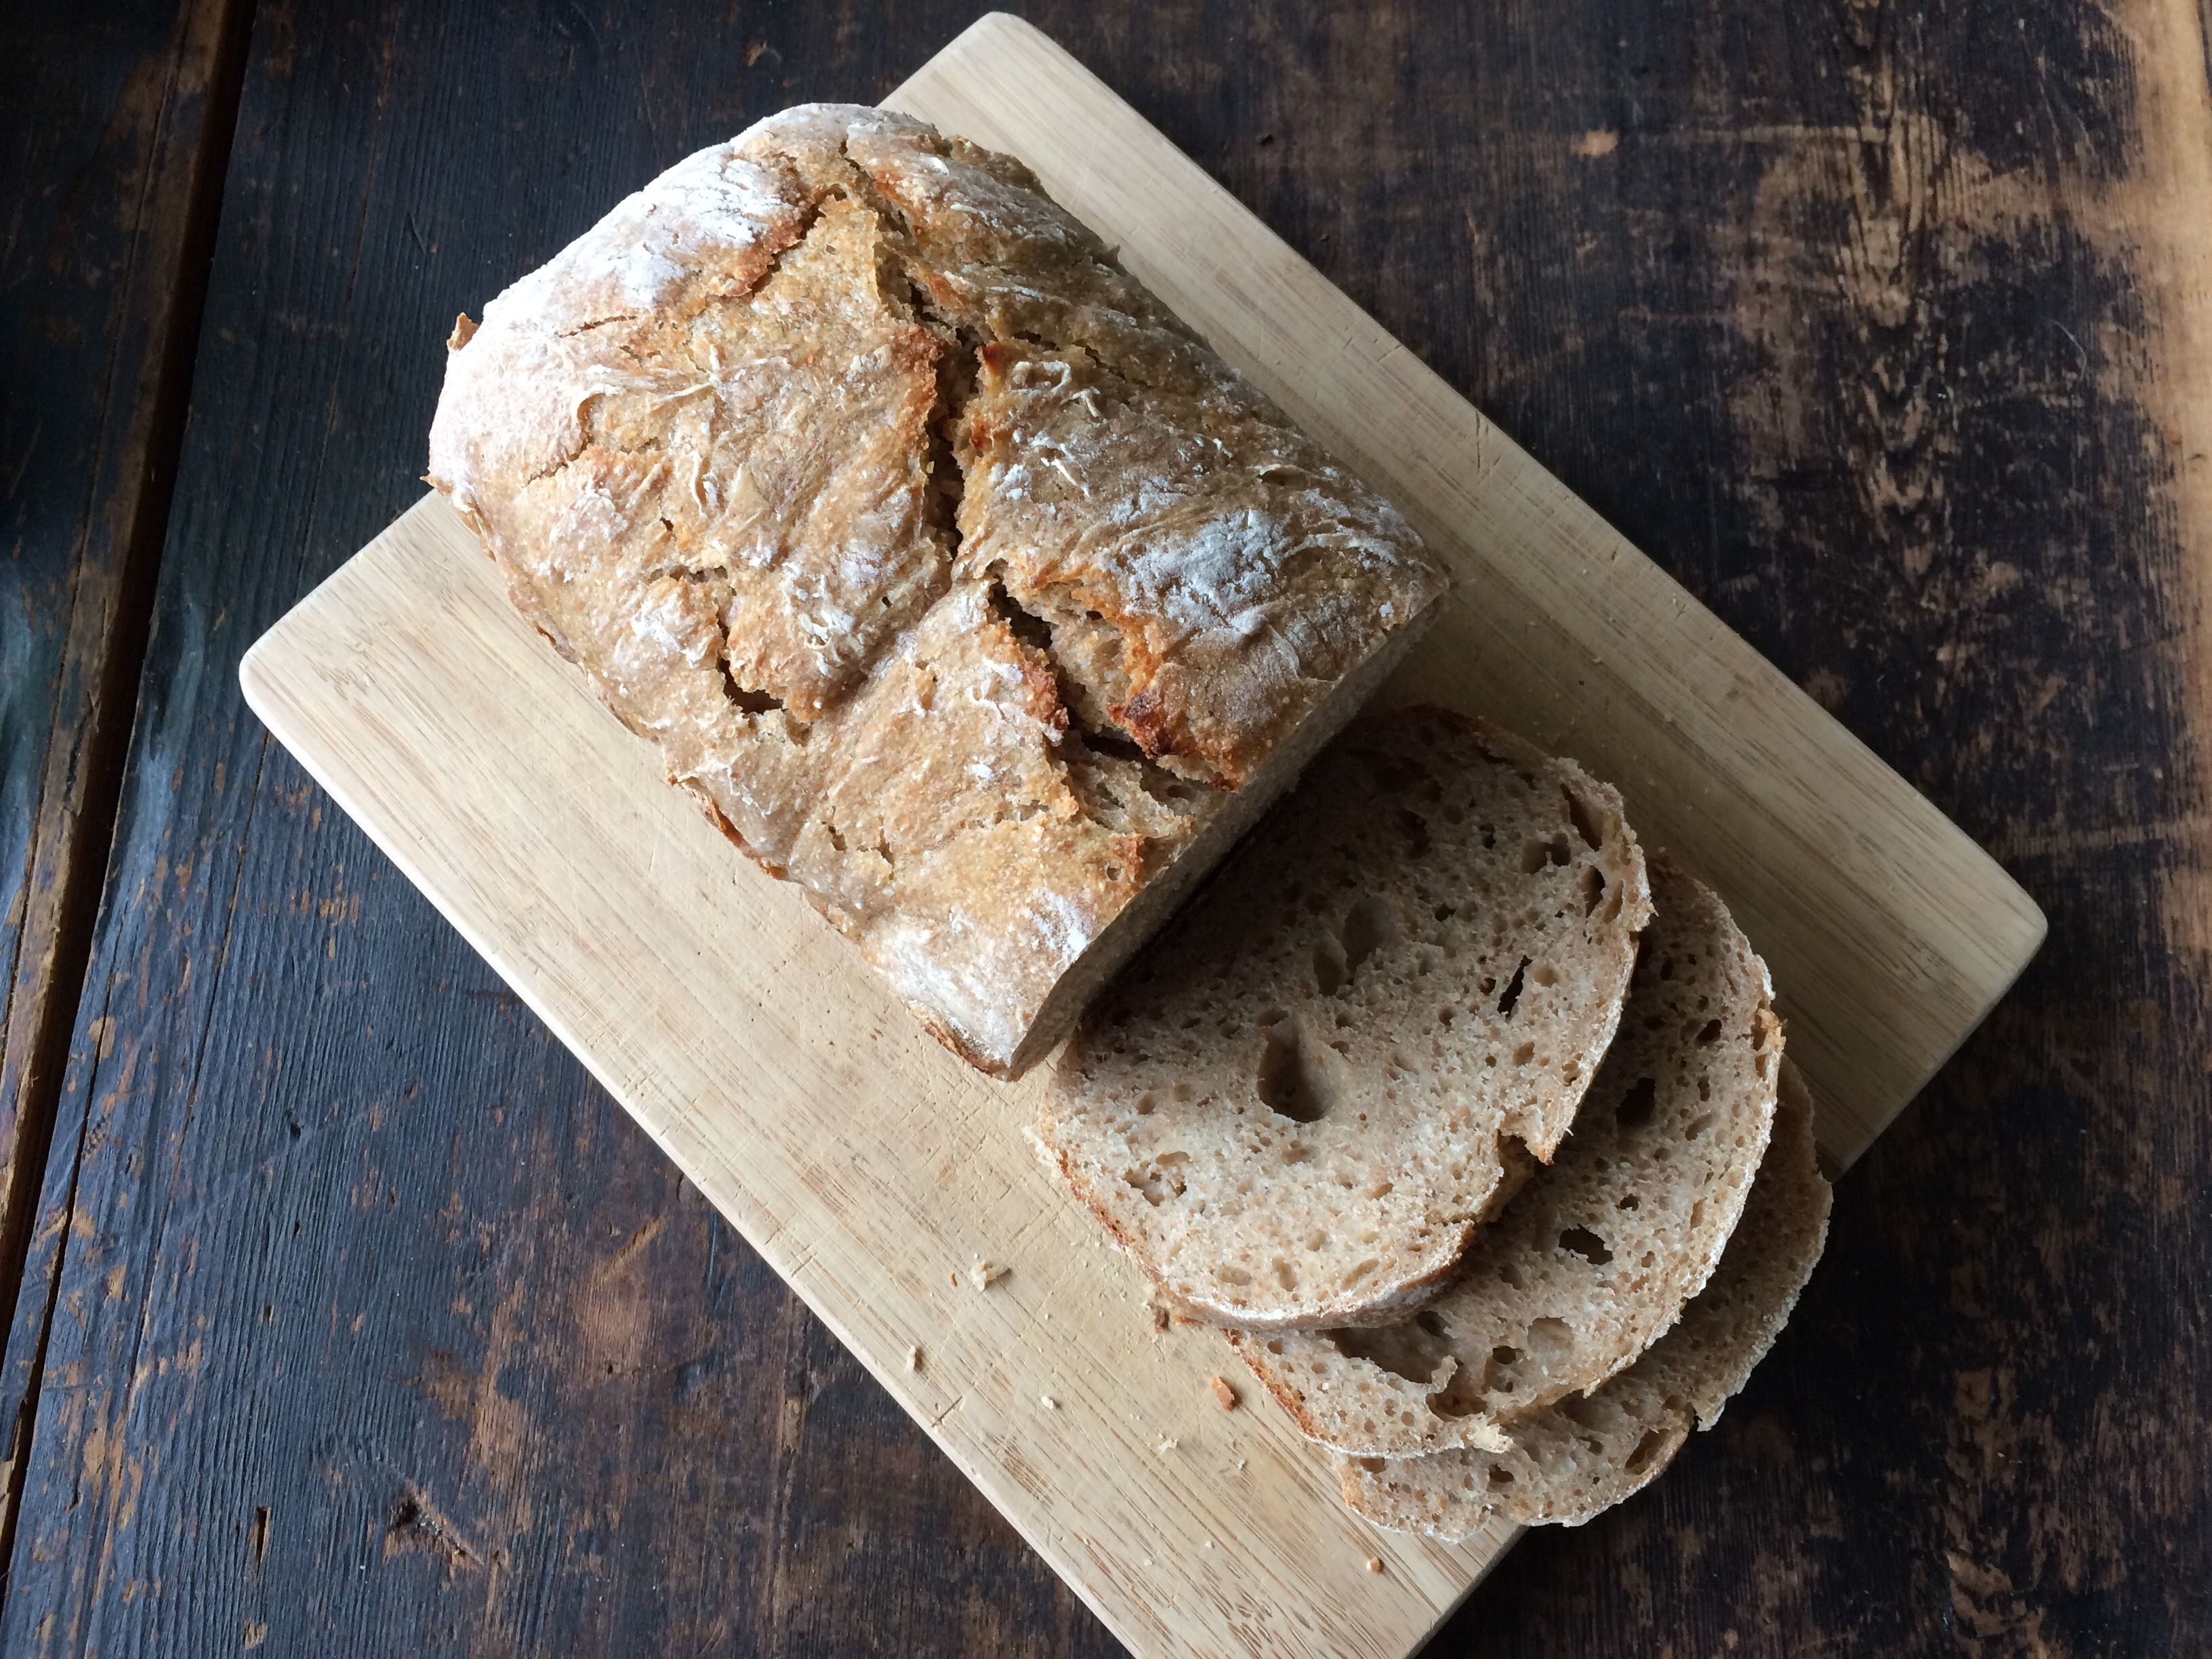
Now this is where I stray from every other “no knead recipe” on the internet. After the 10 minutes I flip my dough over, so the seam is on the bottom and drop it into a parchment lined pyrex glass loaf dish. I make this bread so we can have toast and sandwiches. I like equal uniform pieces. The round artisan style loaves look great. They really do. But your slices get larger to smaller as you make your way through it. Not what I’m after.
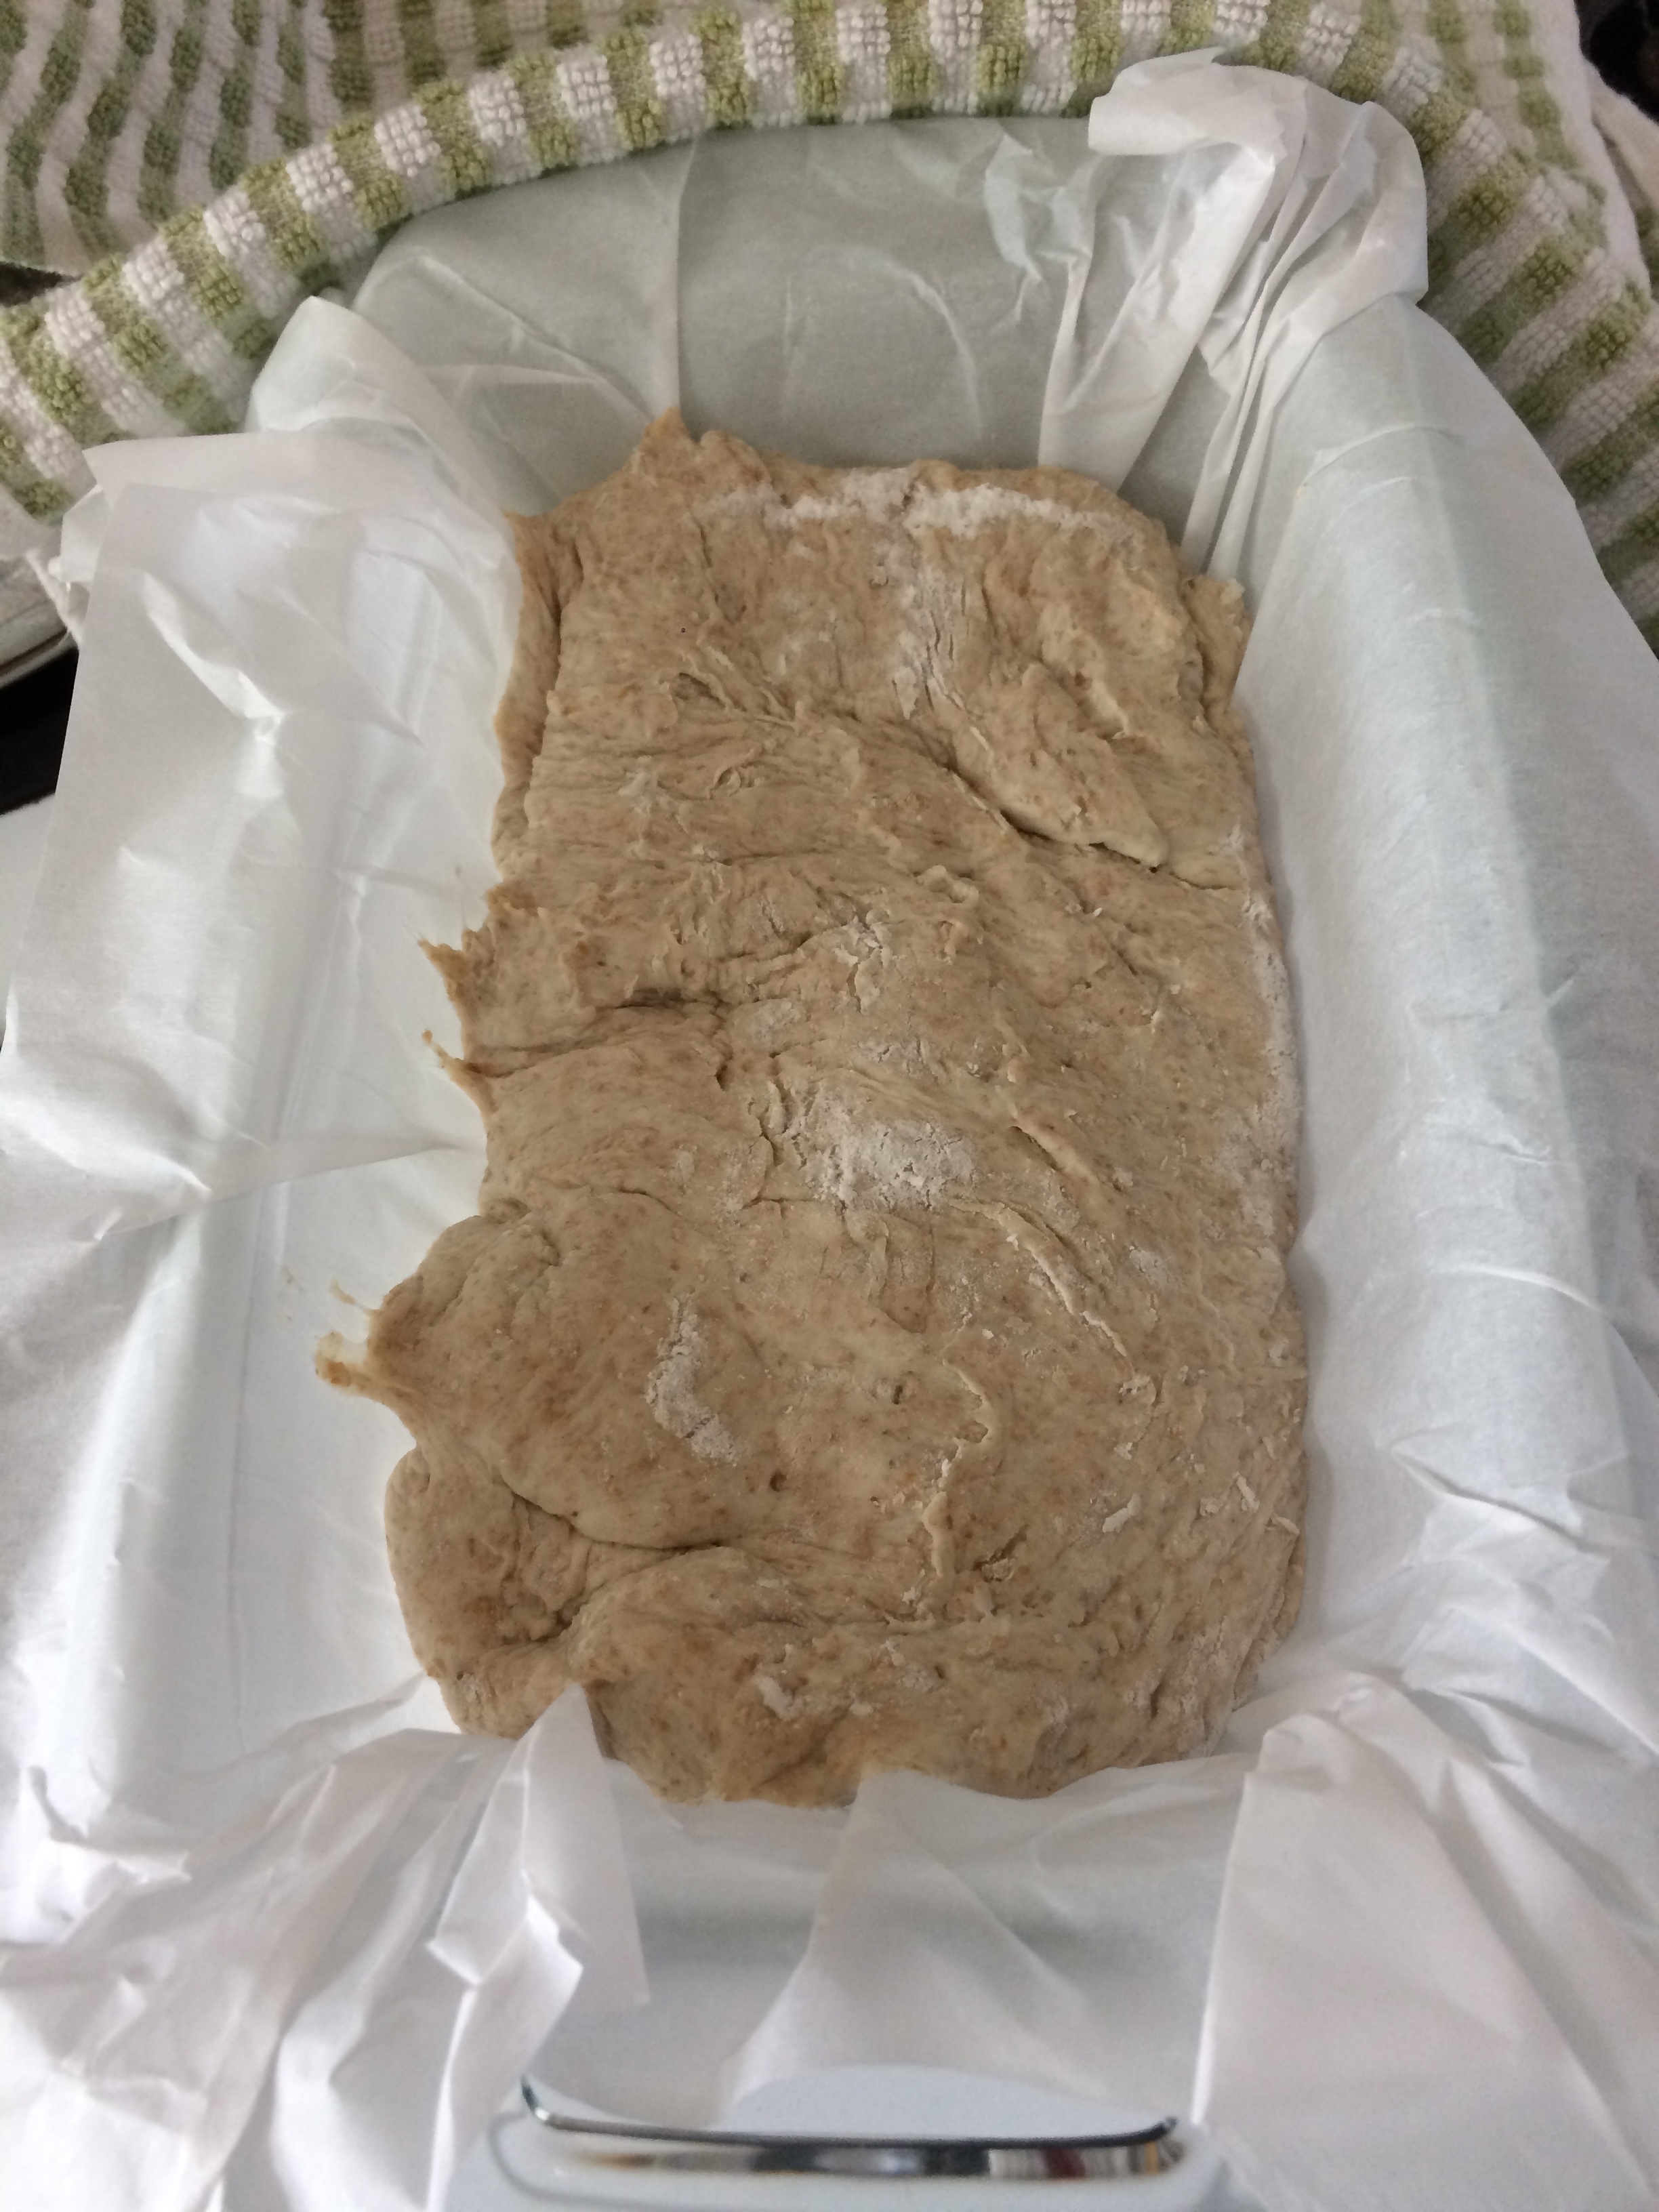
So! I cover the bread with a clean tea towel and set it aside in a warm spot for 1 hour and 15 minutes. I set my phone timer for this. Once my phone has let me know this time has passed I turn the oven on to preheat to 450 degrees F. Once the oven reaches temperature put your dough in and cover.
It’s my understanding that steam plays a part in the whole bread making thing so I made a makeshift lid out of a disposable roasting pan to cover my bread (catching steam) for the first 30 minutes of baking. After 30 minutes remove your “lid” and continue to bake another 15 minutes. Use your timers! Whether it be the stove top or your phone. If you’re like me then forgetting is easy and won’t be pleasant.
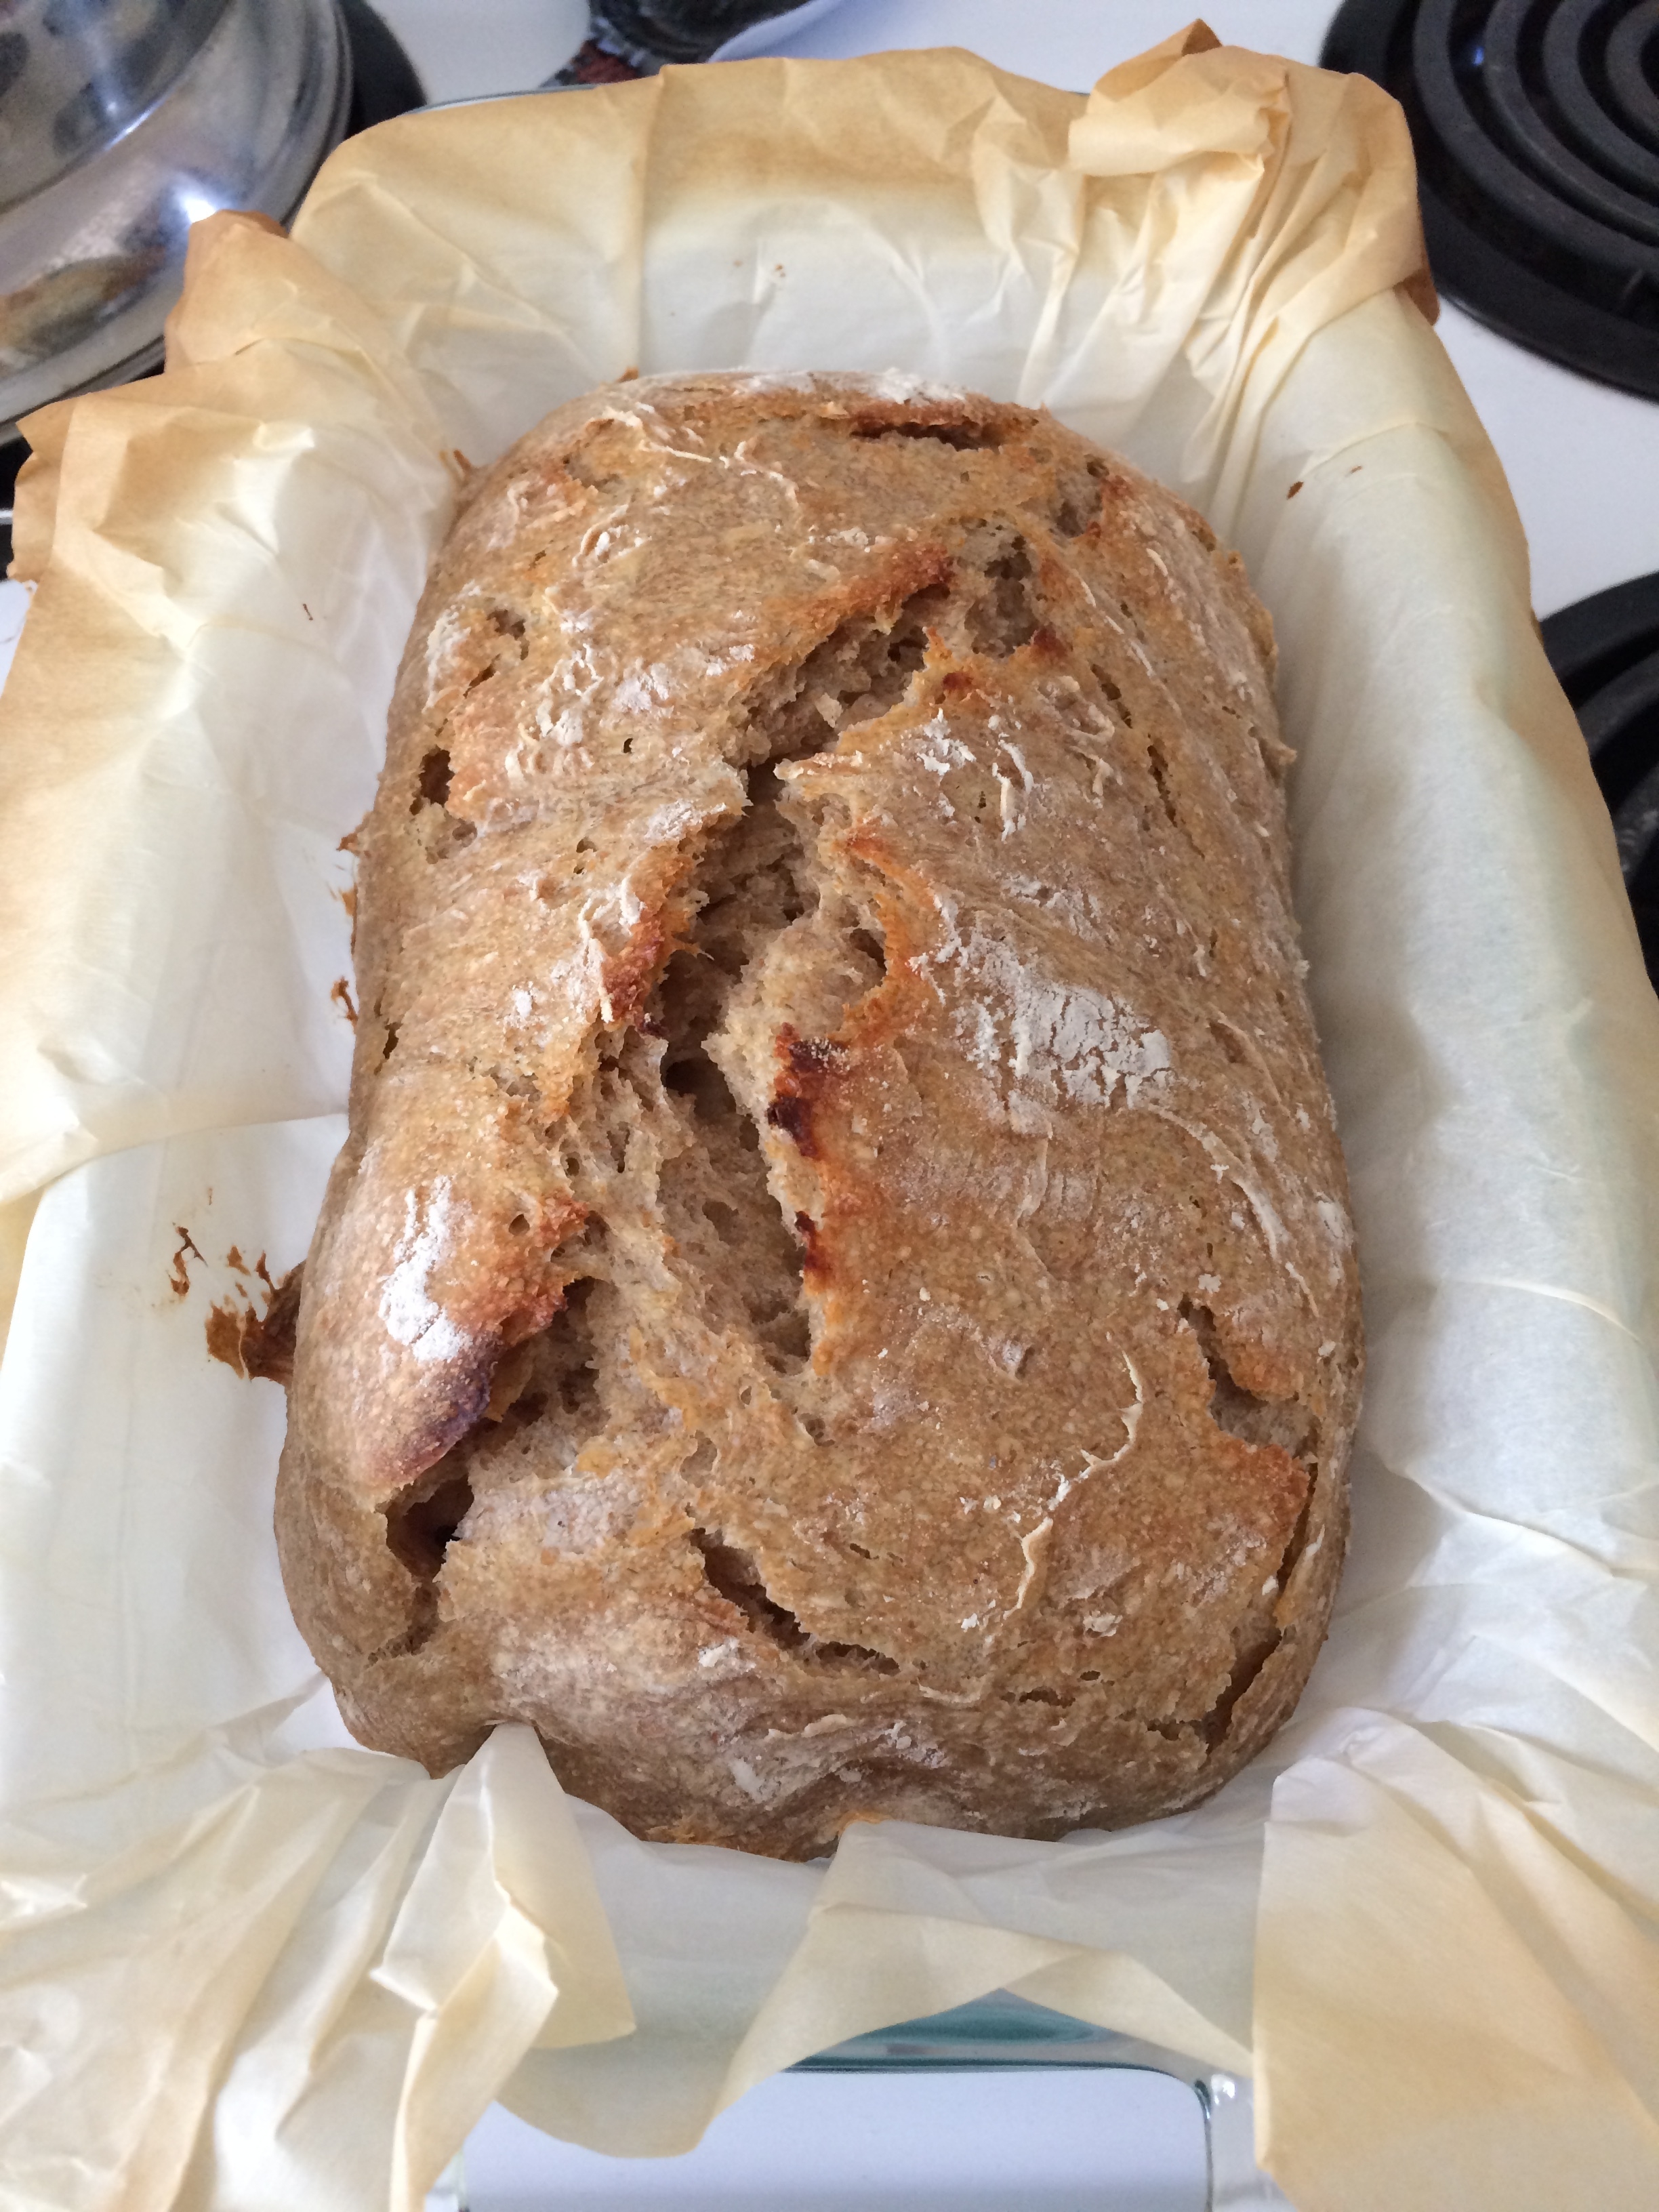
Traditionally this bread should be made in a dutch oven in the round loaves. You would want to preheat the dutch oven or similar style, heat tolerant pot, to 450 degrees F and drop your dough into it, cover, bake for 30, uncover, bake for 15. But I do what works for me. You do what works for you. My loaves turn out great. Good rise, nice air pockets, golden brown, this is really a recipe anyone can do. I have made more than I can count with consistent success. And if you’re thinking ” I just don’t have the time!”, the reality is you do. It’s minutes at a time over the course of a day or so. At least try!
With that said I still wasn’t satisfied using the yeast to start my bread. From the TV show and through more reading on the net I learned a lot about what bread has to offer and how we digest it. Sourdough is a fermented bread. Hence the name “sour” dough and the tangy taste it has. The fermenting process changes the bread into a more digestible state. I won’t get too sciency about it. You can do some research if you’re interested, but one of the things I found very intriguing is that there may be a link between the store bought instant yeasts and the increase in gluten intolerance. The lack of fermenting of the bread actually makes it quite difficult for our bodies to deal with and doesn’t allow the nutrients to be released for absorption. Interesting right?! I still need to find a gluten intolerant guinea pig to try my bread and see how their gut reacts…
Back to creating a starter. I tried again. And again. I had watery liquids settling on top, odd smells, little to no fermenting action, and a few attempts were tossed. Then I stumbled onto a web site, theperfectloaf.com , and for whatever reason the instructions clicked.
You will need:
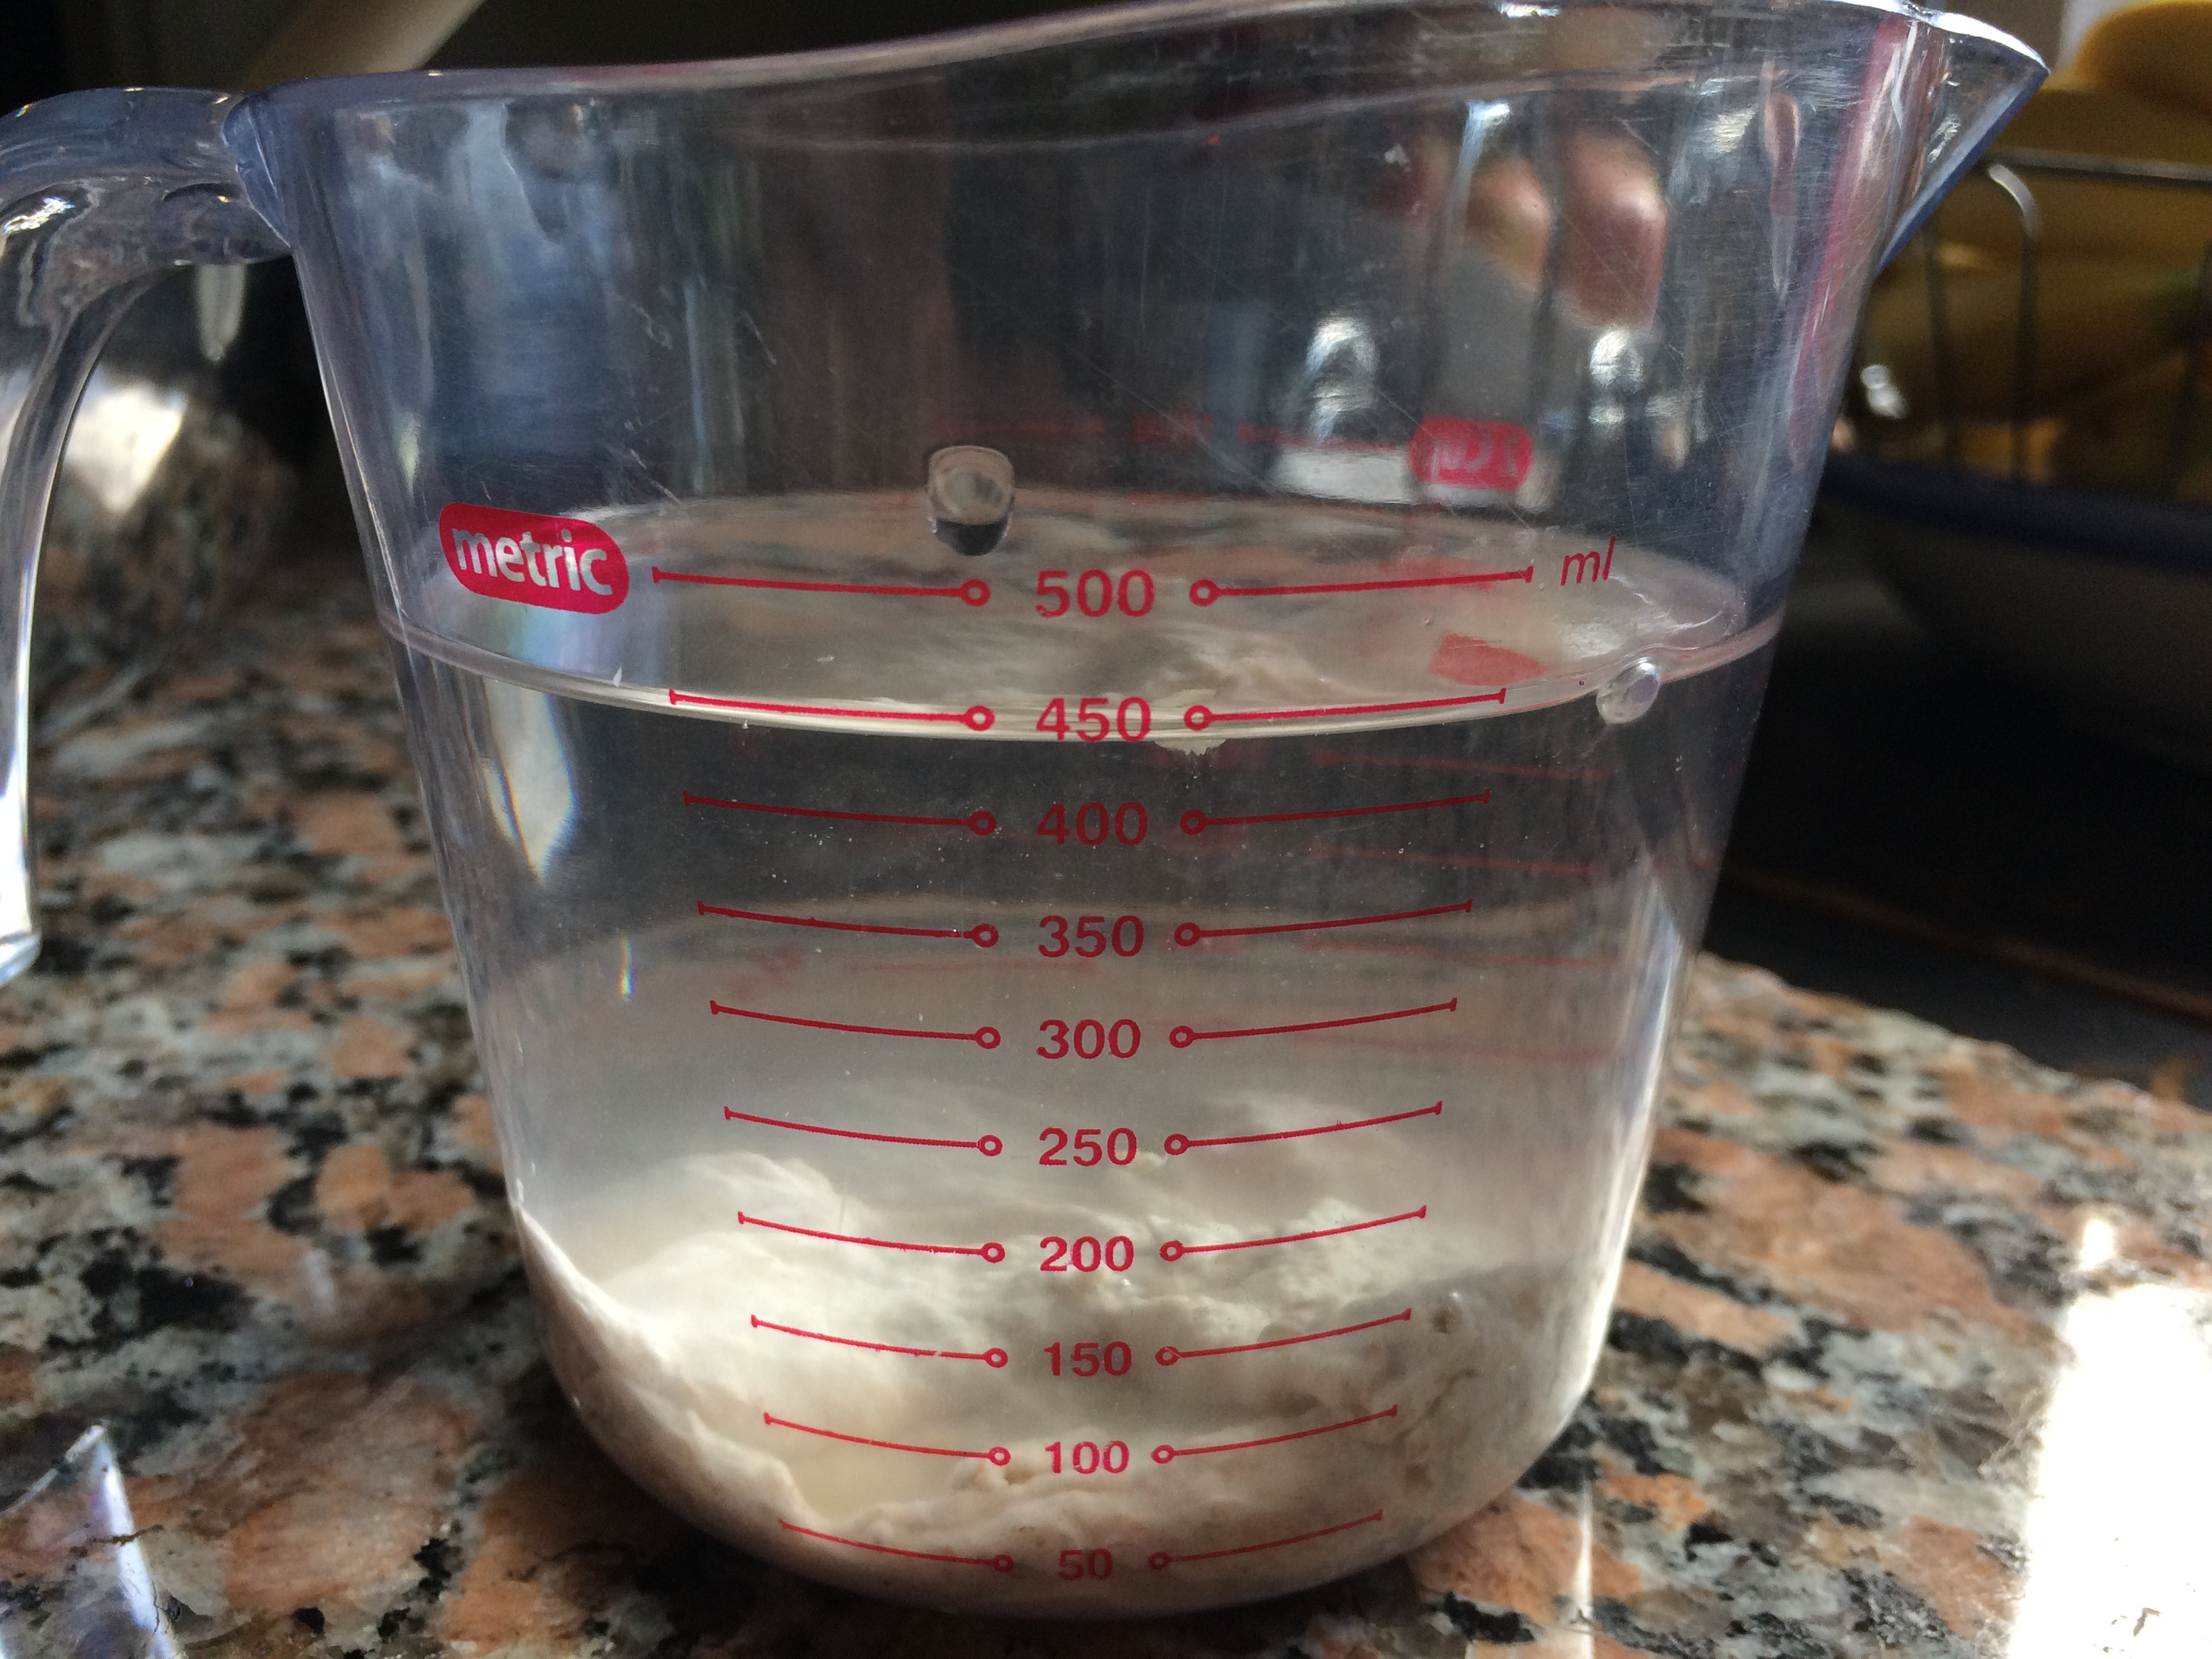
- 500 ml mason jar
- 50/50 mix white flour/rye flour ( I measure and mix into a larger jar, using the scale, 400 grams each, to draw from for feedings)
- filtered water
- a non metal spatula
To start, pick a time when you will be able to feed the starter daily. Place your empty mason jar on the scale without it’s lid and note the weight. Add 40 grams flour mix and 40 grams filtered water and mix together with the spatula. Use the mason jar lid but don’t tighten down. Gases need to be able to escape. Place in a warm spot in the kitchen.
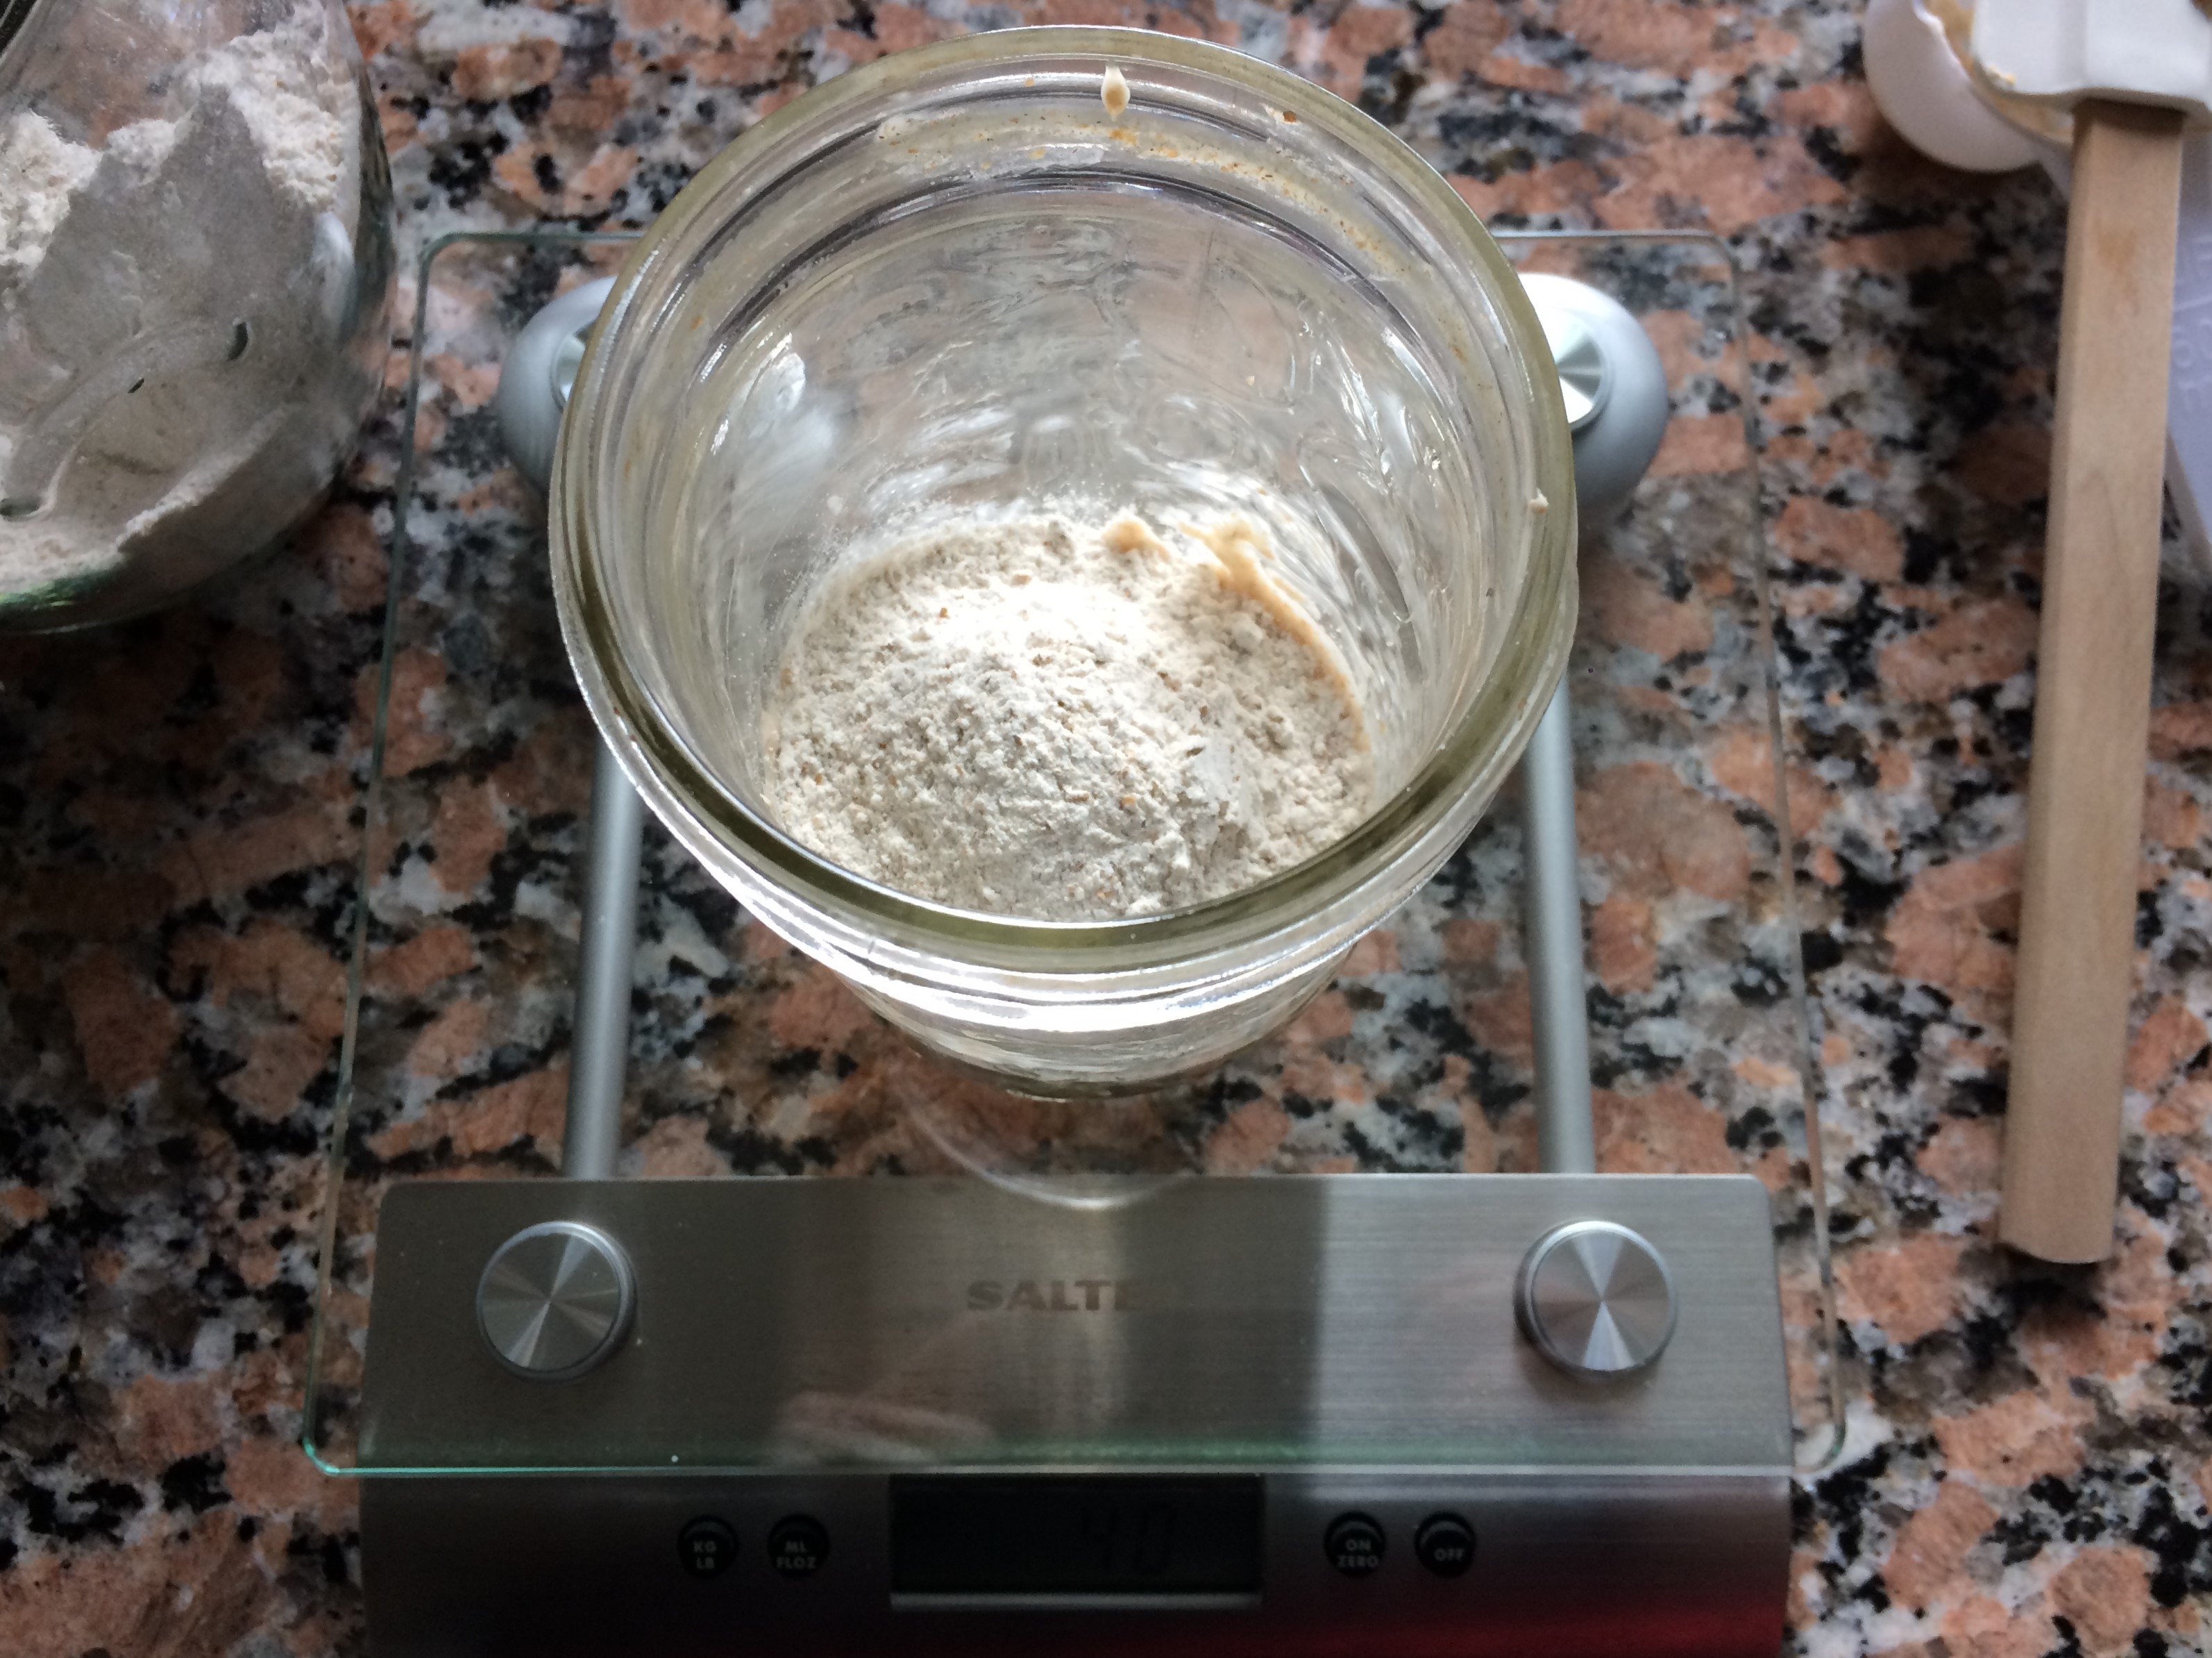
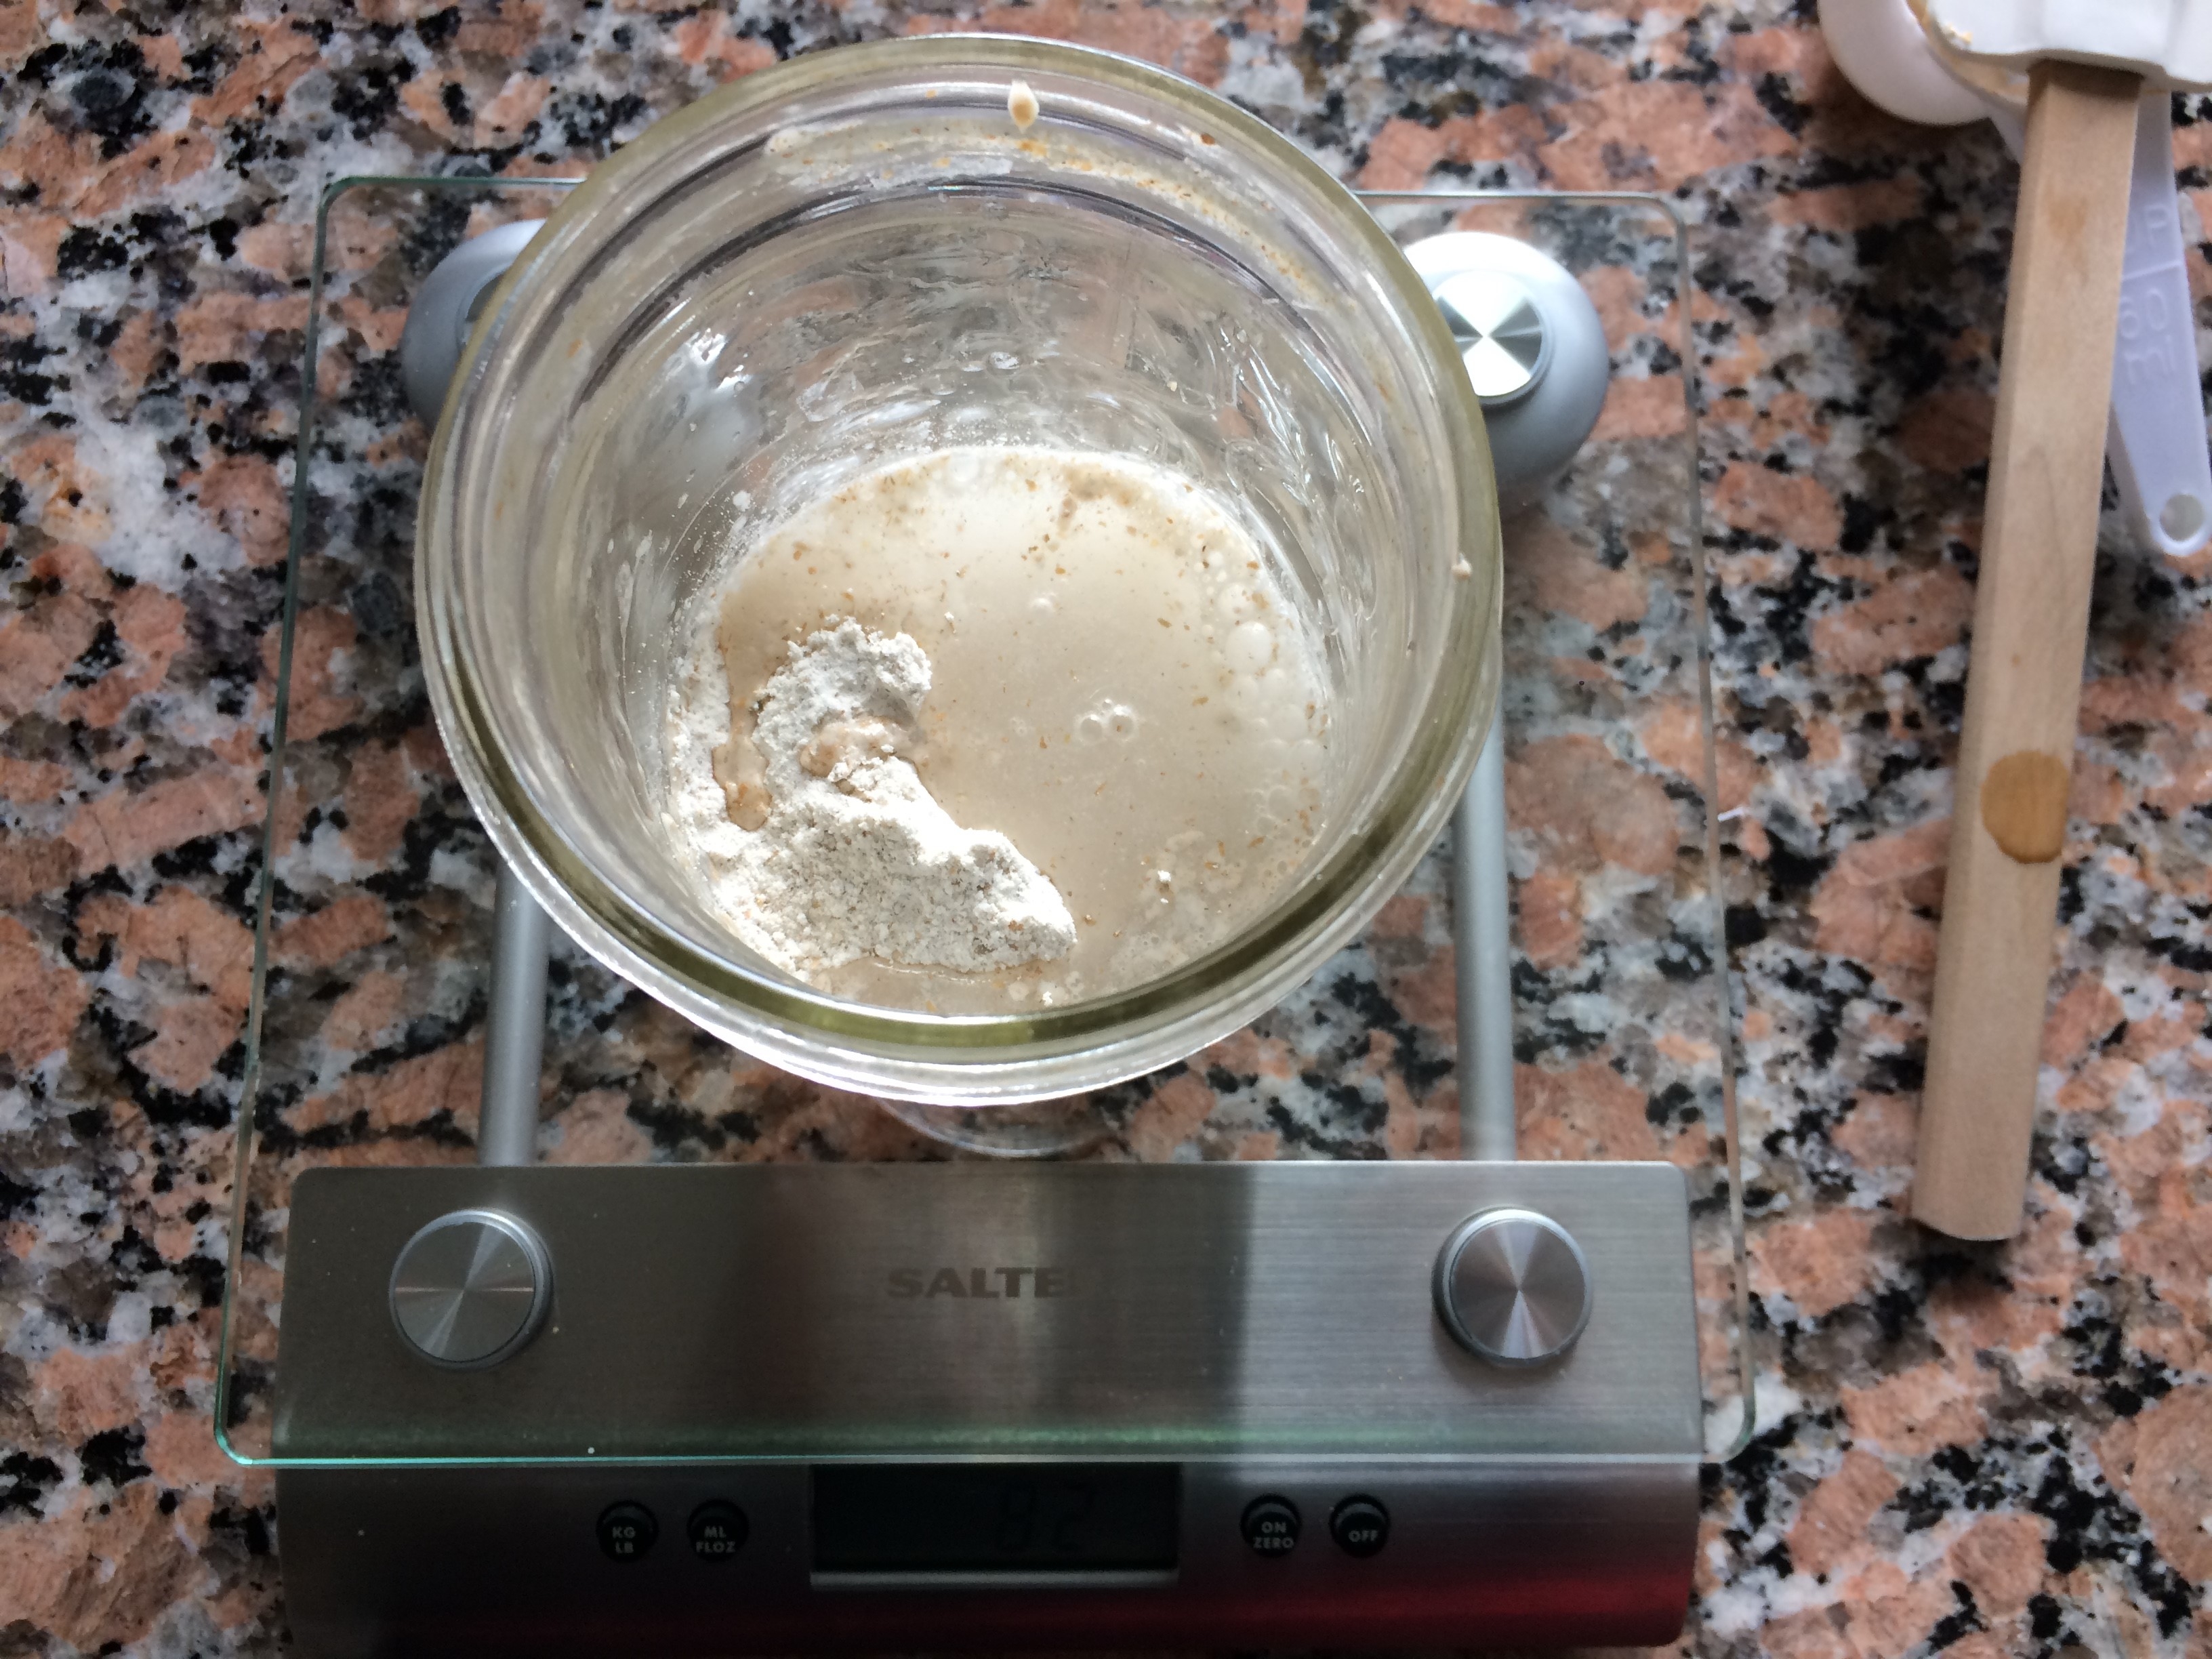
At approximately the same time the next day, remove and discard enough of your starter so the scale shows the empty jar weight plus 40 grams. Again add 40 grams flour mixture and 40 grams filtered water. Stir, loosely cover and set aside. These measurements are approximate. Sourdough is pretty flexible so don’t stress out about that.

Continue to do this daily. You should start to see bubbles forming throughout the starter and smelling a slightly alcoholic fermenting smell after a few days. If it smells yeasty, strange or is growing mold I’d toss it and start again. And you may have to. I did.
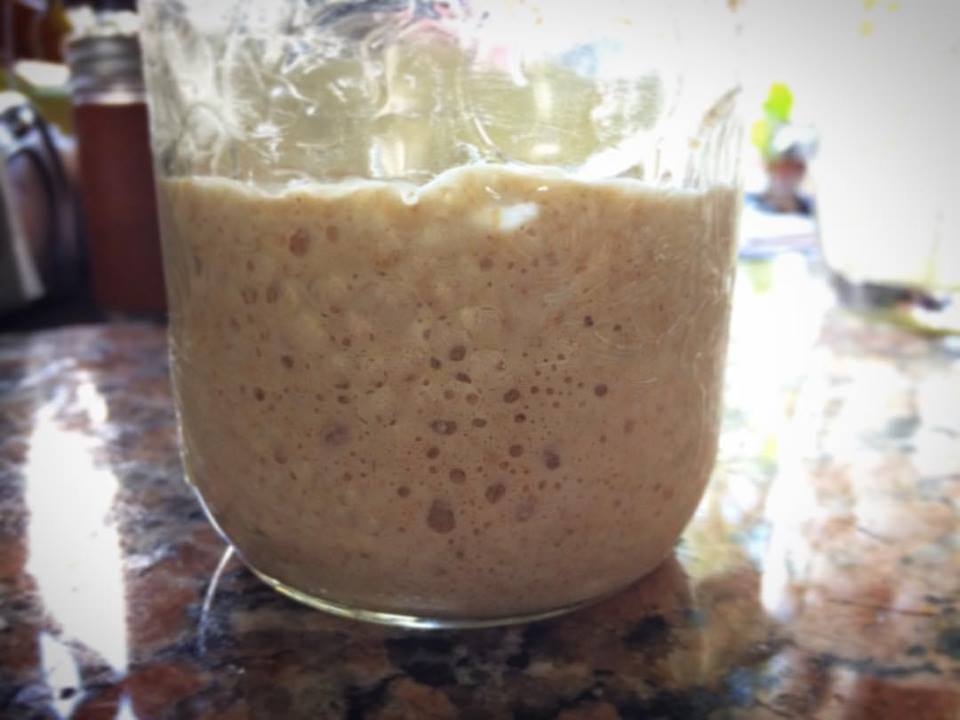
After about a week (and this can be plus or minus a few days so don’t give up after 7) you should have a healthy, active sourdough starter that’s ready to make you a loaf of bread. Because I’m all about simple and time efficiency I still make the “no knead” bread. Instead of yeast I use about 1/4 cup sourdough starter. Add it to the water and stir it around. Increase the white flour from 2 to 2 1/2 cups and continue on the same way as the yeast started recipe.
Now if you’re not someone who is baking on the regular and just want to have your starter handy, you can put it in the fridge to slow the fermenting process. Just make sure to remove it from the fridge and feed it once a week. Leave it out for about an hour and then return to the fridge. When you want to bake with it pull it out the day before and feed it. I don’t discard, just feed. By the next day its active and ready to go. Over time you will get to know what it looks like and how it behaves and you’ll find your groove.
I get a lot of comments like “I don’t have time” or “I don’t have the skill” but I think that’s nonsense. It really doesn’t take that much time and if you can stir a spoon you have the required skill level. We all need to take a good look at what we are putting in our bodies from time to time and try to make some healthy choices. All I’m recommending is trying it. If you give it a go for a couple weeks and find it’s not for you, fair enough. But what if you love it? What if it’s just the beginning for you and you can’t wait to move onto another fermented food? Like a ginger bug for homemade traditional sodas? Imagine some homemade ginger ale? Or Rootbeer? Could it get any better? Well that’s where this path is taking me and I promise to share a ginger bug story, success and failures alike soon.
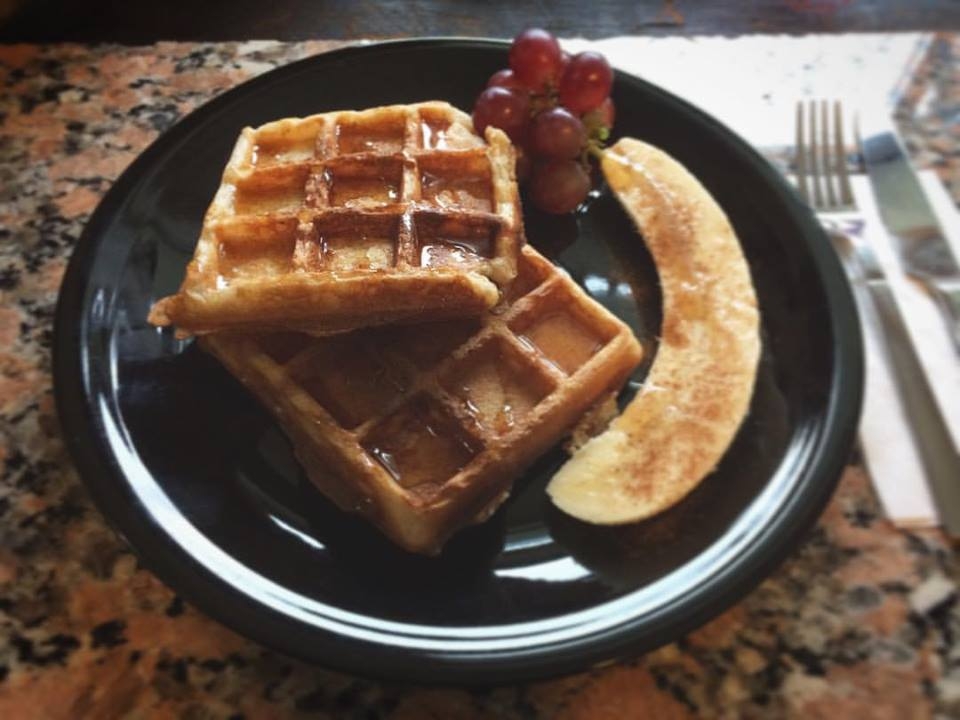

Have fun with sourdough! Try adding things like walnuts and dried cranberries! Or other herbs and cheeses. You could really get creative and wow your friends and family. Expand the baking to other things such as waffles, bagels and pizza! All delicious! And all the while doing your body a favor. x